

Did you know you can elevate your nail art game with something as simple as washi tape? That’s right! This versatile decorative tape isn’t just for scrapbooking or crafting; it’s a game-changer for nail art, allowing you to create stunning designs quickly and easily. If you’ve ever struggled with intricate nail designs or felt your nail art skills were lacking, washi tape could be your new best friend. It’s colorful, comes in endless patterns, and its adhesive is gentle enough to remove without damaging your nails. In this guide, we’ll explore how to use washi tape to achieve beautiful nail art that looks professionally done, even if you’re a beginner. Get ready to unleash your creativity and impress your friends with your unique nail designs that are simple to apply and fun to create! Let’s dive in!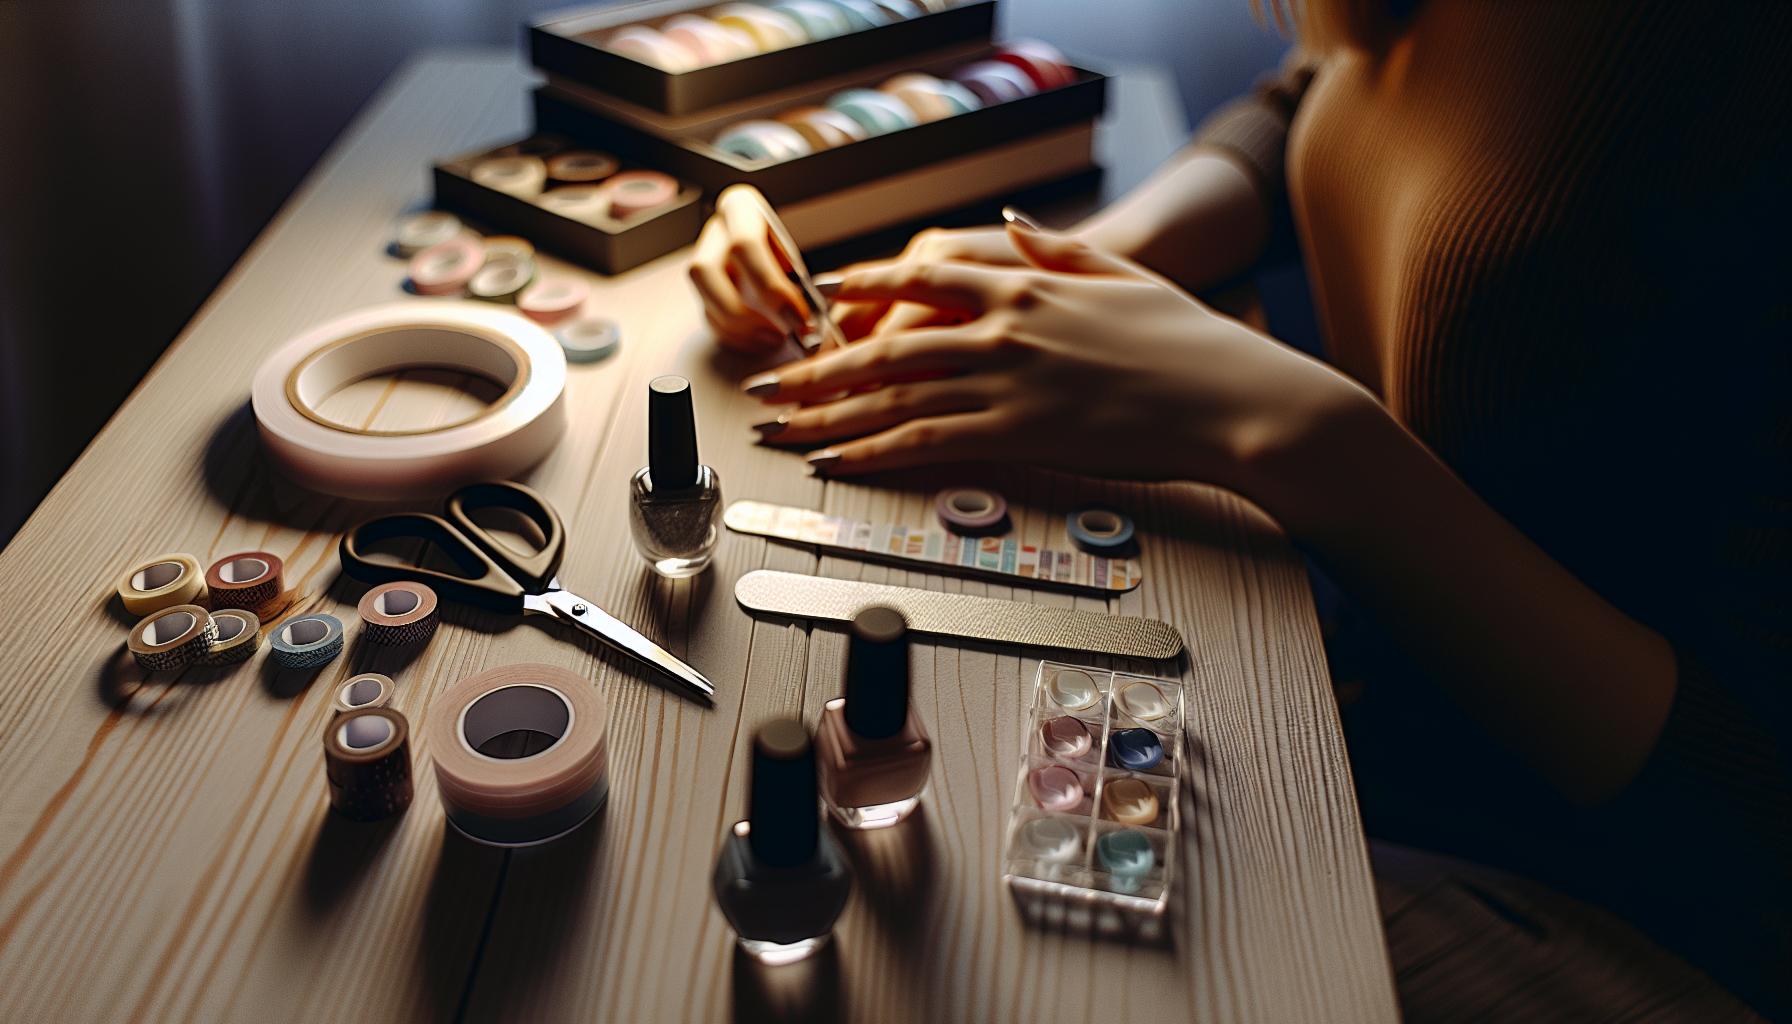
Essential Supplies for Washi Tape Nail Art
To dive into the world of washi tape nail art, having the right supplies makes all the difference. You don’t need a salon to create stunning designs-just a few essential tools and materials. First and foremost, you’ll want quality washi tape. Look for tapes that are vibrant and have a unique pattern; the beauty of your designs hinges heavily on the tape’s visual appeal. Choose rolls that are about 5-10 mm wide to easily fit on your nails and allow for creative layering.
Next, invest in a good base coat and top coat. A solid base coat not only protects your natural nails but also creates a smooth canvas for applying your washi tape. The top coat is crucial for sealing your design and adding shine, making your hard work last longer.
You’ll also need nail scissors or a craft knife to trim the tape precisely and a pair of tweezers for better handling, ensuring you can place and adjust the tape accurately on your nails. Having a nail file on hand will help refine the edges of your nails before you start to ensure there’s no roughness that could interfere with the application. Lastly, keep cotton swabs and nail polish remover nearby for any quick clean-ups; they’re lifesavers when it comes to correcting small mishaps.
In summary, gather your vibrant washi tapes, base and top coats, precise scissors, tweezers, a file, and some cleaning supplies. With these essentials at your fingertips, you’re well on your way to creating eye-catching nail art with ease!
Beginner-Friendly Techniques for Stunning Results
To create stunning nail art with washi tape, start by embracing the simplicity and versatility of the tape itself. One of my favorite techniques that beginners often overlook is using a solid colored base to make the patterns pop. A nude or pastel background can really enhance the vibrancy of your chosen washi tape designs. After applying a base coat and letting it dry completely, you’re ready to layer on the tape.
When applying the washi tape, don’t stress about perfection. Instead, experiment with angles and placements. You can create diagonal stripes across your nails or even use geometric shapes by cutting the tape into different sizes. Place the pieces at varying angles for a dynamic look. Once you’ve laid down your tape, use your tweezers to press it down firmly; this helps prevent lifting.
For a smooth finish, seal your design with a top coat. This not only adds shine but also protects your design from chipping. Make sure to apply the top coat gently to avoid lifting the tape. If you notice any edges sticking up, a small dab of clear nail polish can help secure them.
Another technique I love is layering multiple designs. Stacking different patterns of washi tape can lead to stunning results, especially if you use complementary colors. This method brings depth to your nail art and ensures that each set of nails can tell a unique story. Just remember to keep the designs balanced to avoid overwhelming the nails. With these techniques, you’re well on your way to creating beautiful nail art that’s not just easy but impressively eye-catching!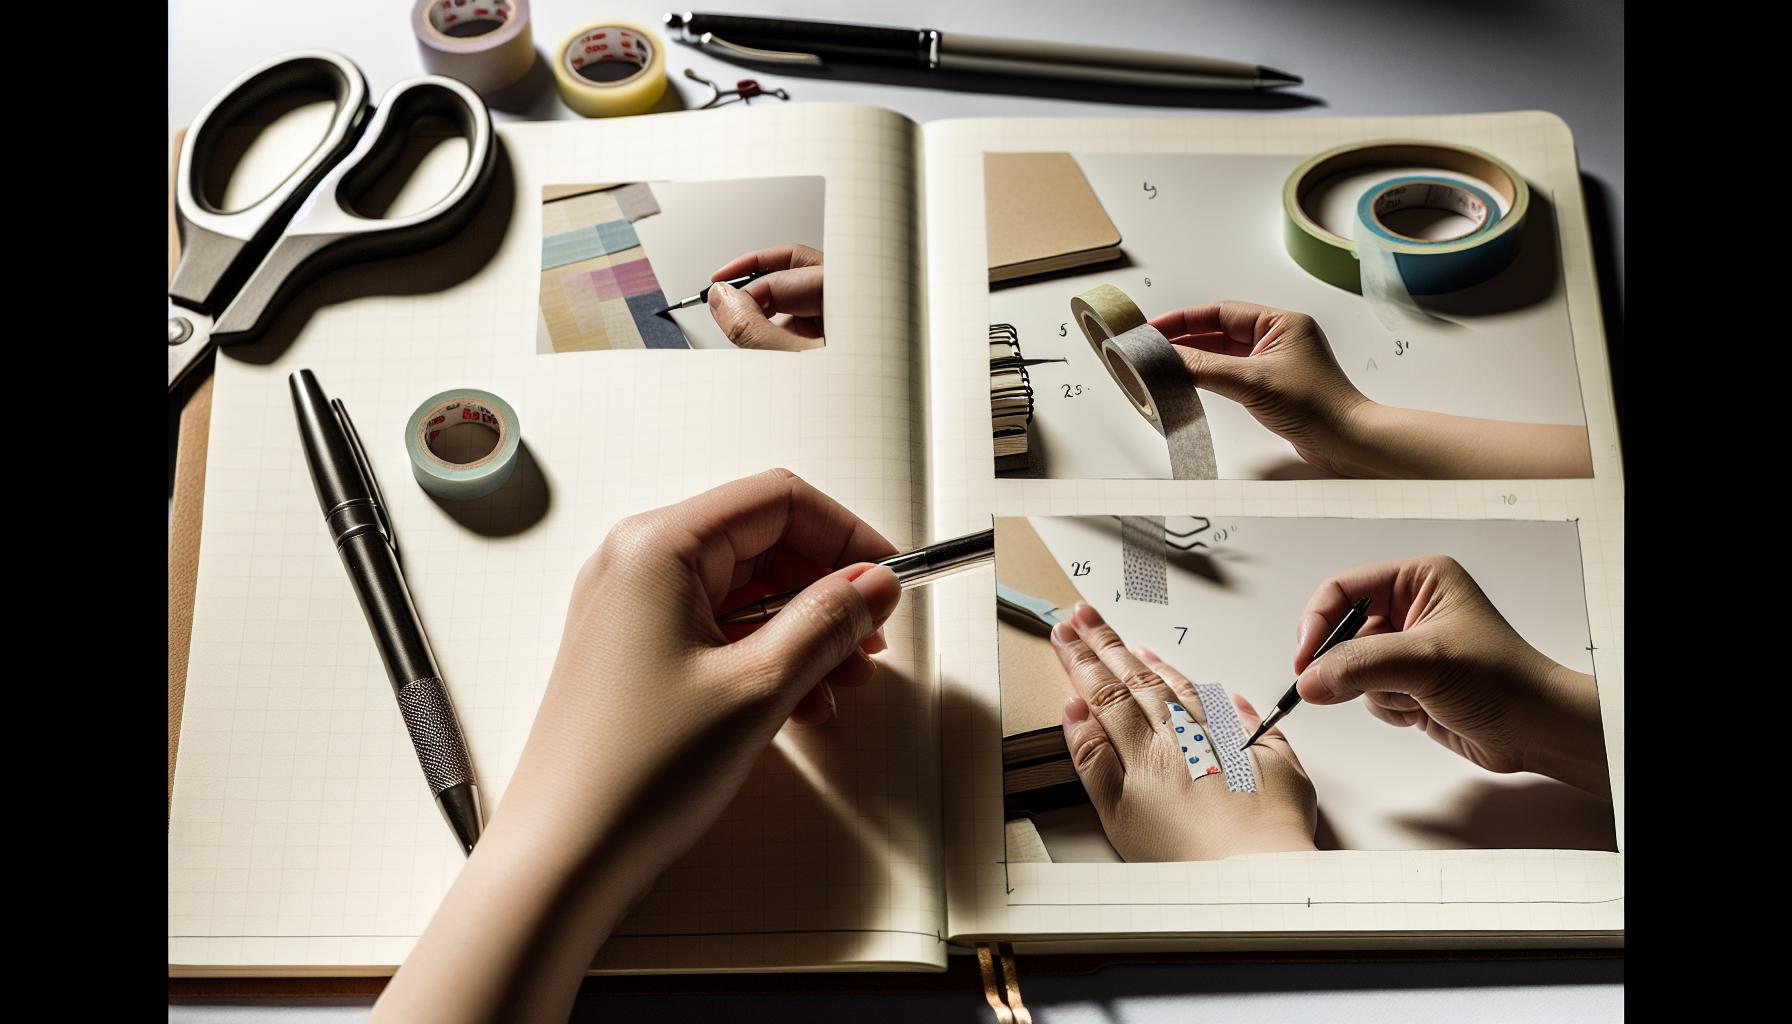
Step-by-Step Guide to Applying Washi Tape
The beauty of washi tape nail art lies in its simplicity, making it accessible even for beginners. To get started, ensure your nails are clean and prepped; a great base is key. Begin by applying your chosen base coat, letting it dry completely. Choose washi tape patterns that resonate with your style-florals, stripes, or any design you love will work beautifully.
Next, cut pieces of washi tape to your desired length. When applying, don’t shy away from being creative with angles and placements. You can lay the tape straight across or at a diagonal, depending on the look you want to achieve. To press the tape down firmly, use tweezers or your fingers; ensuring there are no lifting edges will make a significant difference in the final look. If you want a more intricate design, consider layering different patterns. Just ensure the colors and designs complement each other for a harmonious effect.
After placing the tape, it’s crucial to seal everything with a top coat. This not only adds a polished finish but also protects your artwork from everyday wear and tear. Apply the top coat gently to avoid disturbing the tape. If you notice any edges sticking up after the top coat, you can use a dab of clear nail polish to secure them. This simple process creates a stunning nail art look in no time, making you the envy of all your friends!
Creative Designs You Can Easily Try
Washi tape isn’t just for decorating planners or gift-wrapping; it’s a game-changer for nail art too! The wide variety of colors and patterns available makes it incredibly versatile for creating stunning nail designs that anyone can try, regardless of experience. One of the simplest yet most effective designs is the half-moon manicure. Start by applying a base color to your nails, let it dry, then position a piece of washi tape at the base of your nail in a crescent shape. Paint the tips a contrasting color, remove the tape, and you’ve got a chic, modern look!
Another fun design is stripes and polka dots. Choose two complementary washi tape patterns-perhaps stripes in one layer and a polka dot design in another. Apply the stripe tape straight across the nail and seal it with a top coat before adding polka dots with a fine-tipped brush or dotting tool. This layering technique not only adds depth but also guarantees that no two nails look exactly the same.
For those leaning towards a more thematic design, consider seasonal styles. In the fall, try warm-colored washi tape featuring leaves or pumpkins; simply cut the tape into the shape of your chosen figures, adhere them over a neutral base, and finish with a top coat. During holidays, you can use washi tape with festive prints to create nail art that captures the spirit of the season. Your creativity is the limit!
Finally, don’t shy away from mixing textures. Combine washi tape with other materials like glitter polish or matte top coats for varied finishes. This contrast can transform a simple design into something truly eye-catching. Remember, the best designs come from experimentation and personal expression, so get those creative juices flowing and enjoy the process!
Expert Tips to Avoid Common Mistakes
Getting the perfect washi tape nail art requires a bit of finesse, but avoiding common mistakes can make all the difference. Many beginners underestimate the impact of a solid base and careful layering, which can lead to frustration. One crucial tip is to always ensure your base coat is completely dry before applying washi tape. If the polish is still wet, the tape can lift or smudge the color underneath, ruining your design.
Another common pitfall is the choice of washi tape itself. Not all washi tapes are created equal; some are too flimsy and may tear or not adhere properly to the nail surface. Look for washi tape that is both decorative and sufficiently sticky. You might want to test a small piece on your skin to ensure it won’t easily peel off. Additionally, avoid excessive handling of the tape, as oils from your fingers can diminish its adhesive properties.
It’s also essential to use a top coat after applying the tape. This not only seals your design but helps blend the edges of the tape with the nail polish, giving a cleaner look. Remember to apply the top coat gently to avoid pulling up the washi tape. If you notice any uneven edges or lifted corners, you can carefully press them down using a clean, dry brush or even a cosmetic spatula.
Lastly, keep your nail tools clean and avoid rushing through the process. Patience is key. Give each layer enough drying time, and don’t be afraid to experiment. Mistakes can lead to unexpected creativity, transforming a potential misstep into a unique design! So, take your time, enjoy the art, and let your personality shine through your nails.
How to Remove Washi Tape Without Damage
To remove washi tape from your nails without causing damage, timing and technique are everything. You want to peel the tape off at the right moment, typically right after applying your top coat (which seals in your design) but before it completely dries. This way, you avoid any risk of pulling up polish or leaving a sticky residue behind.
Start by gently lifting one edge of the tape using a wooden stick or your fingernail. Slowly pull the tape back onto itself at a low angle. If you notice any resistance or if the polish starts to lift, pause and ensure everything underneath is fully set. If necessary, you can use a bit of nail polish remover on a cotton swab to help dissolve any areas where the tape’s adhesive is sticking too hard.
Remember, patience is your ally here. Rushing through can lead to mishaps. Once the tape is off, check your design for any imperfections. If there are any little bits of adhesive left, don’t fret. Just take a soft cloth lightly moistened with polish remover and gently wipe them away.
Finally, always finish with a good top coat to enhance the shine and durability of your nail art. This not only gives it a polished look but also acts as a protective layer, ensuring your stunning washi tape design lasts longer. Embrace the artistry of the moment-remove with care, and your nails will thank you!
Nail Care Tips After Using Wasai Tape
After applying washi tape nails, it’s crucial to treat your nails with the care they deserve. Nail art can be fun, but it can also leave your nails feeling a bit stressed. Proper aftercare not only maintains the health of your nails but also preserves the stunning designs you’ve created. Here are some essential tips to ensure your nails remain in top condition.
First things first, hydration is key. Using a good quality cuticle oil right after you finish your nail art can work wonders. Not only does it help nourish your cuticles, but it also keeps your nails flexible and prevents them from becoming brittle. Massage it gently into the nails and cuticles for the best results. If you don’t have cuticle oil, a light hand cream can work in a pinch, but oil targets the problem more effectively.
Another vital step is to protect your nails. After removing the washi tape, give your nails a chance to breathe. Avoid heavy-duty tasks like dishwashing or cleaning without gloves for at least a day. Your nail color and design might be durable, but prolonged exposure to water and chemicals can weaken them. If you need to use your hands, opt for protective gloves to shield your masterpiece.
Additionally, consider scheduling a mini nail care routine every week. This can include gentle buffing, a bit of filing to reshape them, and reapplying cuticle oil. Regular maintenance not only keeps your nails looking their best but it also allows you to spot any potential issues, such as chips or splitting, before they become serious. And if you play around with different washi tape designs often, establishing a routine will help you manage the health of your nails consistently.
Incorporating these simple yet effective tips into your nail care routine will ensure that your beautiful washi tape designs stay fresh and your nails healthy. Remember, healthy nails are the best canvas for your creativity!
Exploring Different Nail Shapes and Sizes
Nail shapes can drastically alter the overall look of your nail art, especially when you’re using vibrant washi tape. Understanding how different shapes and sizes work can turn a simple design into a stunning statement. Here’s what you need to know to make the most out of your washi tape nail art.
First, let’s talk about the classic nail shapes. The almond shape is elegant and elongates the fingers, making it perfect for intricate designs. Using washi tape on almond-shaped nails allows for the creation of stylish diagonal patterns or floral designs that can be accentuated by the natural curve of the nail. On the other hand, the square shape offers a more modern and edgy look. Bold, geometric tape designs shine on square nails, making a strong visual impact. If you prefer a softer touch, consider the oval shape, which combines the best of both worlds. It brings a gentle, feminine vibe to your nail art.
When it comes to size, it’s essential to appreciate the impact of both long and short nails. Long nails provide a larger canvas for more detailed designs, allowing for elaborate washi tape patterns. Experimenting with layers of different tapes can create a breathtaking effect. Conversely, short nails can also shine with washi tape. Opt for simple, clean designs that won’t overwhelm the nail surface. Try using tape to create stripes or a minimalist look which can make your fingertips appear chic and well-groomed.
Don’t forget about personalizing your approach! Play around with combinations of nail shapes and sizes. For instance, a coffin shape paired with short lengths can be a perfect choice for a trendy yet manageable look. Using washi tape creatively on each nail, perhaps applying different patterns or colors, can also be a fun way to express your individuality.
Lastly, ensure the health of your nails before diving into nail art. Well-maintained nails, regardless of shape or size, always serve as a better canvas. Keep them hydrated and trimmed, and remember that your designs will look their best when your nails are in top condition.
Amp Up Your Nail Art with Accessories
Elevating your washi tape nail art isn’t just about the tape itself; it’s about how you incorporate accessories to add flair and personality. Accessories can take your designs from simple to stunning, transforming everyday looks into jaw-dropping art pieces. Think beyond the tape-utilize gems, stickers, and even metallic accents that complement your washi tape patterns.
Must-Have Accessories for Nail Art
Using accessories smartly can enhance your designs without overwhelming them. Here are some essentials to consider:
- Nail Gems: Small rhinestones or jewels can bring sparkle and depth. Try placing them at the tips of your nails or in clusters near the cuticle for an eye-catching effect.
- Stickers: Add themed stickers that match the aesthetic of your washi tape. They’re perfect for filling in gaps in your design or layering over tape for added interest.
- Glitter: A sprinkle of fine glitter on top of the tape can create an ethereal look, especially for special occasions. Just a light dusting can turn matte designs into shimmery masterpieces.
- Top Coat: A high-gloss or matte top coat not only seals your designs but also can shift the effect of your washi tape, making colors pop or giving a uniform finish.
Creating Dimension
Mixing textures is key to sophisticated nail art. Consider layering washi tape over a base polish in contrasting colors. For instance, a vibrant washi tape over a neutral base can really stand out. Additionally, use 3D decorations like small flowers or lace for a striking dimensional effect. If you prefer a more understated look, try using a thin strip of washi tape as a border alongside a single gem for a clean yet elegant finish.
Remember, coordination is key. When choosing accessories, pick colors that either match or contrast beautifully with your washi tape. This approach ensures that your nails not only look well-crafted but also cohesive. Don’t shy away from experimenting; after all, nail art is about expressing yourself and having fun with your creativity!
Seasonal and Holiday-Inspired Washi Tape Designs
Seasonal nail art with washi tape offers a fun way to express your creativity and celebrate various occasions throughout the year. Whether it’s the warmth of summer, the festive cheer of winter holidays, or the blooming beauty of spring, washi tape designs can enhance your nail art game effortlessly. Picture this: a simple manicure elevated with whimsical patterns that align perfectly with the season. That’s the magic of washi tape-it’s versatile, easy to use, and comes in a plethora of designs to match any theme.
For spring, think floral washi tapes bursting with colors. These can be paired with pastel nail polishes to create a fresh, vibrant look. Layer different washi tapes to form a gradient effect or create delicate flowers directly on your nails. With washi tape, you can easily transition from base coats to intricate designs without the hassle of detailed painting techniques.
Summer nail art can be equally playful. Look for tapes featuring tropical motifs-think palm leaves or summer fruits. Combine these with bright, bold colors that reflect the season’s energy. Consider using stripes of washi tape on a nude background for a clean and chic look reminiscent of beach umbrellas. You can even cut the tape into shapes, like triangles or circles, to create unique patterns.
When autumn rolls around, embrace the seasonal palette. Use washi tapes adorned with leaves, pumpkins, and cozy motifs. Pair these with earthy tones for an inviting autumnal feel. One idea is to use a combination of orange and brown base colors, then add washi tape with gold accents to mimic the sun setting on fall days. The contrast will create a stunning visual effect.
Winter and holiday seasons open up a world of possibilities. From snowflakes to Christmas trees, there are countless designs to choose from. Try using metallic washi tape alongside rich jewel tones for a luxurious touch. A monochromatic design with silver or gold tape on a dark base can evoke the elegance of the season, making your nails the perfect complement to holiday attire.
Incorporating seasonal washi tape into your nail art isn’t just about aesthetics; it’s about creating an experience. Why not theme your nail designs with what you’re wearing or the events you’re attending? It’s an opportunity to express yourself, celebrate each season, and have fun experimenting with layers and color combinations. Start by selecting a few designs you love, and let your creativity run wild!
Inspiration: Top Trends in Washi Tape Nail Art
Nail art with washi tape is all the rage right now, and it’s not hard to see why. This simple yet effective medium allows for endless creativity and instant results. One of the hottest trends is mixing prints and patterns. Imagine vibrant florals paired with geometric shapes; the contrast is eye-catching and fresh. Just remember to balance busy designs with negative space to avoid overwhelming your nails.
Another exciting trend embraces the minimalist aesthetic. Think about using washi tape in neutral colors or simple stripes to create a chic look. This approach is perfect for the workplace or any occasion where you want to keep it subtle but stylish. A delicate tape along the tips can transform a basic manicure into a trendy half-moon style without the need for complicated techniques.
For those wanting to push creative boundaries, layering is a must-try. Layering different tapes not only adds dimension but allows you to play with transparency and textures. Use translucent tapes over bold colors for a softer look or combine metallic washi with bold hues to create a striking contrast. Play around with thickness too; mixing thin and wide tapes can yield unique outcomes that make your nail art truly stand out.
Finally, consider integrating seasonal themes into your designs. Bring out autumn leaves, winter snowflakes, or spring florals to reflect what’s happening in nature. This not only keeps your look timely but also draws inspiration from your surroundings, making each manicure feel special and significant.
Incorporating these trends into your nail art with washi tape is a fun way to stay ahead in the nail game. Whether you opt for something bold and creative or sleek and simple, there’s a trend for every taste. Experiment, enjoy the process, and let your nails become a canvas for your creativity!
Q&A
markdown
Q: What is washi tape and how can I use it for nail art?
A: Washi tape is a decorative tape made from traditional Japanese paper. You can use it for nail art by cutting it into shapes or strips and applying it over painted nails to create unique designs. It's versatile and easy to work with, making your nail art pop!

Q: Can I apply washi tape over nail polish?
A: Yes, you can apply washi tape over nail polish. Just make sure the polish is completely dry before placing the tape. This prevents smudging and allows for clean designs. For best results, use a top coat to seal the tape after application.

Q: How do I remove washi tape from my nails without damage?
A: To remove washi tape without damaging your nails, gently peel it off starting from one corner. If it sticks or pulls, use some nail polish remover on a cotton ball to dissolve the adhesive. This protects your nail surface from damage [7].

Q: What designs can I create with washi tape on my nails?
A: Washi tape allows for endless nail art designs! You can create stripes, polka dots, or even fun shapes by layering different colors and patterns. Experiment with seasonal themes or coordinate colors with your outfits for personalized looks.

Q: Do I need special tools to use washi tape on nails?
A: No special tools are required! Just have a pair of scissors for cutting the tape and tweezers for precise placement if needed. However, using a clear top coat can enhance the design and longevity of your nail art [8].

Q: Is washi tape suitable for all nail types?
A: Yes, washi tape is suitable for all nail types, including natural and artificial nails. Just ensure that the base nail polish is dry before applying the tape. It adheres well and can be easily removed from any nail surface [9].

Q: How do I ensure my washi tape nail art lasts longer?
A: To make your washi tape nail art last longer, apply a clear top coat over the tape once your design is complete. This seals the tape and protects it from chipping or peeling. Regular touch-ups can also help maintain the look [10].

Q: Can I use washi tape with gel nail polish?
A: Yes, you can use washi tape with gel nail polish! Just make sure to apply the tape before curing the gel. After applying the tape, cure it under the lamp, then finish with a top coat to secure the design. This will help it last through the gel's wear [11].
Future Outlook
Now that you know how to use washi tape for stunning nail art, it’s time to get creative! Remember, this simple technique can elevate your manicure game without breaking the bank. Don’t hesitate to experiment with colors and patterns; the combinations are endless! If you’re looking for more nail inspiration, check out our guides on minimalist nail designs and November nail art trends for cohesive looks that are sure to impress.
Feeling eager to start? Grab your favorite washi tapes today and transform your nails into a canvas that showcases your personal style! And hey, we love hearing from you! Share your creations in the comments below or tag us on social media. Subscribe to our newsletter for more tips and exclusive content, and be ready to elevate your nail art skills to new heights! Your next masterpiece is just a tap away!
Get our latest guides, news, and insights highlighted in your Google Search & AI Overviews.










