
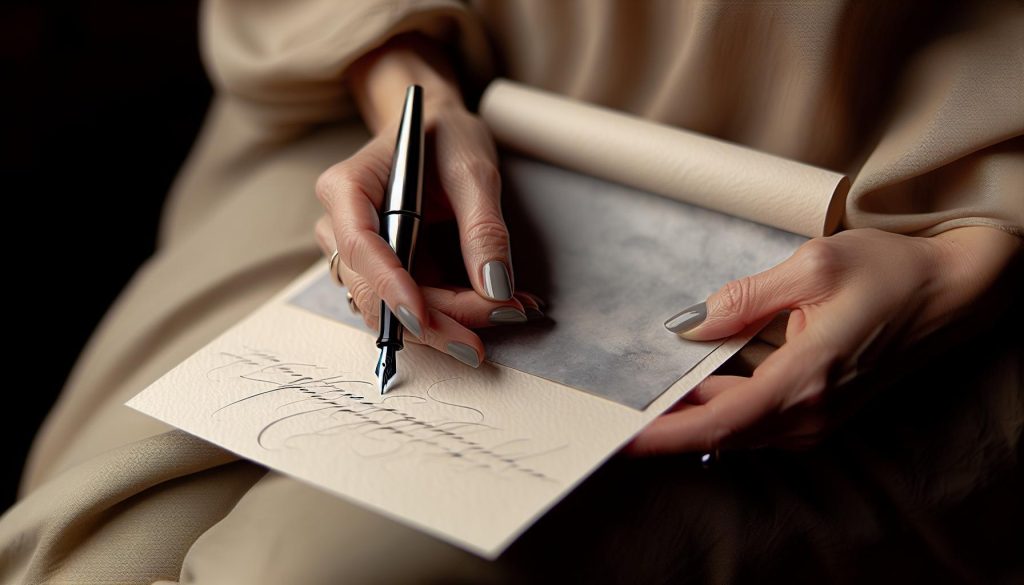
Holding a calligraphy fountain pen correctly is essential for achieving beautiful and controlled strokes. Did you know that how you grip your pen can drastically affect not just your comfort, but also the quality of your letters? Many beginners struggle with finding the right hold, leading to frustration and inconsistent results. In this guide, we’ll explore practical techniques to ensure you have a comfortable control over your fountain pen. Whether you’re an aspiring calligrapher or just looking to enhance your writing skills, mastering your grip will make a world of difference. Let’s dive into the art of holding a calligraphy fountain pen for optimal performance and enjoyment!
Choosing the Right Calligraphy Fountain Pen for Comfort
When it comes to calligraphy, comfort is as crucial as skill. The right fountain pen can transform your writing experience from frustrating to enjoyable. It’s all about finding a pen that feels good in your hand and works with your writing style. A heavy pen might strain your wrist during longer sessions, while a lightweight model could slip away from your grip. Look for a pen that strikes the perfect balance between weight and control, especially one with ergonomic designs that fit comfortably in your hand.
Many calligraphers swear by flex nibs, which allow for varying line thickness based on pressure applied. This versatility can enhance your work without the need for multiple pens. If you’re a beginner, consider starting with a set that includes various nib sizes to discover what suits you best. A set like the GC QUILL Calligraphy Set offers a range of nibs, providing an excellent opportunity to experiment without committing to a single style too early[3].
Don’t forget about the grip section of the pen. Some pens come with softer grips, which can alleviate pressure on your fingers and reduce fatigue. If you often find yourself getting sore hands, it may be worth investing in a pen with a cushioned grip or using grip enhancement products. Ultimately, choosing the right fountain pen involves a bit of trial and error, so take the time to test different models, and don’t hesitate to adjust until you find your ideal writing companion.
The Perfect Grip: Understanding the Basics
When it comes to calligraphy, your grip on the pen can make or break your experience. A solid grip not only improves the control you have over your strokes but also significantly impacts your comfort level. Many budding calligraphers overlook this aspect and end up developing bad habits that make their practice more taxing than it needs to be. The truth is, a proper grip is essential for achieving beautiful, consistent lettering without strain.
First, let’s talk about how you should hold a calligraphy fountain pen. The ideal grip allows your fingers to interact with the pen in a way that promotes fluid movement. Hold the pen lightly, about an inch above the nib, using your thumb, index finger, and middle finger. The thumb and index finger should form a C shape around the barrel, while your middle finger rests underneath for balance. This positioning provides a stable yet relaxed grip, allowing for better control during intricate strokes.
Even the choice of pen matters. Some pens are designed with ergonomic grips that contour to your fingers, minimizing fatigue. Look for options that feature cushioned grips or oblique designs, which can benefit both right- and left-handed writers. If you’re experiencing discomfort, it may be time to explore different pen models to find one that fits your hand better.
Lastly, remember to keep your hand relaxed. Tension leads to shakylines and can quickly wear you out. Make a conscious effort to maintain a gentle grip and take breaks as needed. Your grip should feel effortless, and with a bit of practice, you’ll discover what works best for you. This careful attention to your grip will set you up for success in your calligraphy journey, helping you to achieve clean and elegant letters with comfort and ease.
Holding Techniques for Effortless Control
Ever noticed how the way you hold your pen can change the entire flow of your writing? It’s like a secret weapon. Mastering the holding technique is crucial not just for comfort, but for achieving that effortless control that makes your calligraphy shine. When you grip your fountain pen correctly, you can move smoothly across the page, creating beautiful strokes that feel as good as they look.
Start by ensuring your hold is light yet secure. A common mistake is gripping too tightly, which leads to fatigue and shaky lines. Instead, aim for a relaxed grip where your thumb and index finger form a gentle “C” around the pen barrel, about an inch above the nib. Your middle finger should rest underneath for support. This configuration stabilizes the pen, giving you the freedom to maneuver without straining your wrist or fingers.
Using your wrist’s natural motion is also essential. Incorporate its movement rather than making your whole arm do the work. By keeping your wrist relaxed and pivoting from it, you’ll find it easier to create consistent strokes. Remember that practicing different angles can help too-experiment with how tilting your pen affects line thickness and flow. Training your hand to find comfort in various positions will enhance your overall control and style.
Finally, don’t underestimate the importance of practice. Spend some time just doodling or practicing your letters while focusing solely on your grip. This kind of deliberate practice is what hones your muscle memory. It’s more than just writing; it’s developing an intuitive sense of control that elevates your calligraphy. Each time you sit down, remind yourself to relax and adjust your grip as needed. Your hand should feel at home with the pen, allowing your creativity to flow without a hitch.
Finding Your Ideal Hand Position
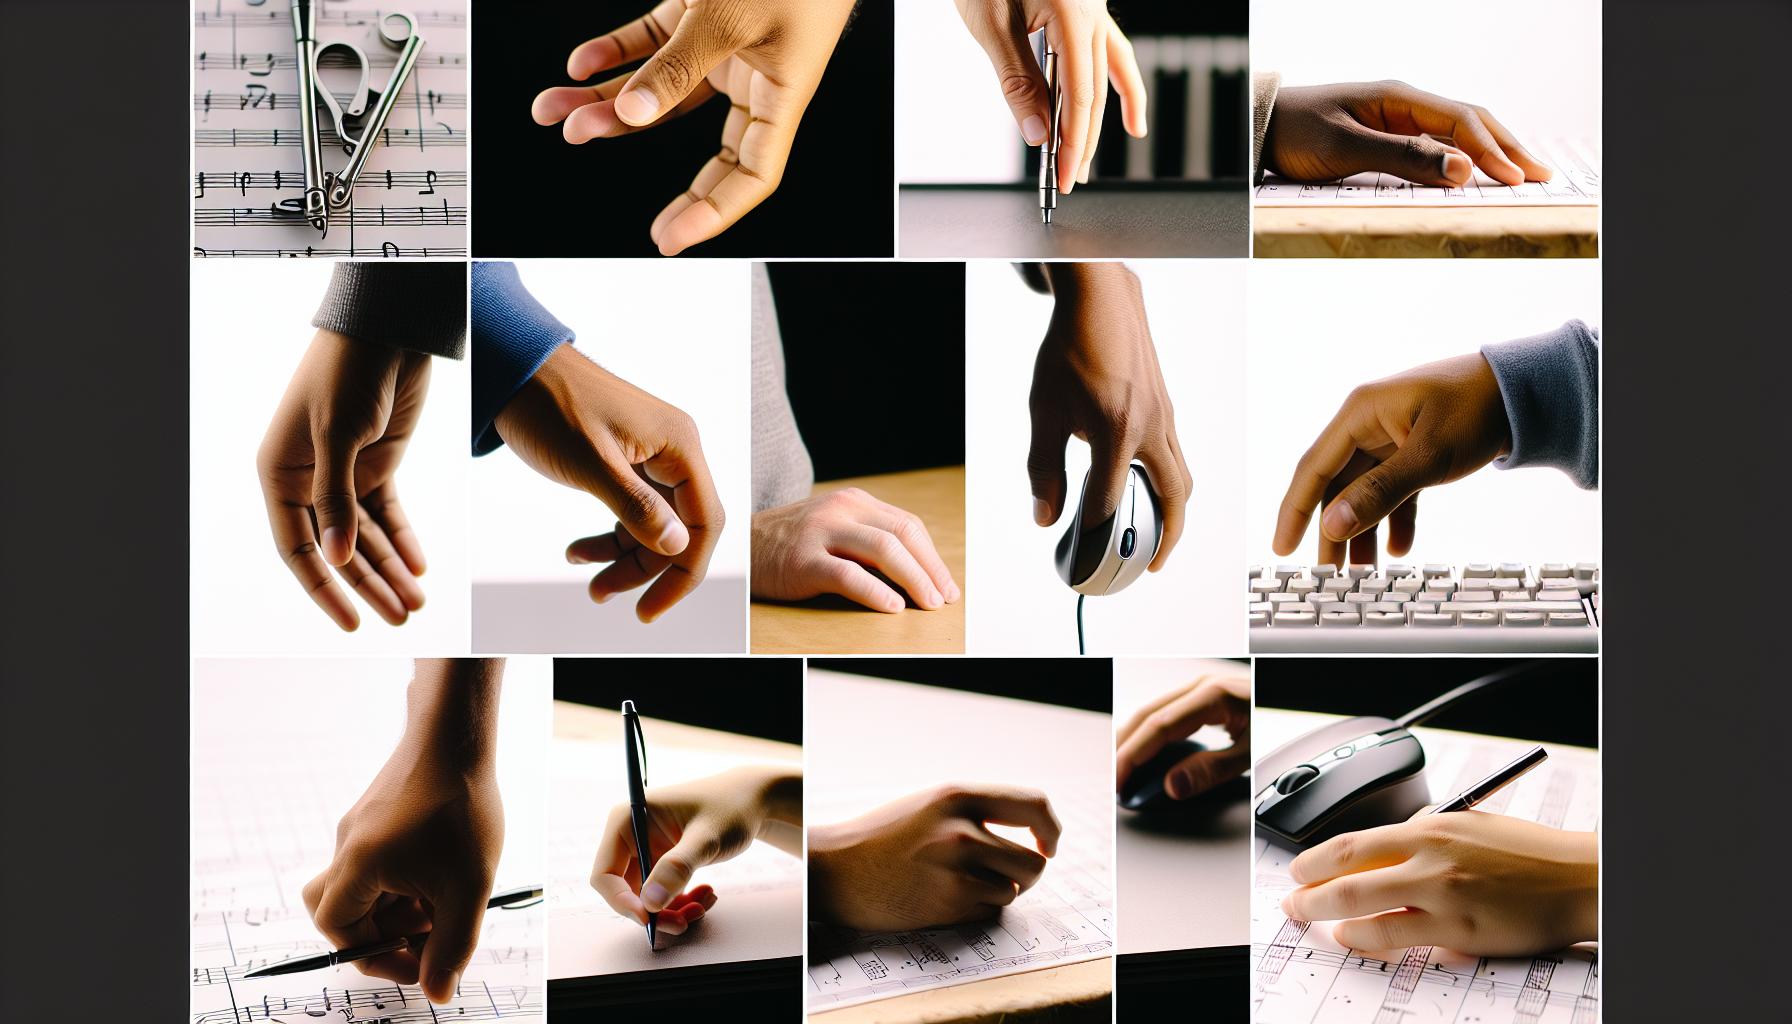
Finding the ideal hand position while holding your calligraphy fountain pen can dramatically impact your writing experience. A well-positioned hand not only enhances your control but also reduces fatigue, allowing you to focus on creativity rather than discomfort. It’s all about finding that sweet spot where comfort meets precision.
Start by experimenting with how your pen rests in your hand. You want it to be balanced and secure, without excessive pressure on any one finger. A helpful technique is to position your hand so that your wrist is relaxed and your fingers are slightly curved. This allows for a natural flow of movement. Aim to keep your hand just above the paper, ideally around an inch from the nib. This position not only provides you with better visibility but also allows you to maintain a firm yet gentle grip.
In terms of finger placement, your thumb and index finger should form a loose grip around the barrel, while your other fingers support it from below. The middle finger acts as a stabilizer, and your ring and pinky fingers can rest lightly against the paper for additional support. This configuration not only keeps the pen steady but also provides you the flexibility to make minor adjustments as you write.
Remember, it’s crucial to consider your natural hand position. Pay attention to how your hand feels during practice-if you find yourself tense or straining, pause and readjust. Regular practice can help you evaluate what positions lead to smoother, more controlled strokes. Don’t hesitate to try different angles and grips, as variety can reveal new techniques that suit your unique style. By fine-tuning your hand position, you’ll achieve a level of control that not only enhances your lettering but also makes the process enjoyable.
Common Mistakes When Holding a Fountain Pen
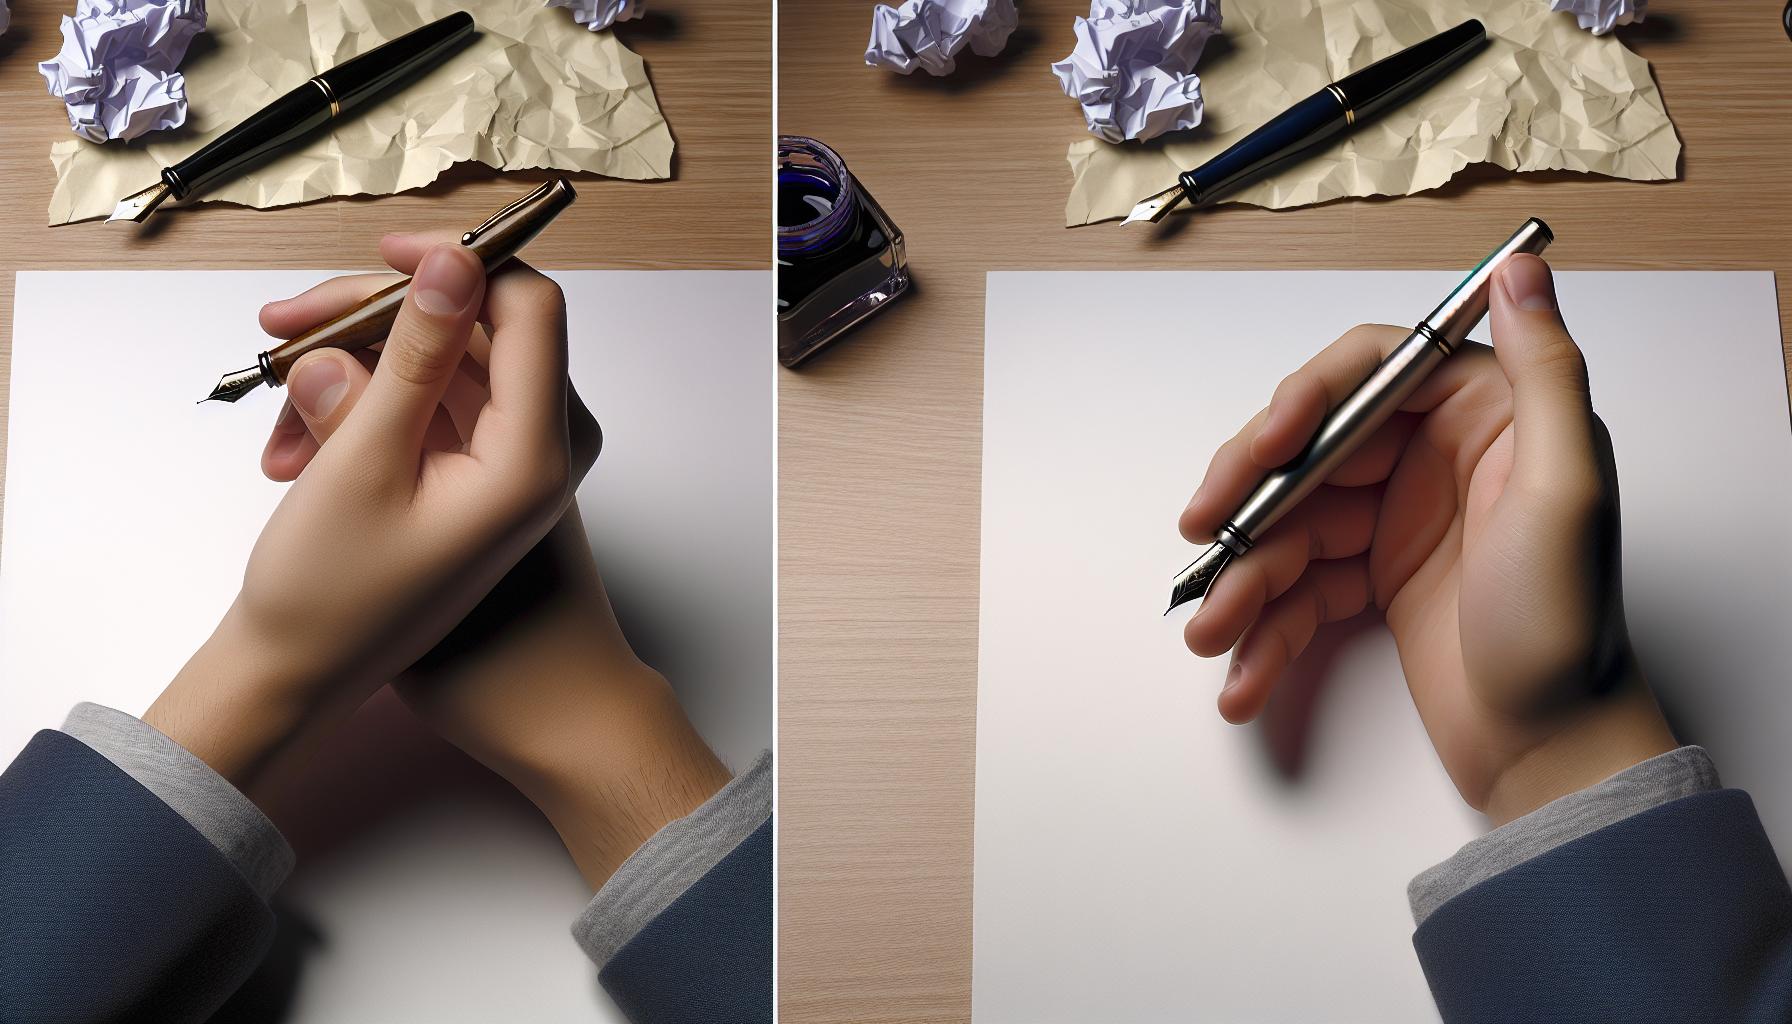
When it comes to wielding a calligraphy fountain pen, the small details can make a world of difference. Many beginners unknowingly fall into patterns that not only hinder their progress but also lead to discomfort. Here are some common pitfalls and how to avoid them:
One of the biggest mistakes is gripping the pen too tightly. This can cause fatigue and may even affect your handwriting quality. Your grip should be firm enough to control the pen, but loose enough to allow for fluid movement. Think of it as cradling a small bird: you want to secure it without squeezing. If you find your fingers tense, check your posture. Often, discomfort comes from hunching over or straining your wrist.
Another frequent error is neglecting the angle of the pen. The nib’s angle critically influences ink flow and line quality. Ideally, hold the pen at approximately a 45-degree angle to the paper. If you tilt it too much, you may end up scratching the surface or skipping ink. Experiment with this angle while writing: slight adjustments can lead to significantly better results.
Lastly, don’t ignore the importance of positioning your hand correctly. Many new calligraphers keep their hand too high or too low above the paper, which can hinder control. Your hand should hover just above the writing surface, allowing the nib to glide smoothly. Use your other fingers for balance-your pinky can provide a helpful anchor point.
In conclusion, consciously adjusting these often-overlooked aspects of your grip and positioning can transform your calligraphy experience. Embrace these changes, and you’ll find that writing becomes more enjoyable and effortless, allowing you to focus on creativity instead of discomfort.
Tips for Maintaining Comfort During Long Sessions

Long writing sessions can be both rewarding and exhausting, especially when you’re fully immersed in the art of calligraphy. To keep that creative flow strong and prevent discomfort from creeping in, consider a few practical tips. First, take regular breaks. Every 20-30 minutes, set the pen down, stretch your fingers, wrists, and shoulders. These simple moves help relieve built-up tension and keep your blood circulating, ensuring you’re ready to dive back into your work recharged.
The surface you write on makes a difference too. Opt for a comfortable, supportive surface that’s at the right height. If you’re hunched over a table that’s too low, it’ll strain your back and neck over time. A slight tilt to your writing pad can also make writing easier on your wrists. You might even consider using a sloped desk or an incline board to promote a natural hand position.
Another key aspect is choosing the right grip for your pen during those longer sessions. Experiment with your grip’s pressure-a lighter hold might enhance comfort. If your fingers start to ache, try various finger placements or grips. Some calligraphers benefit from using a pen with a wider barrel, which can reduce strain on your fingers and promote a relaxed hold.
Lastly, think about your posture. Maintain a neutral spine, and keep your elbows at about a 90-degree angle. If you find yourself leaning in, you might be inviting tension unnecessarily. Consider investing in a comfortable chair that supports proper posture, making your writing experience all the more enjoyable. Creating a harmonious workspace is essential; the more at ease you are, the more creative your calligraphy will flow.
How to Adjust Your Grip for Different Styles
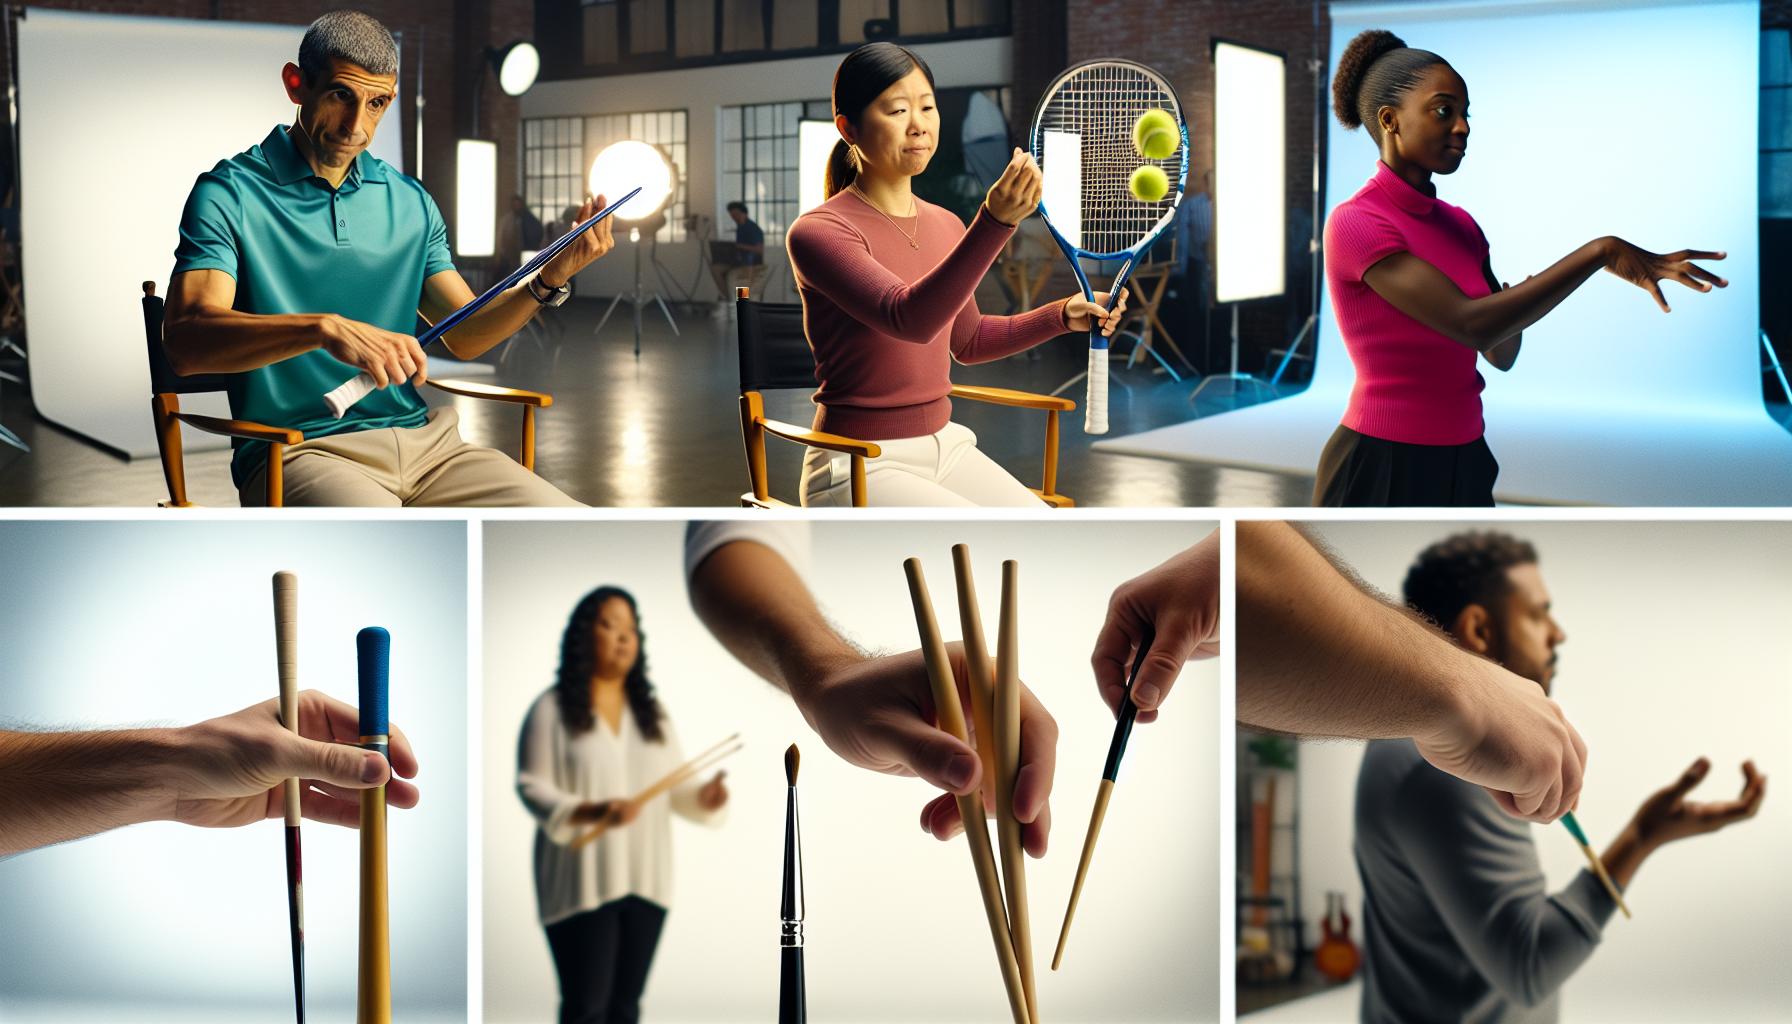
Finding the right grip for your fountain pen while embracing various calligraphy styles can make a world of difference in comfort and control. Each style-whether it’s modern calligraphy or traditional scripts-requires slight adjustments to your grip to optimize fluidity and precision. For instance, if you’re working with a broad nib, you’ll typically need to maintain a firmer grip, allowing the pen to glide smoothly across the paper. This helps to achieve the characteristic thick and thin lines that define such styles.
In contrast, delicate scripts or intricate designs often benefit from a lighter grasp. A looser hold not only provides better flexibility but also allows for more nuanced movements. Experiment with positioning your fingers; for instance, shifting your pointer finger closer to the nib can give you enhanced control for finer details, while moving it back can offer stability for broader strokes.
Also, consider your wrist and hand positioning. A relaxed wrist will help prevent strain, especially during longer sessions. If you’re focusing on a style that demands more detail, try elevating your wrist slightly and angle your hand. This positioning not only aids visibility but also permits a greater range of motion.
Ultimately, the key is practice and personalization. Don’t hesitate to try various grips and hand positions until you discover what feels most natural for you. This journey will not only improve your calligraphy skills but also make the process far more enjoyable. Embrace the experimentation, and remember: the pen is merely an extension of your creativity.
The Role of Ink and Paper for Better Control
When it comes to mastering calligraphy, the right ink and paper can significantly impact your control and overall experience. Many beginners underestimate this aspect, yet it’s essential. The choice of ink not only affects the flow of your pen but also influences the richness and character of your strokes. High-quality inks, particularly those designed for calligraphy, should have a consistent viscosity and vibrant pigmentation. In my experience, using a fountain pen ink that’s formulated for smooth flow prevents skipping and scratchiness, allowing you to focus more on your technique rather than battling with your tools.
Pairing your ink with the appropriate paper is equally crucial. The texture and weight of the paper can either hinder or enhance your writing. For smooth and precise lines, choose paper that’s known for its smooth finish. Ideally, look for papers with a weight of at least 100 gsm, which can absorb ink without bleeding while still allowing for crisp lines. Test various paper types-some might even benefit from a slight tooth, providing feedback on your pen, while others should be as smooth as glass for fluid strokes.
Remember that environmental factors such as humidity and temperature can also affect ink performance. A humid environment can cause ink to flow too freely, leading to smudging, while a dry setting might cause the ink to clog. If you live in an area with significant changes in climate, pay attention to how your ink behaves under different conditions and adjust your materials accordingly to maintain optimal performance.
Lastly, don’t be afraid to experiment. Combine different inks with various papers to discover what works best for your unique writing style. Each combination can yield different results, and finding the right match can transform your calligraphy into a more enjoyable and controlled experience. Embrace the exploration-after all, this journey is just as much about discovery as it is about technique.
Why Left-Handers Face Unique Challenges
Left-handed calligraphers often face distinct challenges that can make the pursuit of beautiful writing a bit more complex. One of the primary hurdles is the ink smudging issue. When writing from left to right, left-handers tend to drag their hand across freshly laid ink, leading to smears and smudges that mar their work. This not only affects the aesthetic outcome but can also be frustrating and discouraging, especially for those new to calligraphy.
To combat this, left-handed writers should consider using fast-drying inks or specific paper types that minimize ink absorption. Opting for smoother papers can also help, as they allow the pen to glide effortlessly without too much pressure, thus reducing the risk of dragging. Additionally, lefties might find it beneficial to turn their paper at a slight angle. This adjustment not only improves visibility but can also keep the hand away from the wet ink.
Hand position is crucial, too. A relaxed grip and a comfortable angle can dramatically impact control and comfort. Left-handed calligraphers often benefit from holding the pen in a way that allows for a more natural arm movement rather than bending the wrist at awkward angles, which can lead to tension and discomfort during long writing sessions. Exploring various grips and adjusting the pen’s angle might take some experimentation, but finding what works best will enhance both comfort and flow.
Finally, practice is essential. With time and persistence, left-handed calligraphers can overcome these challenges. Looking into left-handed calligraphy resources or joining communities can provide not only tips and tricks but also motivation and support from fellow left-handers who share similar struggles. Embracing these unique challenges can ultimately lead to a distinct and personal style that showcases individual creativity.
Advanced Techniques for Calligraphy Mastery
Mastering calligraphy isn’t just about the right pen or paper; it’s also about refining your technique to achieve a fluid, beautiful script. One of the most overlooked aspects of calligraphy mastery is the advanced techniques that elevate your writing from basic to breathtaking. For instance, developing a consistent rhythm when writing can significantly enhance your control and the fluidity of your strokes. This means finding a pace that feels comfortable and allows your hand to move smoothly across the page, reducing the likelihood of pressure variations that can lead to inconsistent ink flow.
To improve your execution, it’s vital to practice the foundational strokes repeatedly. Create practice sheets focusing solely on upstrokes and downstrokes until they feel muscle-memorized. Use slow, measured movements to lay the groundwork for speed when you’re comfortable, and don’t shy away from varying the pressure you apply. Remember, lighter upstrokes and heavier downstrokes create the characteristic look of calligraphy; mastering these will give your letters dimension and personality.
Consider experimenting with different grips and angles to maximize comfort and precision. Although a traditional grip is effective, variating it can yield surprising results. Some calligraphers find that employing a relaxed grip with the wrist slightly raised leads to better flow and control, particularly on longer writing sessions. This adjustment not only promotes better posture but also allows for smoother transitions between letters, which is crucial for achieving that polished look.
Lastly, always be mindful of the mental aspect of calligraphy. Your mindset can heavily influence your performance. Engaging in mindful practices, such as visualization before you write, can set a positive tone and find your flow. Visualize each stroke as you practice, and don’t forget to enjoy the process of creation-it’s as much about the journey as it is about the end result. By integrating these advanced techniques, you’ll not only enhance your skills but also ensure that every piece you create reflects your growth as an artist.
Ergonomics and Calligraphy: Why It Matters
It’s not just about what you’re writing with; it’s about how you’re writing. Poor ergonomics can turn a beautiful calligraphy practice into a painful experience. Calligraphy can demand long hours of practice, and an awareness of your posture and grip can make all the difference. Understanding ergonomic principles is essential to prevent fatigue and discomfort that can derail your artistic flow, turning each session into a slog rather than a pleasure.
Strong ergonomics fosters an efficient writing experience. Your chair, table height, and pen grip should all work in harmony to support your hand’s natural movement. For instance, adjust your chair so that your elbows rest comfortably on the table without straining your wrists. A relaxed position allows your hand to flow freely, reducing the risk of cramps or stiffness. The goal is to maintain a natural posture: shoulders back, back straight, and wrists aligned as you guide your nib across the paper. If you find yourself leaning forward or hunching over, it could be time for an adjustment.
Another crucial factor is your grip on the pen. A common mistake is holding the pen too tightly, which can lead to tension in your hand and fingers. Instead, strive for a grip that feels secure yet relaxed. Techniques such as “the tripod grip” can be beneficial, where the pen rests on the pads of your fingers. This method allows for better control without sacrificing comfort, allowing you to write for extended periods without discomfort.
Lastly, keep in mind that the tools you choose can also impact your ergonomic setup. Fountain pens designed with comfortable grips can alleviate strain. Selecting the right ink and paper is equally vital; smoother paper will reduce friction, letting your pen glide effortlessly. By prioritizing ergonomics in your calligraphy practice, you not only enhance your control and precision but also protect your most valuable assets: your hands and wrists. Cultivating this mindful approach to your craft transforms not only how you write but how you feel while doing it.
Personalizing Your Fountain Pen for Enhanced Comfort
Finding the right calligraphy fountain pen isn’t just about choosing a pretty design or popular brand; it’s about personalizing your pen for maximum comfort and control. A pen that feels natural in your hand can transform your writing experience and make long sessions enjoyable instead of painful. One fundamental aspect to consider is the grip. Some pens come with ergonomic grips designed to reduce fatigue, while others can be fitted with soft rubber or silicone grips. Experimenting with different styles until you find what feels best for you is key.
Moreover, the weight of the pen plays a crucial role. You might prefer a lightweight pen for prolonged practice, as it can reduce strain on your wrist and fingers. However, some calligraphers prefer the heft of a heavier pen, which can provide a satisfying sense of control. The balance of the pen is equally important; a well-balanced pen allows for a smoother writing motion, reducing the effort needed to control it.
It’s also worthwhile to pay attention to nib size and material. A nib that matches your writing style can significantly enhance comfort. For instance, a broader nib can create a more elegant line, while a finer nib might give you the precision you’re aiming for. You might even consider customizing or swapping nibs based on the project at hand.
Lastly, personal touches like adding a unique ink color or coordinating your pen with your favorite notebook can make the experience more enjoyable. Personalization extends beyond just aesthetics; it’s about creating a writing tool that resonates with your style and enhances your creativity. Ultimately, a personalized fountain pen isn’t just about comfort-it’s about amplifying your artistic expression.
Q&A
Q: How should I position my fingers when holding a calligraphy fountain pen?
A: Hold the pen between your thumb and index finger, allowing your ring finger to rest against the barrel for support. This grip provides *stability and control*, which is essential for smooth, flowing strokes. Experiment with positioning to find what feels most comfortable for you.
Q: What grip techniques can improve my calligraphy writing?
A: The *triangular grip* is effective: your index finger should be on top, while the thumb and middle finger hold the sides. This allows for greater *control and precision*. Practice this grip to enhance your lettering, as discussed in the “The Perfect Grip” section of our article.
Q: Can adjusting my grip change my writing style?
A: Yes, adjusting your grip can significantly influence your writing style. A relaxed grip allows for fluid movement, while a firmer grip may yield more defined lines. Explore different grips as outlined in the sections on *Holding Techniques* and *Adjusting Your Grip* for varied results.
Q: How do I prevent hand fatigue when using a fountain pen?
A: To prevent hand fatigue, take regular breaks and *alternate your grip*. Use ergonomic holding techniques and maintain a relaxed hand position. Additionally, ensuring your writing surface is comfortable can enhance your experience, just as mentioned in our tips for maintaining comfort.
Q: What common mistakes should I avoid while holding a fountain pen?
A: Common mistakes include gripping too tightly and holding the pen at incorrect angles. A proper grip is essential for smooth writing, as outlined in the “Common Mistakes When Holding a Fountain Pen” section. Focus on achieving a *natural, relaxed hold*.
Q: How can I tell if my fountain pen grip is correct?
A: Your grip is likely correct if you feel *comfortable* and have good control while writing. If your hands cramp or the strokes feel uneven, reassess your grip and make adjustments as suggested in our article’s sections on grip techniques and hand positioning.
Q: Why is the grip so important in calligraphy?
A: The grip is crucial because it directly affects your control, comfort, and writing style. A solid grip enables smoother strokes and reduces mistakes, ensuring your calligraphy looks polished. Discover more in the “Ergonomics and Calligraphy” section for optimal grip strategies.
Q: What should I look for in a fountain pen for calligraphy?
A: When selecting a fountain pen for calligraphy, consider its *weight, grip, and nib size*. An ergonomic design aids in comfortable writing. For more insights on choosing the right pen, refer to the article’s “Choosing the Right Calligraphy Fountain Pen for Comfort” section.
Future Outlook
Now that you’ve mastered how to hold a calligraphy fountain pen for optimal comfort and control, it’s time to put your skills to the test! Remember, practice makes perfect. Grab your favorite pen and some beautiful paper, and start creating. If you’re curious about different calligraphy styles or want to dive deeper into techniques, check out our guide on Creative Calligraphy Styles and Common Mistakes to Avoid in Calligraphy.
Don’t forget to join our newsletter for tips and exclusive content that can elevate your calligraphy game even further. Have questions or want to share your progress? Drop a comment below! Let’s keep the conversation going and inspire each other on this artistic journey. Your next masterpiece awaits-embrace it today!
Get our latest guides, news, and insights highlighted in your Google Search & AI Overviews.










