

Holding your calligraphy pen correctly is more than just a technique-it’s the foundation of beautiful writing. Did you know that pen position can significantly impact your fluidity and comfort while writing? Many aspiring calligraphers struggle with this crucial aspect, leading to frustration and uneven strokes. But don’t worry; mastering the proper grip allows you to unleash your creativity with confidence and precision. Finding the right balance not only improves your lettering but also enhances your overall calligraphy experience. Curious to learn the secrets behind a perfect pen hold? Let’s dive into the essential tips that will elevate your calligraphy skills and help you create stunning works of art.
To hold a calligraphy pen correctly, grip the barrel loosely with a relaxed tripod hold approximately one inch above the nib, maintain a consistent 40 to 45-degree angle to the baseline, and steer your strokes using whole-arm forearm movement rather than flexing the wrist.
How the Right Grip Boosts Calligraphy Skills
The grip you use when holding your calligraphy pen can be the difference between beautiful lettering and frustrating scribbles. It’s not just about how you hold the pen; it’s about how that hold impacts your control and fluidity. A proper grip can enhance your skills significantly, allowing you to express your creativity without unnecessary tension or fatigue. When you get your grip right, you’ll find that your letters flow more naturally. This isn’t just a theory-countless practitioners have experienced this firsthand.
When gripping the pen, aim for a relaxed hold. Tension in your hand can lead to shakiness and uneven strokes. Instead of squeezing the pen with your fingers, let it rest lightly between them. Your thumb and index finger should form a gentle triangle around the barrel, while your middle finger provides support underneath. This not only gives you better control but also encourages a more relaxed wrist and arm, promoting fluid movement. Experiment with the positioning of your fingers; you might find that slight adjustments can lead to significantly smoother writing.
The way you grip your pen also influences your ability to adapt to different writing styles. For instance, a lighter grip is typically best for flourish-heavy scripts, while a firmer grip might be necessary for precise, controlled strokes. This balance is crucial, especially when transitioning between styles. By actively adjusting your grip based on the demands of each style, you will develop a versatile technique that enhances your overall calligraphy skills.
As you practice, keep a mindful eye on your grip. Record yourself or have a peer observe your technique. Often, we are unaware of the small nuances in our grip that can lead to bigger problems like hand strain or inconsistent lettering. Refining the simplest aspect of your calligraphy-your grip-can lead to a world of difference in your skill level.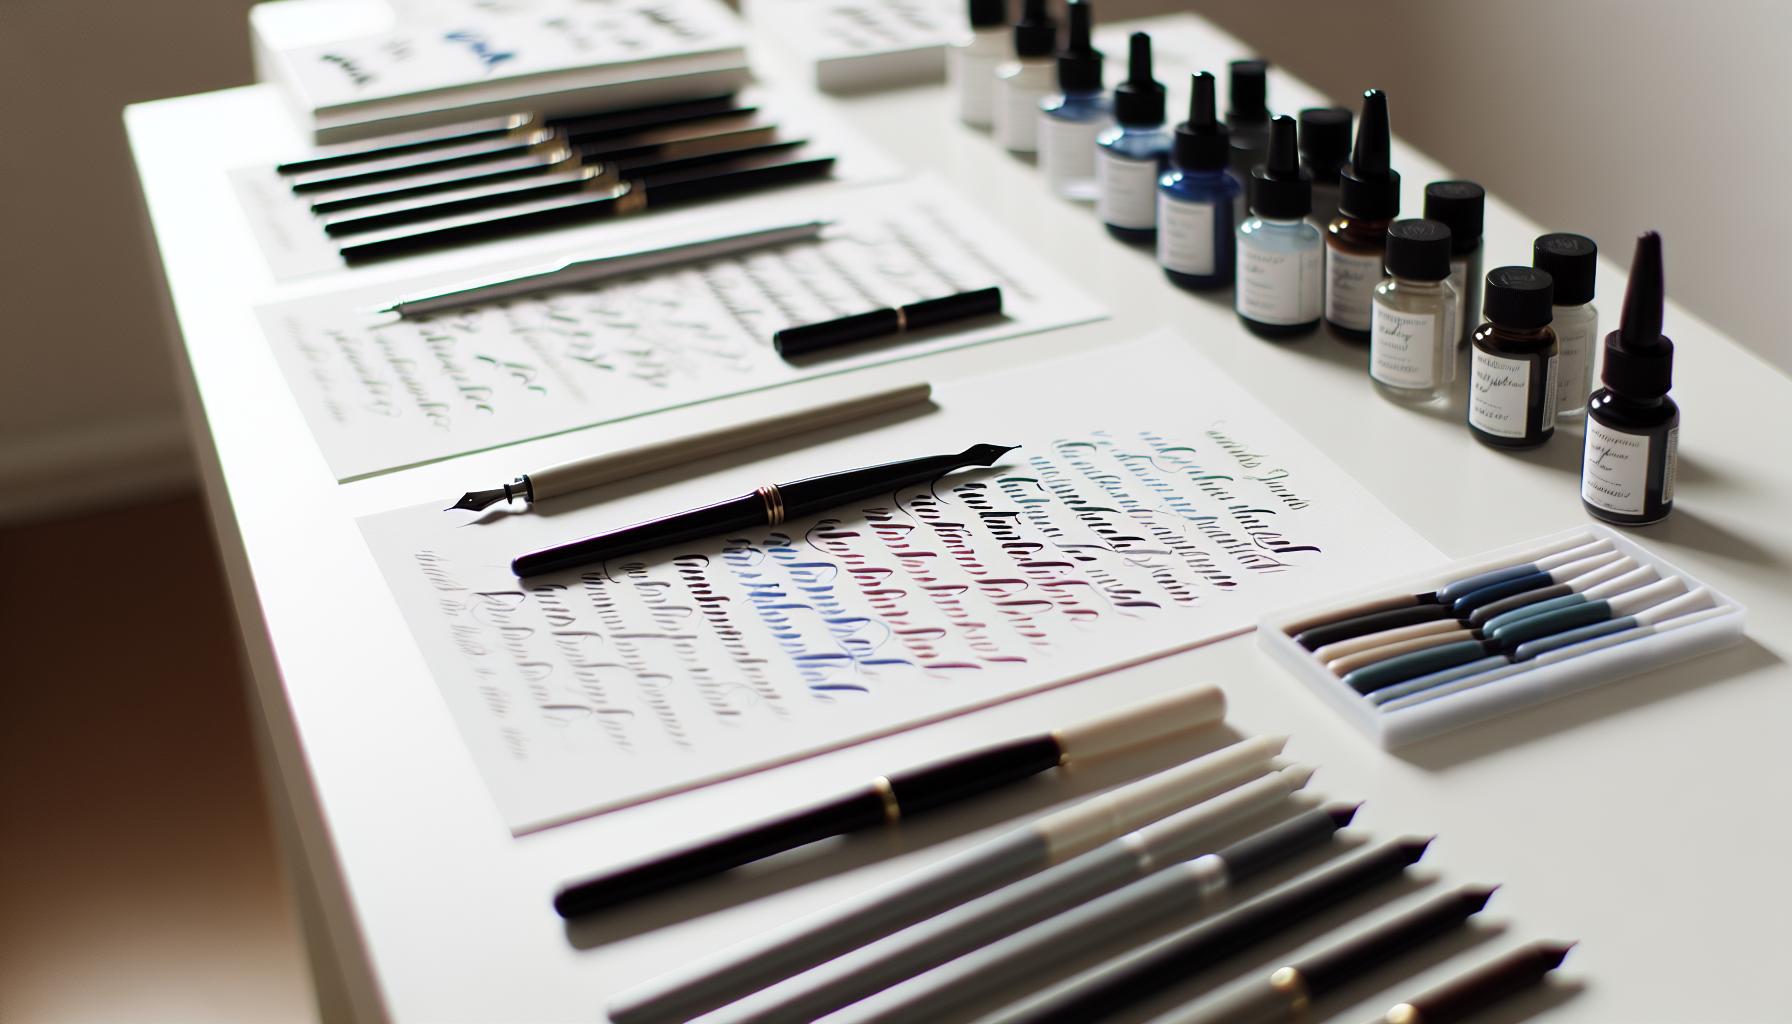
Essential Calligraphy Pen Types Explained
When diving into the art of calligraphy, the type of pen you choose can profoundly impact your results. Not all pens are created equal, and understanding the various options available can help you select the right tool for your desired style. Each pen type brings unique features that cater to different techniques, levels of control, and personal preferences.
Fountain Pens
Fountain pens are a popular choice for many calligraphers due to their smooth flow and versatility. With a variety of nib sizes available, you can easily create delicate lines or bold strokes. The nib’s flexibility allows for beautiful variations in line thickness, which is essential in most calligraphy styles. Fountain pens are particularly great for beginners since they provide excellent control and a consistent ink flow, minimizing the risk of blobs or skips in your lettering.
Bristol Board Calligraphy Pens
For those serious about broad-edged styles like Gothic or Italic, wielding a traditional dip pen with a broad nib is essential. These pens require a bit more skill and practice since they rely on the calligrapher to dip into ink continuously. However, the broad nibs offer a unique ability to create thick downstrokes and thin upstrokes, enhancing the character and elegance of your lettering. Experiment with different nibs to find one that suits your comfort and style.
Brush Pens
Brush pens have surged in popularity, particularly among modern calligraphers. They provide a unique blend of brush versatility with a pen’s convenience. The flexible tips allow for varying line thickness, making them ideal for scripts that incorporate flourishes and dynamic strokes. If you’re intrigued by casual lettering styles or hand lettering, explore brush pens-they can easily be customized and offer a tactile experience that’s different from standard pens.
Gel and Felt Tip Pens
For those just starting out or looking for an easy-to-use option, gel and felt-tip pens can be wonderful tools. They come in a range of colors and sizes and are typically less intimidating than fountain or dip pens. While they may not provide the same level of control for traditional calligraphy, they allow you to practice forms and strokes with minimal fuss and can still produce attractive results, especially in informal styles.
Choosing the right pen is more than just preference; it’s about finding what feels good in your hand and matches your calligraphy goals. Test out different types and see what resonates with your style. Your pen is an extension of your creativity, so pick one that enhances your grip and flow for the best writing experience.
Mastering Your Hand Position for Flexibility
When you’re delving into calligraphy, the way you hold your pen can make all the difference. Your grip isn’t just about control; it’s about creating a fluid, relaxed motion that allows your creativity to flourish. If you struggle with flexibility in your strokes, refining your hand position is key. A proper grip promotes not only mastery of technique but also encourages an enjoyable writing experience, reducing strain and fatigue.
To start, position your thumb and index finger lightly but securely around the pen barrel. This grip should mimic holding a delicate tool, where you’re not crushing the pen but allowing it to rest gently between your fingers. Your middle finger should support the pen from beneath, providing balance. A common mistake is gripping too tightly, which can lead to stiffness-all the more reason to practice a lighter touch. This setup allows your wrist and arm to do the heavy lifting while your fingers guide the pen, keeping your hand relaxed.
Finding Your Balance
Each calligrapher has unique preferences, so take some time to experiment. A slightly tilted grip can enhance flexibility, giving you greater control over your angle and pressure. Here are a few tips to refine your hand positioning:
- Try writing with different angles. Shifting the angle of your hand can lead to varied line thickness and character in your strokes.
- Practice making small circles or loops to loosen up your fingers and wrist. This helps in achieving a more fluid motion.
- Pay attention to your body posture. Keep your elbow elevated and your wrist straight to avoid cramping during longer sessions.
Remember, flexibility in calligraphy is about more than just hand position; it’s also about allowing your entire arm to move as one cohesive unit. This holistic approach can significantly enhance your control and creativity, transforming the way you express yourself on the page. With the right grip and mindful practice, you’ll notice improvements in both the fluidity of your strokes and the overall enjoyment you get from this beautiful art form.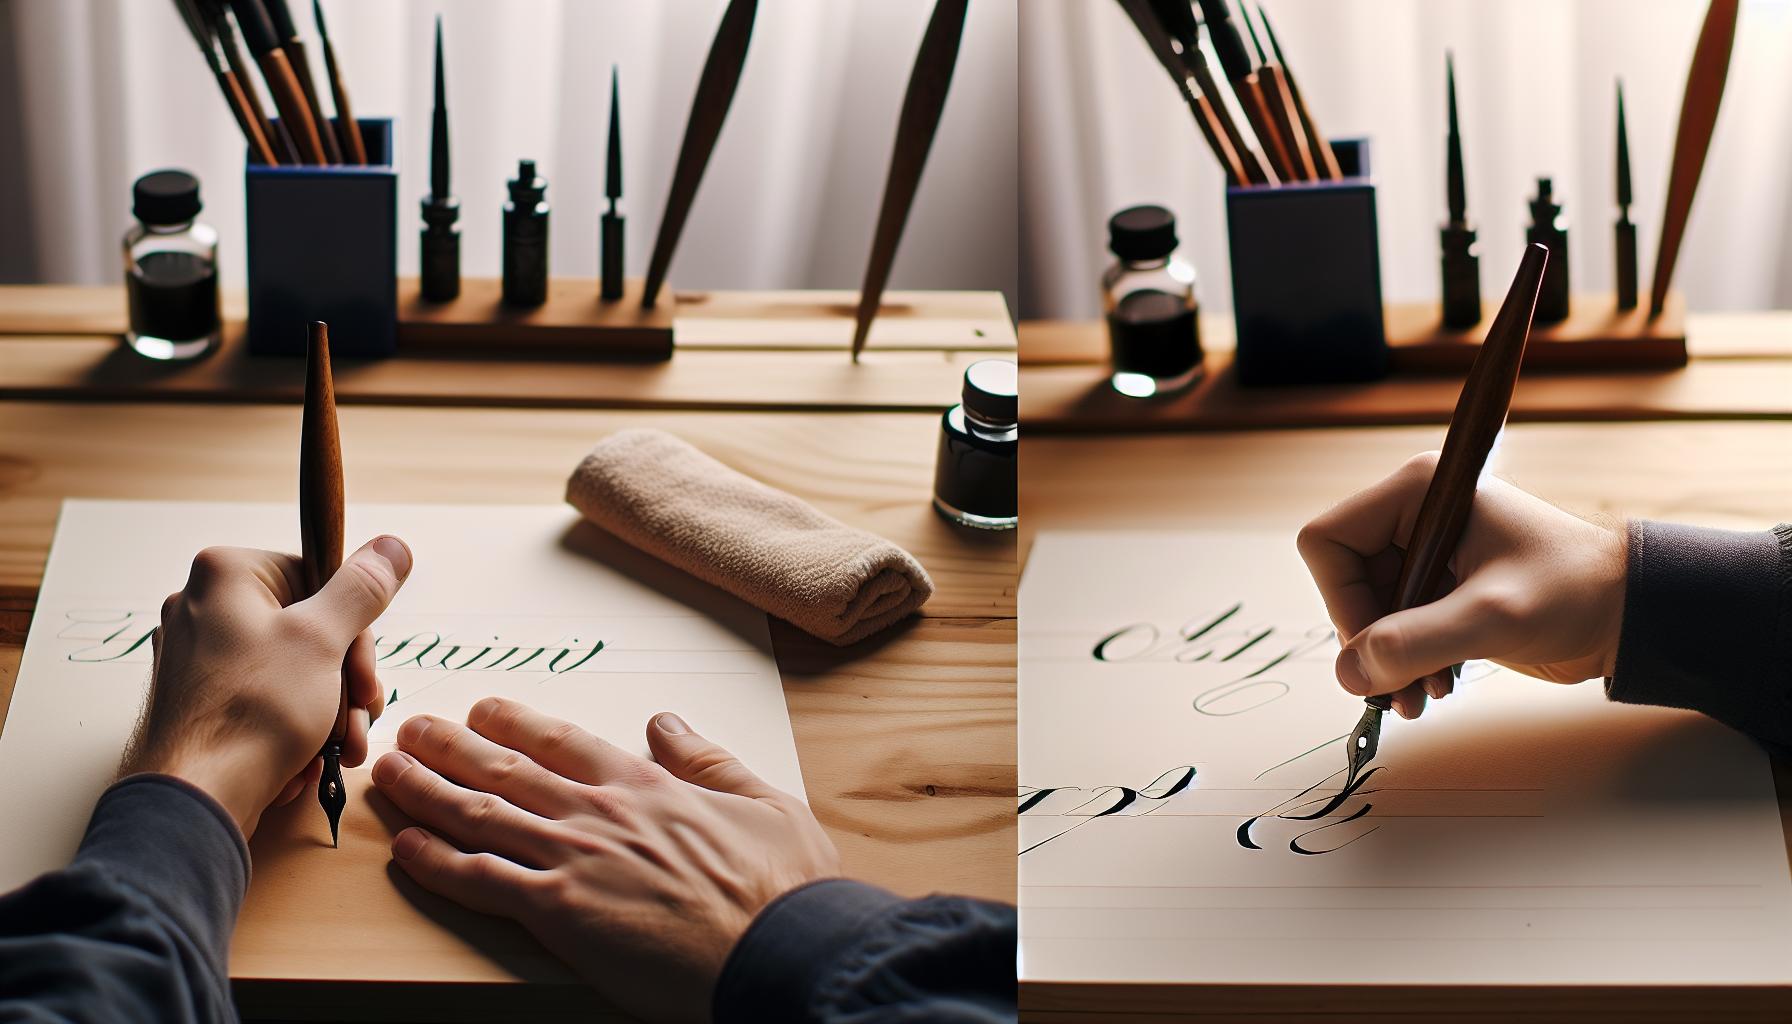
Common Mistakes in Calligraphy Grip
Too many budding calligraphers make the same rookie mistake: holding their pen like it’s a baseball bat instead of a fine-tipped instrument. This common grip error can lead to stiffness in your strokes and hinder your ability to create beautiful, flowing letters. Proper grip is crucial, especially when you’re trying to express creativity through elegant penmanship. If you’ve ever felt frustration when your writing doesn’t flow smoothly, chances are your grip is a key culprit.
One of the biggest blunders is gripping the pen too tightly. While it might feel secure, a tight grip drains your hand’s fluidity and can cause cramping. Instead, aim for a balance where you hold the pen lightly between your thumb and index finger, allowing it to glide across the paper. A good rule of thumb is to ensure that your fingers form a triangle on the pen; this creates stability without unnecessary tension.
Additionally, many calligraphers overlook their finger positioning. Your middle finger should cradle the pen from below, supporting it without squeezing. A misplacement here can lead to awkward angles and a less controlled line. If you find your fingers slipping or the pen feels unstable, reevaluate your hold. Experimenting with different finger placements can significantly affect your writing comfort and precision.
Finally, check your wrist and arm alignment. A common mistake is writing with a bent wrist, which can throw off your stroke consistency. Try to keep your wrist straight and your elbow slightly raised. This positioning not only helps prevent fatigue but also promotes smoother movements. When the entire arm is engaged, you’ll find your writing much more effortless and enjoyable. Remember, it’s all about cultivating a relaxed grip that allows your creativity to shine through every stroke you make.
Finding the Perfect Balance: Weight and Pressure
Finding the balance between weight and pressure while holding your calligraphy pen can redefine your entire writing experience. It’s not just about how you grip the pen; it’s about how you allow it to interact with the page. Many beginners underestimate the importance of this balance, often applying too much pressure, which can lead to fatigue and poor ink flow, or too little, resulting in inconsistent lines. The goal is to establish a connection with your tool that enhances your expression rather than constrains it.
To achieve this harmony, start by being mindful of the weight of your pen. Different pens can feel heavier or lighter in your hand, which affects how you apply pressure. A heavier pen might require a more delicate touch, while a lighter pen allows for a more assertive stroke without straining your hand. Pay attention to how your pen feels when you write; trust your intuition about the pressure needed. A good practice is to hold the pen in a way that it feels balanced, resting on your fingers rather than being gripped tightly.
Next, experiment with the amount of pressure you apply based on the strokes you’re making. For thick strokes, you might instinctively push down harder, but that can lead to jagged edges or breakage of the nib if you’re using softer tips. Instead, focus on a smooth application of pressure that gradually increases and lessens with your stroke. As you draw a line, try to imagine the pressure you need to exert, like playing a musical instrument. Each note (or stroke) requires a different touch.
Finally, incorporate practice sessions where the primary focus is on weight and pressure. Try writing lines with varying degrees of pressure, and notice how your control changes. Record these sessions by noticing which settings feel best and which produce the cleanest results. You’ll find that over time, this careful consideration of balance not only improves your technique but also enhances your overall enjoyment in the art of calligraphy.
Adjusting Your Grip for Different Styles
Finding your unique grip is crucial because each calligraphy style demands different approaches. Imagine trying to write delicate flourishes in Spencerian script with a grip you’d use for bold Gothic lettering – it simply won’t work. Your grip must adapt to the nuances of the style you’re practicing. Whether you’re flowing through the graceful arcs of Copperplate or the sharp angles of Gothic, adjusting your grip can significantly enhance your fluidity and control.
Start by identifying the pen or nib suited for the style you’re working on. For example, when using a broad-nib pen, you might want to hold it a bit higher on the barrel. This elevates your hand and creates space for the broad strokes needed in styles like Italic or Blackletter. In contrast, a fine technical pen used for modern calligraphy often requires a grip closer to the nib, allowing for greater precision and subtle manipulation of line thickness.
Key points to consider when adjusting your grip include:
- Grip Height: For scripts with dramatic ascenders and descenders, elevate your grip to get a better view of your work.
- Grip Pressure: Lighter pressure for fluid styles (like cursive) and firmer pressure for more rigid styles (like uncials).
- Angle of Pen: A slight tilt can affect how the ink flows and how much pressure is applied to the paper.
- Finger Placement: Experimenting with finger placement on the pen can lead to discovering new strokes that feel more comfortable and effective.
Finally, practice is essential. Try writing the same letter or stroke in multiple styles and notice how your grip changes in response. Record these variations and reflect on which feels most natural and leads to the best results. Ultimately, your grip should feel like an extension of your hand, versatile enough to support whichever style you choose to express.
Tips for Practicing Your Calligraphy Grip
To truly master calligraphy, practicing your grip is essential. The right grip not only enhances your control, but it also allows for fluidity in your strokes, turning each letter into an artistic expression. Here are some effective tips to refine your calligraphy grip:
Start by selecting a comfortable writing position. Sit up straight with your feet flat on the ground. This posture helps ensure that your hand and arm move freely, creating a natural flow as you write. Hold the pen around a third of the way up the barrel-this promotes a balanced grip that isn’t too tight or too loose. Keep your fingers relaxed; tension can hinder your movement and affect the quality of your strokes.
A great way to find the right grip is through experimentation. Try varying your finger placement on the pen to see what feels most comfortable. For instance, if you typically grip the pen with your thumb and index finger alone, adding your middle finger for additional support might improve stability. As you practice, pay attention to how different grips impact your letterforms. Keep a journal dedicating pages to experimenting with various grips and styles. This not only builds your muscle memory but also helps you discover the nuances of your personal style.
Practice simple exercises designed to build grip strength and dexterity. Hold a pen lightly and create fluid, continuous lines on your paper. The key is to maintain a relaxed grip while focusing on the smoothness of your motion. Set aside time to practice basic strokes-like loops, ascenders, and descenders-repeatedly. This cultivates a deeper connection between your grip and the pen’s movement.
Beyond technical exercises, don’t forget to give yourself breaks during longer practice sessions. Stretch your fingers and wrists to avoid fatigue and maintain flexibility. This simple habit will help keep your grip comfortable and reduce the risk of strain. Remember, the goal is to make your grip feel like a natural extension of your hand, giving you the freedom to explore your creativity in calligraphy.
The Role of Posture in Calligraphy Success
Posture plays a critical role in the art of calligraphy, often overlooked by beginners. Sitting up straight with your feet flat on the ground isn’t just about looking professional; it sets the foundation for a fluid writing experience. This position allows your arm to move freely without strain, enabling a more natural flow as you draw each stroke. When your spine is aligned, you facilitate better blood circulation, which can help reduce fatigue during those long practice sessions.
Consider how your posture affects your grip and the quality of your work. A hunched back or slouched shoulders can lead to tension in your hands and fingers, directly impacting the delicacy of your strokes. Strong posture can enhance dexterity and control, allowing you to make those intricate loops and curves with ease. Take a moment to assess your setup: is your workspace ergonomically arranged? Your desk should be at a height that lets you write comfortably without bending or stretching your arm uncomfortably.
In addition to physical alignment, mental posture is just as essential. Approach your practice with mindfulness, focusing on the flow and rhythm of your movements. Visualizing your strokes before committing to paper can significantly improve your performance. Remember, good posture is not just about comfort; it’s about creating a state of readiness that fosters creativity and precision in your calligraphy journey. By cultivating this balance between body and mind, you’ll not only improve your technique but also increase your overall enjoyment of the art.
Using Tools and Accessories to Aid Grip
When it comes to enhancing your calligraphy skills, the right tools can make all the difference. Many aspiring calligraphers are unaware that simple accessories can significantly improve their grip and control. Specialized pen grips, for instance, are designed to fit comfortably into your fingers, providing the support you need to create smooth, precise strokes without fatigue.
Choosing the Right Grip Aids
There are several types of accessories to consider that can help improve your grip while writing. Here are some popular options:
- Grip Cushions: These are soft, padded grips that wrap around the pen. They help reduce pressure on your fingers and can prevent cramping during long sessions.
- Ergonomic Pen Holders: Designed to fit the contours of your hand, these holders can make a noticeable difference in your writing comfort and precision.
- Finger Protectors: If you find yourself getting ink on your fingers or experiencing discomfort, try using finger protectors. They allow you to maintain your grip without leaving marks on your paper.
- Weighted Pens: Some calligraphers prefer pens that offer a bit of weight, as this can provide better stability and control while writing.
Don’t underestimate the importance of experimenting with these tools. Everyone’s grip is unique, and what works well for one person may not work for another. Try different combinations to discover what feels best to you.
Customized Solutions
Another great option is to personalize your writing tools. You can find DIY instructions online to create custom grips that cater specifically to your hand size and style. For those who love to dive into the craft, crafting a grip that fits perfectly can enhance your comfort and confidence as you write.
Investing in the right accessories won’t just improve your grip; it will also help you develop your unique style in calligraphy. Remember, the closer you align your tools to your needs, the more enjoyable and productive your practice will be. By carefully selecting and utilizing the right tools, you can pave the way for artistic expression and mastery in your calligraphy journey.
Ergonomics: Protecting Your Hand and Wrist
When it comes to calligraphy, maintaining comfort and control during practice hinges significantly on proper ergonomics. It’s not just about how you hold the pen; it’s about creating a sustainable writing process that protects both your hand and wrist. A well-considered grip can prevent discomfort and even long-term injuries, making your calligraphy practice much more enjoyable and productive.
Start by paying attention to your hand position. You want to keep your wrist straight-not bent or twisted. This positioning minimizes strain and allows for fluid movement across the page. Hold the pen lightly, relying more on dexterity than grip strength. A tight grip can lead to fatigue and cramping, especially in longer writing sessions. Instead, experiment with a relaxed hold, allowing your fingers to guide the pen with ease. If you feel tension building in your wrist or fingers, it’s time to reassess your grip.
In addition to maintaining a proper hold, consider the surface on which you write. Using a padded writing surface can help absorb some of the pressure on your wrist. And don’t overlook the importance of taking breaks. Regularly pausing to stretch your fingers and wrists can make a huge difference in how your body feels during and after writing.
Lastly, don’t forget to vary your position occasionally. Changing angles or switching between sitting and standing can alleviate stress on specific areas. Whether you’re a beginner or an experienced calligrapher, prioritizing ergonomics will not only enhance your technique but also protect your passion for this beautiful art form.
Adapting Your Grip for Left-Handed Calligraphy
Most left-handed calligraphers have experienced the struggle of trying to keep their writing clean while navigating around smudges and awkward pen angles. If you’re one of them, understanding how to adjust your grip can dramatically enhance your calligraphy experience. A few small tweaks can make a world of difference in your comfort and style.
To start, consider holding the pen slightly more towards the end compared to right-handed grips. This adjustment allows for better visibility of the nib, as your hand won’t obscure the letters you’re forming. It’s also crucial to maintain a relaxed grip while keeping your wrist straight. Aim for a balance between control and fluidity; you’ll want your fingers to dance over the page without excess strain.
Another key element involves the angle at which you write. While right-handed calligraphers often position their paper at a slight angle to accommodate their grip, left-handers might need to turn the paper even more to prevent crossing over dried ink. Experiment with various placements and find what feels most natural for you. Not only does this reduce the risk of smudging, but it also allows your hand to follow a comfortable motion.
Moreover, practicing on smoother surfaces can help your pen glide better, reducing friction and, consequently, fatigue. Just like with any technique, it’s about finding the right balance for your unique style-embracing your left-handedness can lead to striking, beautiful results that reflect your individuality as a calligrapher. Keep experimenting, and don’t be afraid to make those adjustments until you find the groove that suits you best!
Advanced Techniques for Experienced Calligraphers
Understanding how to optimize your grip can unlock a new level of precision and creativity in your calligraphy work. As experienced calligraphers, you already have a solid foundation, but there’s always room for enhancement. Fine-tuning your grip and hand positioning can lead to stark improvements in control, comfort, and ultimately, the beauty of your strokes.
One advanced technique involves conscious flexibility in your grip. Instead of maintaining a static hold, consider shifting your grip based on the type of stroke you’re executing. For instance, when creating fine lines or delicate details, a lighter grip can allow for more fluidity. Conversely, applying slightly more pressure can stabilize your hand during broader strokes. This adaptability not only enhances your fluid movement but also helps in mastering different scripts, from flowing modern styles to rigid gothic forms.
Moreover, pay attention to the rotation of your pen. A slight twist can change the angle of your nib against the paper, which can drastically affect the thickness and sharpness of your lines. Experiment with this by adjusting your hand’s orientation as you write. Try a subtle rotation during your strokes to see how it impacts the flow and texture of your work. Over time, you’ll discover sweet spots that feel intuitive to you, enhancing your personal style.
Lastly, don’t underestimate the importance of practice with purpose. Set aside time to focus specifically on your grip. Utilize various pens or tools to explore how different weights feel in your hand. Transitioning between pens can highlight areas where your grip may be too tense or too loose. Document these experiments in a practice journal; noting your experiences can forge clearer paths for improvement. The more reflective you are about your technique, the sharper your skills will become. Remember, the beauty of calligraphy lies in its personal expression-embrace these advanced techniques to further refine your unique voice on the page.
Frequently Asked Questions
Q: What is the correct way to hold a calligraphy pen?
A: The correct way to hold a calligraphy pen involves gripping it lightly between your thumb and index finger, with your middle finger resting against the barrel for support. Keep the pen at a 45-degree angle to the paper, allowing the nib to glide smoothly as you write. This position enhances control and flow.
Q: Why is grip important in calligraphy?
A: Grip is essential in calligraphy because it affects how well you control the pen and the pressure you apply. A proper grip helps maintain consistent line thickness and allows for greater fluidity in your strokes, leading to more aesthetically pleasing results. For detailed techniques, refer to our section on common mistakes in grip.
Q: How does posture influence my calligraphy pen grip?
A: Good posture supports a proper pen grip by promoting comfort and reducing tension. Sit up straight with your shoulders relaxed and elbows at a comfortable height. This alignment enables smoother movements and helps prevent fatigue, ensuring longer writing sessions. Check our tips on the role of posture for more insights.
Q: What are some common mistakes when holding a calligraphy pen?
A: Common mistakes include gripping the pen too tightly, which can cause fatigue, and holding it at an incorrect angle, leading to uneven lines. Avoid these errors to enhance your writing experience and improve your calligraphy. For solutions, see our section on common mistakes in calligraphy grip.
Q: Can my grip differ based on the calligraphy style?
A: Yes, your grip can vary based on calligraphy style. For example, flourishing styles may require a more relaxed grip, while pointed pen styles benefit from a secure hold. Adapting your grip as needed can optimize your results for different techniques. Explore our section on adjusting grip for various styles for guidance.
Q: How can I improve my calligraphy grip practice?
A: To improve your grip practice, regularly write with specific focus on maintaining a relaxed hold. Practice fundamental strokes with slow, deliberate movements to build muscle memory. Incorporate these practices into your routine for noticeable improvement. For additional tips, visit our section on practicing your calligraphy grip.
Q: Should left-handed calligraphers adjust their grip differently?
A: Yes, left-handed calligraphers often adjust their grip to avoid smudging and ensure a comfortable writing angle. They may hold the pen at a different angle and position their hand in a way that allows for smooth movement across the page. Refer to our adaptations for left-handed calligraphy for specific strategies.
Q: What tools can help with grip during calligraphy?
A: Tools like ergonomic grips or various pen types designed for comfort can enhance your calligraphy experience. Padded grips can reduce slippage and allow for a better hold. Explore our section on tools and accessories to aid grip for recommendations on effective products.
In Retrospect
Understanding how to hold your calligraphy pen is just the beginning of your artistic journey! By mastering the right grip and positioning, you’re setting the stage for beautiful lettering. Don’t let your progress stop here-dive deeper into the world of calligraphy. Explore our guide on creating your own fonts or uncover tips on improving your calligraphy technique to further enhance your skills.
If you found this guide helpful, why not subscribe to our newsletter for more tips and exclusive content? Your calligraphy journey deserves continuous growth, and we’re here to support you every step of the way. Share your thoughts or questions in the comments below-we love hearing from our community and helping you succeed! Remember, every stroke counts, so practice regularly and let your creativity flow. Last but not least, don’t hesitate to check out our tools and resources section for everything you need to take your calligraphy to the next level. Happy writing!
How to Hold a Calligraphy Pen (45-Degree Angle & Grip Mechanics)
Mastering how to hold a calligraphy pen is the foundational discipline that separates inconsistent, scratchy lettering from fluid, professional calligraphy. The physical angle at which the nib contacts paper dictates whether your ink flows freely or tears delicate paper fibers:
| Grip Element | Correct Calligraphic Form | Common Amateur Mistake |
|---|---|---|
| Nib Angle to Baseline | Constant 40° to 45° relative to horizontal writing line | Rotating pen barrel mid-word, destroying stroke consistency |
| Finger Pressure | Light tripod hold (index, thumb, middle finger support) | “White-knuckle” death grip causing hand fatigue and ink railroading |
| Movement Engine | Shoulder and forearm gliding from the elbow joint | Isolated wrist and finger flicking, resulting in cramped letters |
Three Step Protocol to Anchor Your Writing Grip
- Distance from Nib: Place your thumb and index finger roughly 2.5 cm (1 inch) behind the metal nib collar. Gripping too close blocks sightlines; gripping too far reduces tine control.
- Nib Edge Contact: For broad-edge pens (Italic, Gothic, Uncial), ensure both corners of the nib touch the page simultaneously with equal pressure to avoid single-edge scraping.
- Desk Slant Elevation: Elevate your writing board at a 30-degree incline. An inclined surface naturally encourages a vertical hand posture, preventing wrist strain during extended studio work.
Frequently Asked Questions About Calligraphy Grip
What is the correct angle to hold a calligraphy pen?
Hold the pen at a consistent 40 to 45-degree angle relative to the baseline of your lettering. Maintain a relaxed tripod grip with your index finger resting on top of the section and propel strokes using your shoulder and forearm rather than flexing your wrist.
Why does my calligraphy pen scratch the paper?
Scratching occurs when the pen is held too vertically (above 60 degrees) or tilted sideways, causing one tine of the nib to dig into the paper grain. Lower your hand angle and keep both tines flat against the page.
Get our latest guides, news, and insights highlighted in your Google Search & AI Overviews.










