
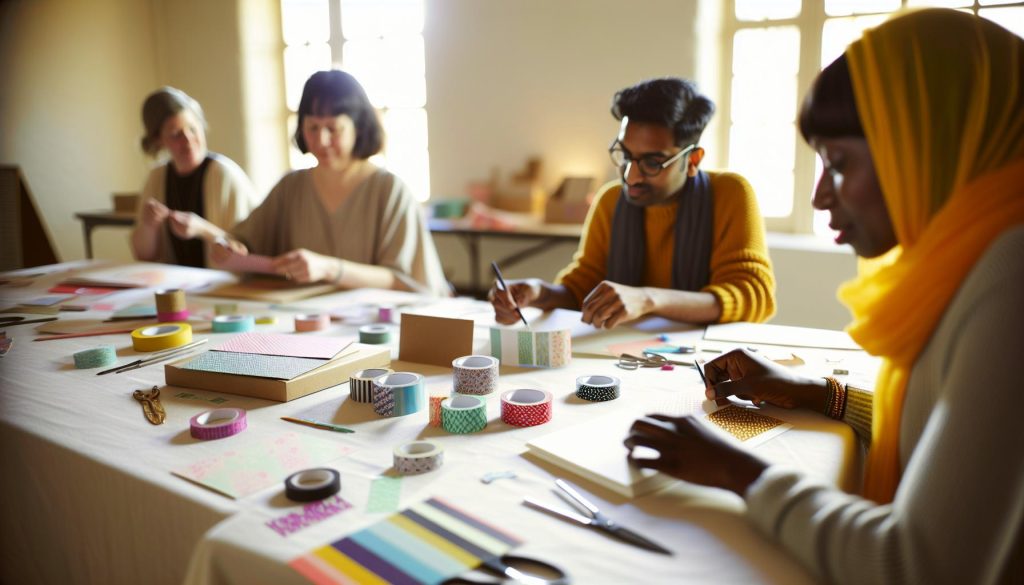
Did you know that washi tape, with its vibrant colors and delicate patterns, can transform your handmade cards into stunning works of art? Whether you’re celebrating a birthday, sending a thank-you note, or simply sharing a kind thought, decorating cards with washi tape is not just creative-it’s a heartfelt way to show you care. This versatile tape, crafted from natural fibers, adds a personal touch that store-bought cards simply can’t match.
In this guide, we’ll explore easy and fun techniques that will elevate your card-making game. You’ll discover how to layer designs, create unique shapes, and even use washi tape to attach special messages. By the end, you’ll have the skills to make cards that not only look amazing but also convey your emotions beautifully. Let’s dive in and unleash your creativity!
Choosing the Right Washi Tape for Your Cards
Choosing the right washi tape can transform your handmade cards from ordinary to extraordinary. With countless designs, colors, and patterns available, it’s essential to consider a few key factors to find the perfect fit for your project. First, think about the theme of your card. Are you creating something whimsical for a child’s birthday or an elegant card for a wedding? Aligning the washi tape with the card’s purpose will enhance its overall appeal.
Consider the width and transparency of the tape as well. Wider tapes make a bold statement, ideal for creating borders or focal points, while thinner tapes work well for delicate accents or layering effects. Transparency also plays a role; a transparent tape can add a soft touch over patterned paper, allowing for creativity without overwhelming the design. Don’t forget to explore different textures-some tapes offer a matte finish, while others shine with metallics or glitter.
To kickstart your selection process, keep a few samples of washi tapes that resonate with you. Sometimes, mixing and matching can lead to surprising combinations that elevate your designs. For instance, pairing a floral pattern with a simple geometric design can create dynamic contrast. Look for seasonal collections or themed packs to easily coordinate styles. If you’re looking for quality and variety, check out stores like Serenity Fair, Staples, or WashiTape.com which offer an extensive range to meet your needs. By carefully selecting washi tape that complements your design vision, you’ll ensure your handmade cards shine beautifully.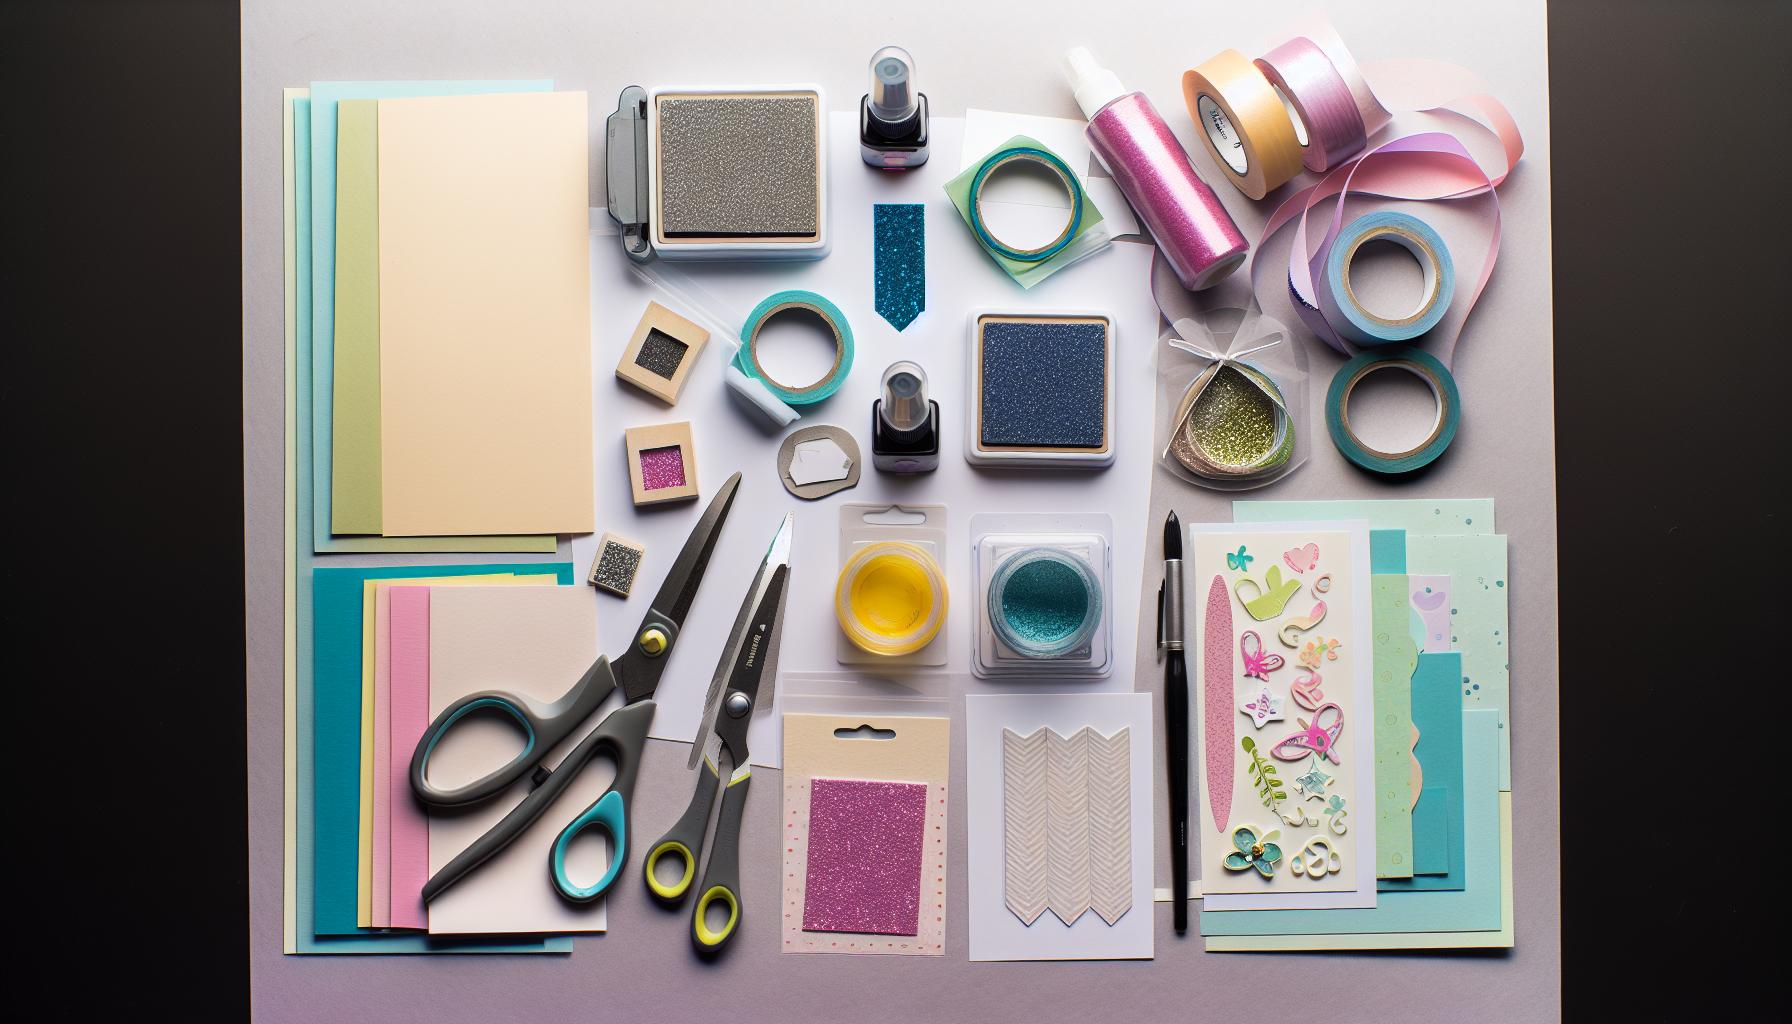
Essential Tools and Materials for Card Decoration
To create stunning handmade cards with washi tape, it’s crucial to have the right tools and materials at your disposal. The quality and variety of your supplies can make a significant difference in the outcome of your projects. First off, start with good-quality cardstock as your base. Opt for a smooth texture that allows for clean cuts and a neat appearance, ensuring your designs shine.
Next, a reliable pair of scissors is essential for cutting washi tape precisely. They don’t have to be fancy-just sharp and comfortable to hold. Some prefer cutting tools like rotary cutters or craft knives for straight edges, especially if you’re working with layered designs. Consider also investing in a cutting mat to protect your work surface.
Adhesive Runner
While washi tape is self-adhesive, having a glue runner or double-sided tape can be beneficial, especially for areas needing a little extra stick or when layering multiple pieces together. Washi tape can sometimes lift, so reinforcing it can help your card last longer.
Ruler and Craft Mat
Using a ruler helps achieve clean, straight lines and even spacing between designs. A craft mat is perfect for cutting and crafting, providing a clean, mess-free workspace.
Additional Decorative Elements
Don’t forget about embellishments! Consider including markers for handwritten notes, stamps for added designs, and stickers or sequins for extra flair. These details will personalize your cards and make them uniquely yours.
With the right tools and materials lined up, you’re set to unleash your creativity and craft beautiful cards that convey your heartfelt messages. Grab your supplies, let your imagination flow, and have fun transforming simple card stock into little works of art!
Step-by-Step Guide to Creating Stunning Designs
Start with a concept in mind. Whether it’s a birthday, thank you, or just a friendly “hello,” having a theme helps streamline your process. Grab your cardstock and lay it flat on your craft mat. Measure the size of your card and trim the cardstock accordingly, giving yourself some space for decorative edges. Once that’s ready, it’s time to unleash the magic of washi tape!
Choose Your Washi Wisely
Select a few rolls of washi tape that complement each other. Think about color schemes or patterns that capture the theme of your card. Begin by applying the first strip of washi tape across the top of your card. Tear or cut the tape cleanly; the beauty of washi is its forgiving nature, so don’t sweat it if you have to redo a section. Overlap your layers for added depth, allowing the base color of your cardstock to show through.
Add Depth and Interest
Once you have your foundational strips down, consider adding dimension. You can create shapes or banners by cutting the tape into specific forms. For instance, cut a piece into a triangle for a little banner or use a circle punch to make decorative dots from the tape. Layer these shapes onto your card to create focal points.
Finish with Flair
When you’re satisfied with your tape arrangement, integrate some handwritten notes or doodles that match your style. This personal touch can make the card feel even more special. Don’t shy away from adding other embellishments like stickers or sequins. Secure everything with your adhesive runner if you feel it’s necessary, especially where multiple layers join together.
Finally, step back and assess your creation. Make any final tweaks-perhaps adding a little washi tape along the inside or back of the card for that extra wow factor. With these steps, you’ll transform a plain cardstock base into a stunning work of art that speaks directly to your recipient. Now, grab those supplies, let your creativity soar, and enjoy the card-making experience!
Creative Techniques for Layering Washi Tape
Layering washi tape isn’t just about adding tape on top of tape; it’s about creating a visual story that elevates your card from ordinary to extraordinary. One of the best parts of using washi tape is its sheer versatility-you can mix patterns, colors, and textures to craft a unique design that speaks to your recipient. Start by choosing a few complementary rolls. Consider how they’ll interact; combining a bold pattern with a subtle one can provide balance and prevent your card from feeling chaotic.
To create depth, overlap your washi tape strips thoughtfully. By allowing some of the base cardstock color to peek through, you can add dimension without overwhelming the design. Try varying the widths of your strips for added interest. A narrow piece layered over a wider, patterned strip not only adds texture but also creates a focal point. Don’t hesitate to play with angles-diagonal lines can inject movement into your design, while horizontal placements can provide a grounding effect.
Another effective technique is to cut shapes from your washi tape. Instead of just straight strips, think about banners, zigzags, or even confetti-like dots. For example, a triangle cut from washi can guide the eye and lead to another design element or sentiment. Stacking these shapes can also guide the viewer’s attention, making certain areas of your card pop with personality.
Lastly, think about the tactile experience. Layering tape in different thicknesses or mixing in some embellishments, like small stickers or hand-drawn elements, can add an inviting three-dimensional feel. This stratification invites recipients to engage more fully with your card, appreciating the details and effort you put into it. So gather your washi, experiment fearlessly, and have fun crafting cards that truly stand out!
Adding Personal Touches with Handwritten Notes
There’s something undeniably special about adding a handwritten note to your cards. It transforms a simple greeting into a heartfelt message that shows thoughtfulness and care. When you take the time to jot down your sentiments, it elevates your card into a cherished keepsake. Let’s explore how to effectively incorporate handwritten notes into your washi-tape decorated cards.
First, choose the right pen. Opt for a pen that flows smoothly and complements your card’s design. Gel pens in vibrant colors or metallic finishes can contrast beautifully against the natural textures or patterns of washi tape. If you’re going for a rustic look, consider using a fine-tip marker or calligraphy pen to add an elegant touch. Avoid ballpoint pens, as they can smudge or skip, which detracts from the polished appearance of your work.
Next, think about the placement of your note. Instead of crowding the front of your card, consider using a decorative washi tape border or even creating a separate panel for your handwritten message inside or on the back. This not only emphasizes your note but also allows for more creative freedom with the front design. Use the washi tape to frame your writing, guiding the recipient’s eye to your personal message.
To make your message even more unique, consider adding flourishes like doodles or small illustrations that complement your message. Simple shapes or icons that relate to the occasion-like hearts for love or stars for celebrations-can bring a playful element to your writing. Another engaging approach is to incorporate a quote or a shared memory that resonates with the recipient, making the card more personal and memorable.
Lastly, don’t underestimate the impact of your handwriting itself. Embrace your natural style; don’t worry if it’s not perfect. Authenticity speaks volumes. Practicing different styles or using lined paper underneath your card can help maintain neatness while adding flair. Remember, it’s the sincerity behind your words that truly makes your card shine. So grab your pens and let your creativity flow-your handwritten notes are the finishing touch that will leave a lasting impression.
Incorporating Mixed Media in Card Making
When it comes to card making, mixed media offers a thrilling dimension that sets your handmade creations apart. By blending various materials and techniques, you can add depth, texture, and an element of surprise that captivates the recipient’s attention. Washi tape is a fantastic foundation for this artistic exploration because of its versatility and array of colors and patterns. Here’s how to effectively incorporate mixed media into your card designs.
Start by considering your base materials. In addition to washi tape, bring in items like watercolor washes, acrylic paints, textured cardstock, or embossed elements. Each layer you add creates visual interest and tells a story. For instance, if you’re making a birthday card, you might begin with a watercolor wash as your background, then add a layer of patterned washi tape to form banners or borders. This combination not only enhances the overall design but also helps your tape stand out beautifully.
As you layer different media, think about how they interact. Use washi tape as a frame for other elements, like photographs or printed quotes. When you stick a piece of washi tape around a cut-out image or a stamped sentiment, it draws the eye directly to those focal points. Additionally, consider adding embellishments like sequins, stickers, or even fabric swatches. They create tactile experiences that elevate the card from a simple flat piece of paper to an engaging, multidimensional artwork.
Incorporate techniques such as collage or layering techniques to further enrich your designs. Stack different washi tapes in varying widths, cutting them into interesting shapes to create dynamic visuals. You might also layer transparent materials, like vellum or lace, on top of your washi tape to soften the design and add layers of intrigue. This approach not only provides rich textures but also allows for unique customization that reflects your personal style or the theme of the card.
Lastly, embrace the freedom of creativity when working with mixed media. Don’t shy away from experimenting – make mistakes and learn from them. If a combination doesn’t work as you envisioned, flip your card over and try again on a new canvas. The beauty of mixed media is in its imperfection and the personal touches that come from your creative journey. Get out your supplies, and explore the delightful world of mixed media in your card making – you’ll be amazed at the stunning results you can achieve!
Tips for Matching Washi Tape to Themes
Choosing the right washi tape can elevate your card-making game dramatically. Each unique design tells a story, so matching it to your card’s theme is crucial. For instance, if you’re crafting a wedding invitation, look for washi tape adorned with delicate florals or elegant gold accents. These elements resonate with the love and celebration of the occasion. On the flip side, for a fun, casual birthday card, opt for bright colors and playful patterns-think balloons or confetti. This doesn’t just add visual appeal but also sets the right tone for your message.
When selecting washi tape, consider the color palette of your card as well. Harmonizing colors can create a cohesive and pleasing look. If your card features soft pastels, find washi tape with similar shades. On the other hand, if you’re going for bold and vibrant, don’t hesitate to mix in some contrasting tapes to create depth and interest. Think of crafting a seasonal card: rich autumn hues paired with warm earthy tones can echo the essence of fall beautifully.
Another crucial factor is the scale of patterns. Large, bold prints can dominate a small card, while tiny patterns may get lost on larger designs. Choose tapes that match the size of the elements on your card. For example, if you’re decorating a card with detailed illustrations, smaller, subtler washi tapes will complement rather than overwhelm. Conversely, if your card design is minimalistic, larger, eye-catching washi tape can become the focal point and draw attention.
Also, don’t forget about the theme itself. Holidays, birthdays, and other celebrations demand specific motifs. For a holiday card, consider tapes that feature snowflakes or ornaments. For an anniversary, elegant, shimmered or heartfelt quotes work wonderfully. Always keep the purpose of the card in mind; it keeps your design intentional and resonates deeply with your recipient. With a little thought and creativity, your washi tape choices will enhance your themes and make your cards unforgettable.
Showcasing Your Finished Cards: Display Ideas
Displaying your finished cards is just as important as creating them. After all, you’ve poured your creativity into these designs, so why not showcase them in a way that elevates their charm? Consider using a few simple techniques to bring attention to your handmade creations and make them memorable for anyone who sees them.
One effective way to display your cards is by creating a dedicated wall or board. Use a corkboard, magnetic board, or even a simple string with clips to hang your cards. This allows you to easily rotate your designs, keeping the display fresh and engaging. To enhance the visual appeal, think about arranging them in a pattern or color gradient, which draws the eye and creates a cohesive look. Another creative approach is to incorporate your cards into your home decor. Place a few striking pieces in decorative frames and hang them as wall art, or set them on a shelf alongside books and plants.
For special occasions or events, consider crafting a beautiful centerpiece using your cards. You could use a tiered stand to showcase multiple designs or even integrate them into your table settings. Tuck a card into each place setting as a personalized greeting for guests. Don’t forget to add some context with decorative elements like candles, flowers, or seasonal accents that match the theme of your cards, further enhancing their impact.
Finally, when it comes to sharing your cards online, good photography can make a significant difference. Use natural light to highlight the colors and details of your washi tape designs. A clean, uncluttered background will help your cards pop. Share your creations on social media platforms, perhaps alongside a short story about the inspiration behind each card, which can connect you with fellow crafters and potential customers. Engaging presentations can turn simple card-making into a delightful experience for you and those who appreciate your art.
Packaging and Gifting Your Handmade Cards
You’ve crafted a beautiful card, and now it’s time to make sure your effort is matched by an equally stunning presentation. The way you package your handmade cards can elevate the recipient’s experience from a simple greeting to a cherished keepsake. Think of your packaging as an extension of your design-it’s the first thing someone will see, and it sets the tone for the gift inside.
Start with the basics: a high-quality envelope that fits your card perfectly. Choose envelopes in fun colors or textures that complement your card design. You can also customize plain envelopes with washi tape. Try creating a border along the flap or sealing it with a decorative piece of tape. This not only secures the envelope but also adds a delightful pop of color and creativity right from the get-go.
For an extra special touch, consider incorporating small embellishments. Tuck a piece of tissue paper or a soft fabric around your card for added texture. If you’re giving multiple cards, a decorative box or a handmade pouch can make for an impressive presentation. Use a piece of washi tape to secure the package or even to create a small tag that has a handwritten note-personal touches that will surely resonate with the recipient.
Don’t overlook the importance of handwritten notes. A simple, heartfelt message can transform the exchange into something truly meaningful. Write your note on a small card adorned with washi tape, and include it in your packaging. This approach not only personalizes your gift but also showcases your unique style.
Finally, think about the occasion and theme of your card when selecting your packaging style. Use colors and patterns that align with holidays, celebrations, or just the personality of the recipient. This harmony will elevate the perception of your gift, showing that you’ve put thought into every aspect of the card-making process.
Creating an exquisite packaging experience is all about reflecting your personal style while enhancing the recipient’s delight. With these tips, your handmade cards will not only convey your heartfelt messages but also impress with their beautiful presentation.
Common Mistakes to Avoid When Using Washi Tape
When using washi tape, it’s easy to get caught up in the excitement and overlook some common pitfalls. Here’s how to steer clear of mistakes that can ruin your card-decorating efforts.
First, don’t underestimate the importance of tape quality. While washi tape is generally accessible, not all brands are created equal. Cheap tapes can tear or lose their adhesive properties, frustrating your creative process. Invest in high-quality washi tape that maintains its stickiness and design even after application. It’s worth it for the impact it’ll have on the quality of your cards.
One major blunder is using too many patterns and colors without a cohesive theme. Less is often more when it comes to washi tape. Highlighting a few complementary designs rather than overwhelming your card with a riot of colors can make a world of difference. Consider choosing a color palette that ties your elements together. This not only creates visual harmony but keeps the focus on your central message or image.
Another common mistake is neglecting to plan your design layout. It’s easy to slap down tape haphazardly, but taking a moment to envision your layout can save you a lot of time and frustration. Lay out your pieces first without adhering them to see how they work together. This simple step can help you decide which tape goes where, preventing any awkward overlaps or mismatched sections.
Additionally, beware of over-using washi tape in spots that might not benefit from it, such as covering entire sections or using it where it competes for attention with other elements. Instead, think strategically about where tape can highlight or accent your design rather than dominate it. Finally, don’t forget to experiment with different textures and widths. A well-placed piece of thicker tape can anchor your design, while thinner tapes can add delicate details. Trying out various styles in practice runs can inspire unique, creative card designs.
By avoiding these mistakes, you can elevate your card-making game and create designs that not only look professional but also resonate with your personal style. Happy crafting!
Inspiration: Unique Card Designs from the Community
When it comes to crafting with washi tape, inspiration can come from many places within your community. You’ll find that seeing how others use washi tape can ignite your creativity and push your card designs into exciting new territories. For instance, one popular approach is to create themed cards that reflect personal interests, like a “nature” card using earthy tones and leaf-patterned washi tape. This resonates more when you hand it to someone who loves the outdoors – a thoughtful touch that shows you care.
Another fantastic idea is to combine washi tape with other materials, like stickers or hand-drawn sketches. One card-maker I know created a whimsical birthday card by layering floral washi tape with custom doodles of birthday cakes and candles. This playful mix not only stands out but also adds a personal flair. Don’t shy away from using washi tape in unexpected ways, like creating frames for photos or notes on your cards. The versatility of washi tape is one of its biggest draws; it can be as subtle or bold as you want.
Sharing designs in social media groups or local crafting communities can offer valuable feedback and spur new ideas. These platforms often showcase unique techniques that you might not have tried before, such as using washi tape to make 3D elements on your cards. Think about how much depth and texture can be added through simple layers of tape. For example, one community member crafted a beautiful wedding card featuring layered washi tape flowers, each adding dimension and elegance to the final piece.
Ultimately, experimenting with various styles and draws from community creations can lead to stunning results. Keep an eye on what others are doing, and don’t hesitate to put your spin on those ideas. Celebrate your creativity, and soon enough, you may find your designs inspiring others as well!
Where to Find High-Quality Washi Tape
Finding high-quality washi tape is crucial for elevating your card-making projects. Not all washi tapes are created equal, and the right choice can make a significant difference in the overall look and feel of your handmade cards. If you’re looking for vibrant designs, durability, and ease of use, exploring several key sources will benefit your crafting experience.
To start, consider online retailers known for their diverse selections. Websites like Amazon offer a vast array of washi tapes in countless designs, colors, and themes. Many of these products come with sustainability features, giving you peace of mind about your crafting choices. Similarly, Staples has a solid inventory where you can find vibrant washi tape rolls that are perfect for all sorts of decorating and crafting needs.
Local craft stores often carry washi tape as well, but their selection may not be as extensive as online stores. Consider visiting specialty stores or craft fairs in your area, where you can find unique, handmade washi tapes that aren’t available anywhere else. For instance, shops that focus on Japanese stationery, like those highlighted on JetPens, can offer authentic washi tape that’s both high quality and stylish, complete with traditional patterns and vibrant colors.
Finally, don’t overlook online marketplaces like Etsy, where independent crafters offer unique, hand-designed washi tapes. This is a great way to support small businesses while obtaining one-of-a-kind materials that can truly personalize your cards.
When searching for washi tape, pay attention to the quality characteristics-look for tapes that are easy to tear, adhere well without leaving residue, and come in appealing designs that resonate with your personal crafting style. Investing time in sourcing high-quality washi tape will undoubtedly reflect in the creativity and professionalism of your handmade cards.
Faq
markdown
Q: What type of washi tape is best for card making?
A: The best washi tape for card making is one that is easily removable and has vibrant colors or unique patterns. Look for washi tapes that are of high quality, ensuring they adhere well without leaving residue. This allows for easy adjustments and layering in your designs.

Q: Can I use washi tape on different types of card stock?
A: Yes, washi tape can be used on various types of card stock, including textured, smooth, and colored paper. Just ensure the card stock is sturdy enough to hold the tape without curling or tearing. Experiment with different textures for unique effects!

Q: How can I personalize my greeting cards using washi tape?
A: Personalizing greeting cards with washi tape can be done by combining it with handwritten notes, custom messages, and embellishments like stickers or stamps. Use washi tape to frame your message or create borders, making it a standout feature of your card.

Q: Is washi tape easy to remove if I make a mistake?
A: Absolutely! One of the wonderful features of washi tape is that it can be easily removed without damaging the card stock. If you make a mistake, gently peel it off and reposition it as needed. This makes washi tape a favorite among crafters for its flexibility.

Q: What techniques can enhance my designs with washi tape?
A: To enhance your designs, try layering different patterns of washi tape or using scissors to create unique shapes. You can also combine washi tape with other materials like ribbons or sequins for added texture and dimension, ensuring your card stands out.

Q: How do I choose a theme for my washi tape card?
A: Choose a theme by considering the occasion, recipient's interests, or seasonal elements. Select washi tape colors and patterns that align with this theme. For example, bright florals for birthdays or muted tones for sympathy cards can create a coherent and thoughtful design.

Q: Can I use washi tape for other crafts besides card making?
A: Yes, washi tape is versatile and can be used for various crafts, including scrapbooking, wrapping gifts, decorating notebooks, and creating wall art. Its easy application and removal make it perfect for adding flair to nearly any project.

Q: What should I avoid when using washi tape on cards?
A: Avoid using washi tape in areas that need to withstand heavy handling, as it may not hold up long-term. Additionally, steer clear of overusing the tape in busy designs; simplicity often makes your card more elegant and effective. For more tips, check out the Common Mistakes to Avoid When Using Washi Tape section.
Key Takeaways
Now that you know how to transform your cards with delightful washi tape designs, it’s time to get creative! Remember, the beauty of handmade greetings lies in the personal touch you bring. Don’t hesitate to experiment with different colors and patterns to truly express your thoughts and emotions.
If you’re looking for more inspiration, check out our guides on “Creating Unique Gift Wrap with Washi Tape” and “The Best Washi Tape Brands to Elevate Your Projects.” For additional crafting tips delivered right to your inbox, sign up for our newsletter and never miss out on our latest ideas!
Join our crafting community in the comments below-share your creations or ask any questions you might have. Your next handmade card is just a roll of tape away! Dive into this fun world of creativity today!
Get our latest guides, news, and insights highlighted in your Google Search & AI Overviews.










