
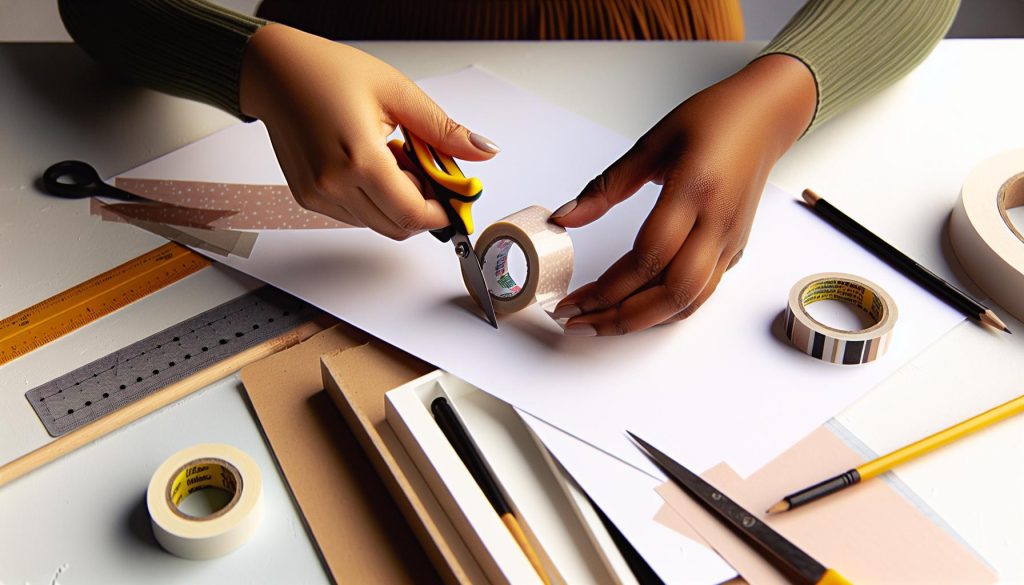
The best way to cut washi tape cleanly without ragged edges is to lay the tape strip onto a silicone release carrier sheet or self-healing mat, guide your cut with a metal-edged acrylic craft ruler, and slice smoothly using a sharp #11 craft scalpel or specialized micro-serrated washi tape dispenser clip.
Washi tape is a beloved crafting staple, known for its vibrant colors and intricate designs. But did you know that cutting it in half can unlock a whole new world of creativity? Whether you’re decorating journals, personalizing gifts, or enhancing your home décor, slim strips of washi tape offer a refined touch. The ability to split your washi tape means more versatility, allowing for unique patterns and more detailed work without overwhelming your project. If you’ve ever struggled to get the perfect width for your designs or simply want to stretch your supplies further, mastering the art of cutting washi tape in half is a game-changer. Join me as I share tips and tricks to help you achieve those perfect, thin lines with ease, making your crafting even more enjoyable and precise. Let’s dive in!
Choosing the Right Type of Washi Tape for Cutting
When it comes to crafting with washi tape, not all tapes are created equal. Choosing the right type can make all the difference in your projects, especially if you plan on cutting them in half for finer details. Consider the characteristics of the tape, including its width, material, and adhesive strength. A thinner washi tape generally works better for cutting because it will create more delicate lines and offers greater flexibility in design. For example, if you’re working on an intricate card or scrapbook page, opt for a tape that is around 0.5 to 1 cm wide.
Materials Matter
The type of material also plays a crucial role in how easily you can cut the tape. Some washi tapes are made from a more brittle paper that may tear unevenly when cut. Look for tapes that are softer and slightly more flexible, as they will yield smoother cuts. Additionally, consider the adhesive. A tape that sticks well without being overly tacky will allow for easier repositioning and cutting.
Finish Quality
Lastly, think about the finish. Matte washi tapes are often easier to cut evenly because they don’t reflect light, making it easier to see where you’re cutting. Glossy tapes might look stunning, but the sheen can obscure your cutting line.
By choosing a washi tape that meets these criteria, you’ll set yourself up for success when it comes to achieving those perfect, thin lines in your crafting projects.
Essential Tools for Cutting Washi Tape
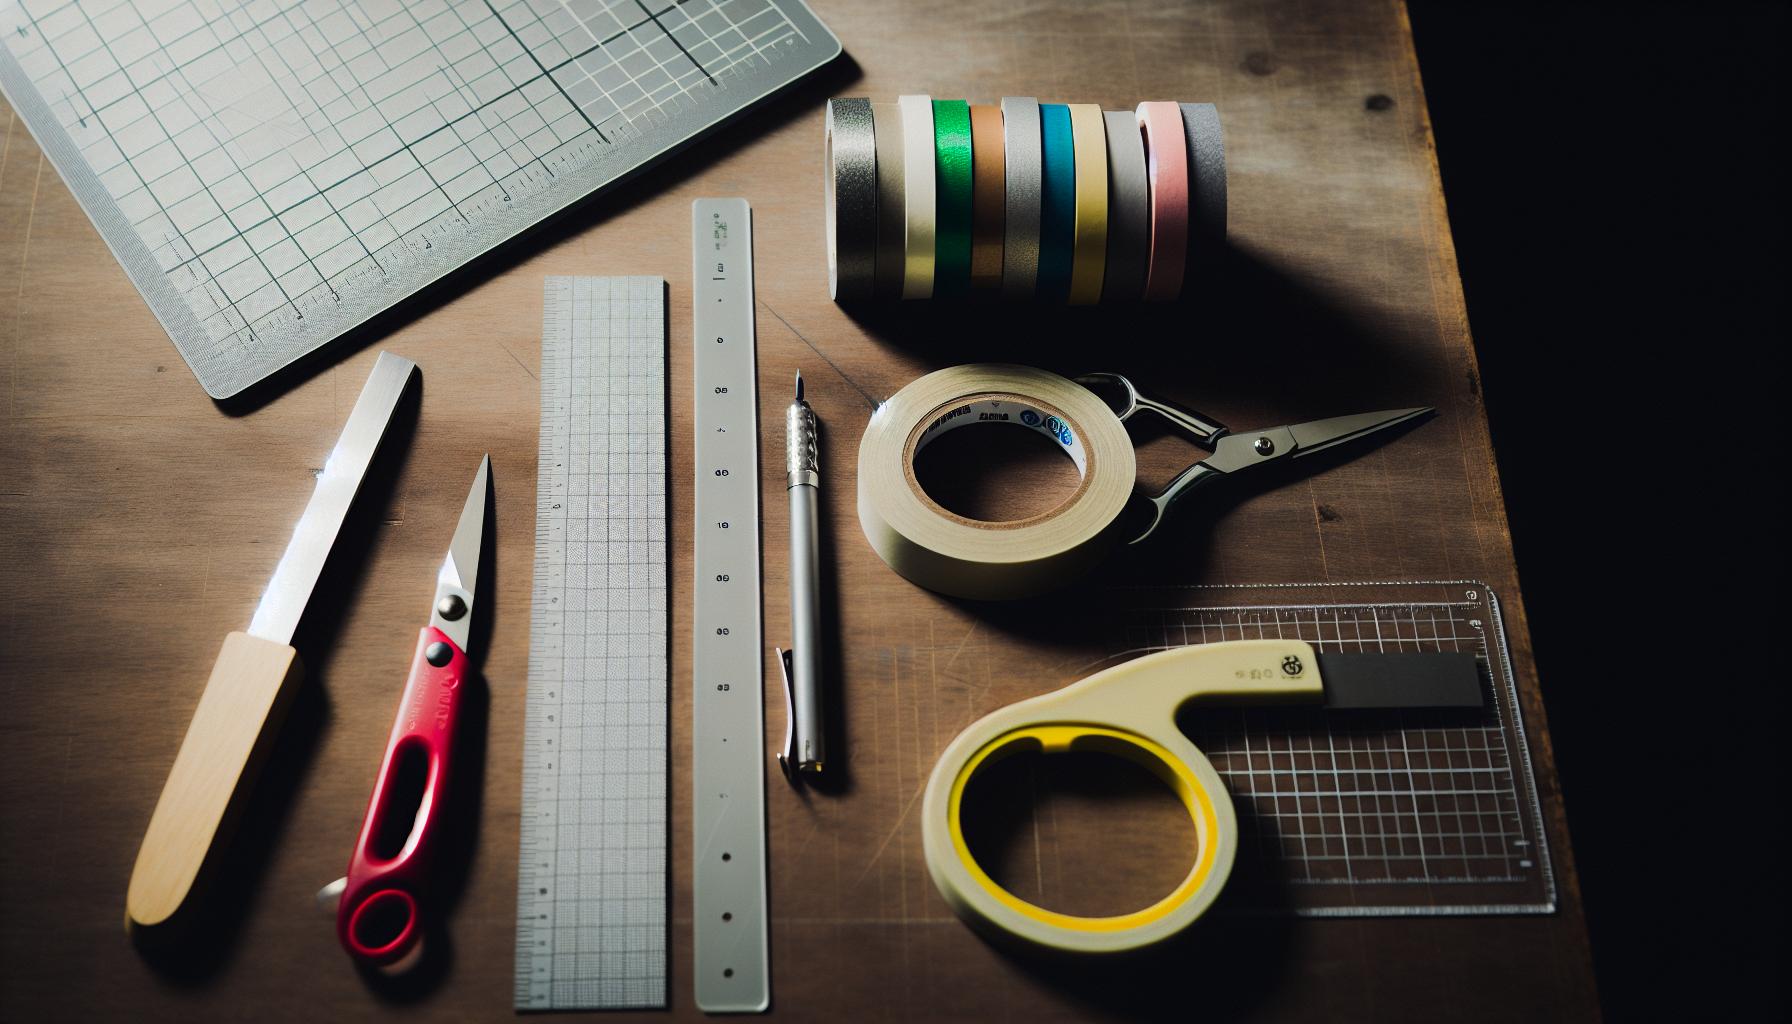
When you’re ready to cut washi tape, the right tools can make all the difference. Using sharp and precise slicing tools not only elevates the quality of your cuts but also enhances the overall crafting experience. A reliable craft knife or a pair of sharp scissors are your best friends here. Make sure your scissors are clean and sharp to navigate through the tape smoothly without tearing. A craft knife, particularly with a comfortable handle, allows for more controlled and accurate cuts, especially when working with narrower tape.
In addition to your cutting tools, consider having a cutting mat handy. This protects your surfaces and provides a stable base for precise cutting. If you’re planning to achieve exceptionally thin lines, a ruler can help ensure you cut straight. There are also specialty tape dispensers designed to create perfect cuts, which can save time and ensure uniformity in your projects.
To keep everything organized, gather all your supplies close by. Having your tools within reach not only increases efficiency but also encourages creativity. Lay out your workspace so that everything feels accessible and inviting. Take the time to experiment with your setup-it can be a game changer for your cutting results.
Investing in these essential tools and creating a conducive workspace will not only make cutting washi tape a breeze, but it will also inspire new project ideas and techniques. Whether you’re a novice or a seasoned crafter, these tools are foundational to enhancing your crafting flow and precision.
Step-by-Step Guide to Cutting Washi Tape in Half
To master the art of cutting washi tape in half, precision is your best companion. With its delicate nature, washi tape demands careful handling to maintain its beauty and usability. Here’s a straightforward approach to ensure clean, accurate cuts that make your craft projects shine.
Start by preparing your workspace. This means having all your essential tools-sharp scissors, a craft knife, a cutting mat, and a ruler-easily accessible. Lay the tape flat on your cutting mat, ensuring it adheres lightly but doesn’t stick too firmly, as you may need to reposition it. For those looking to cut perfectly straight lines, using a ruler as a guide is incredibly effective. Align the washi tape with the ruler, leaving the desired amount to one side, and hold it firmly in place.
Once you’re positioned, it’s time to make the cut. If you’re using scissors, position the blades just above the tape’s edge, making sure to cut slightly over the tape to ensure a clean line. For more precision, especially with very thin cuts, a craft knife might be your best option. Place the ruler down again to guide the blade as you glide along the tape, applying steady pressure. This technique not only gives you thin strips but also keeps them uniform, which can be essential for intricate designs.
After cutting, peel back the washi tape gently if you want to reveal the freshly cut edges. You’ll have perfect halves ready for your next crafting venture, whether it’s decorating your planner, adding accents to cards, or creating unique art pieces. Remember, practice makes perfect. Don’t hesitate to experiment with different widths to discover what works best for your projects!
Tips for Achieving Thin, Even Lines
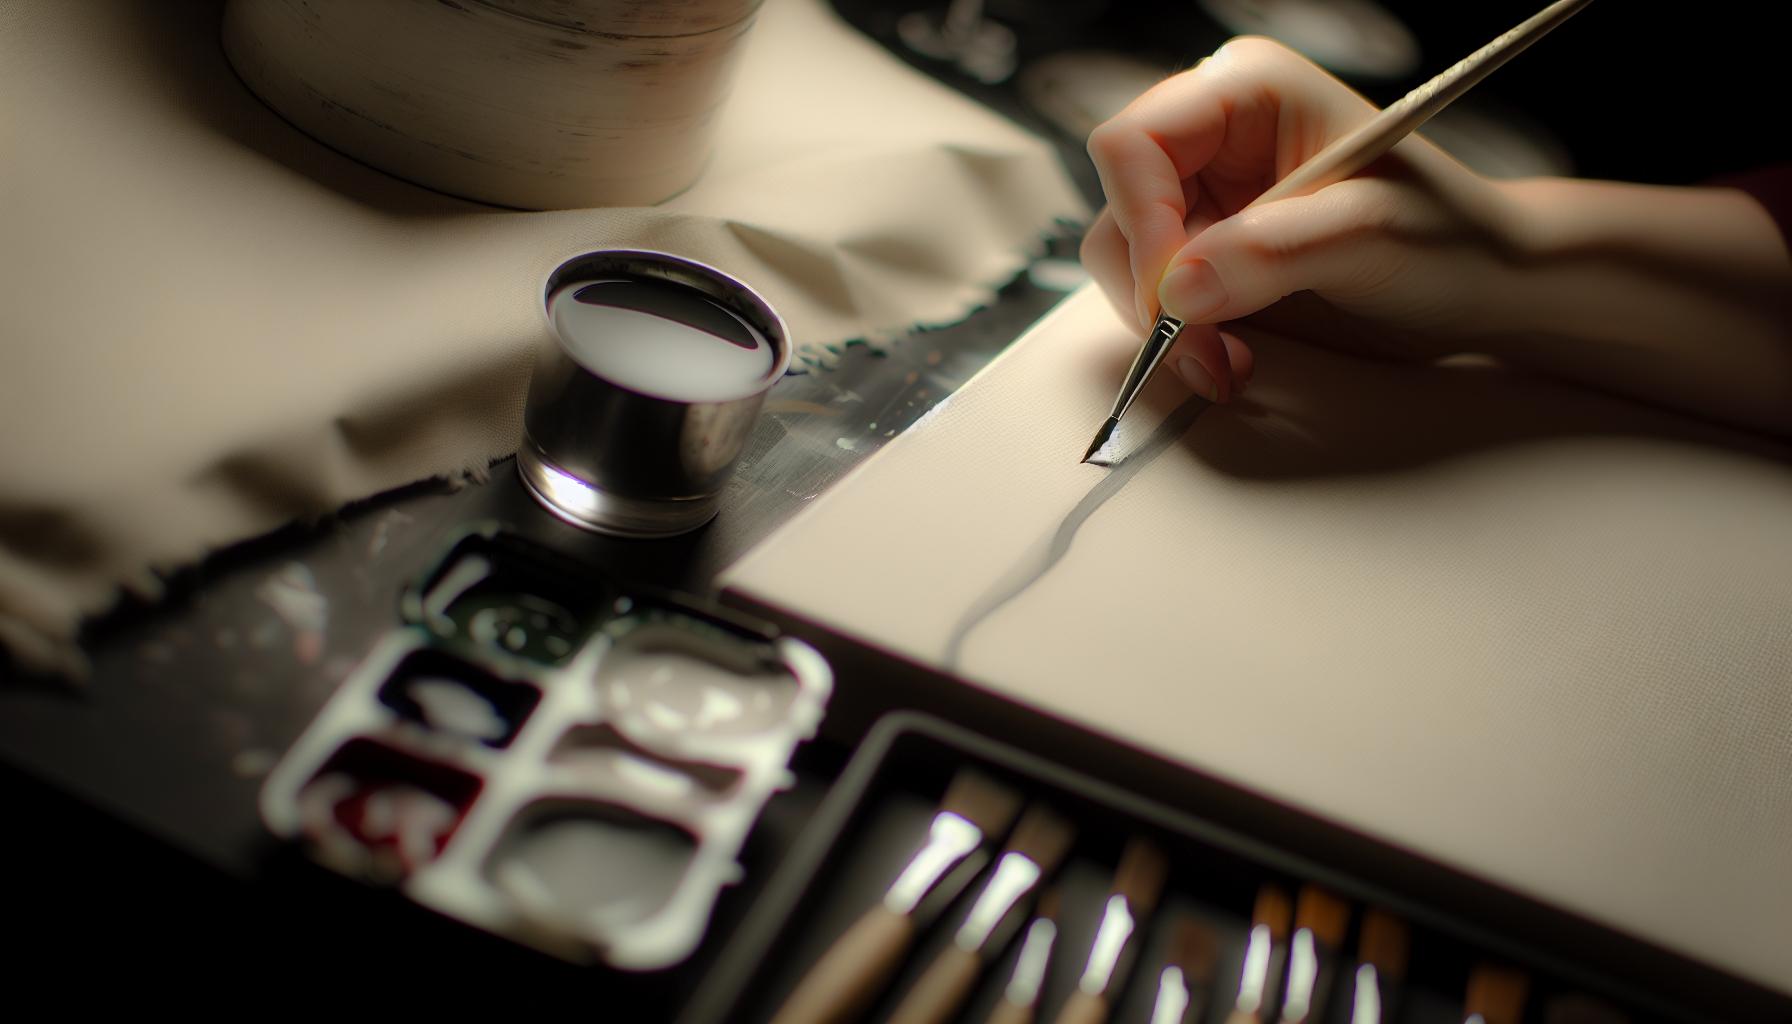
The key to achieving thin, even lines when cutting washi tape lies in your technique and tools. Many crafters struggle with inconsistencies, leading to frustration and wasted materials. The good news? With a few simple strategies, you’ll create perfect halves that enhance your projects.
First off, invest in a sharp craft knife or precision scissors. Dull blades can pull or tear the delicate washi, resulting in uneven cuts. If you’re using scissors, make sure they’re specifically designed for detail work-not your everyday kitchen scissors! To ensure stability while cutting, place a cutting mat underneath your tape. This not only protects your work surface but also gives you a solid foundation for precise cuts.
Another tip is to use a ruler not just as a guide, but also to apply even pressure as you cut. Position the tape underneath the ruler, leaving enough space for the edge of your knife or scissors to slide cleanly along. Focus on moving your cutting tool steadily; jerky motions can lead to wobbly lines. If you’re a beginner, practice on scrap pieces until you feel confident.
Lastly, consider cutting your washi tape in short segments, especially if you’re aiming for very thin lines. Short, controlled cuts tend to be more accurate than trying to slice through a long strip in one go. With patience and practice, you’ll soon master the art of cutting washi tape into perfect halves, making your crafting even more enjoyable and visually appealing.
Creative Uses for Split Washi Tape
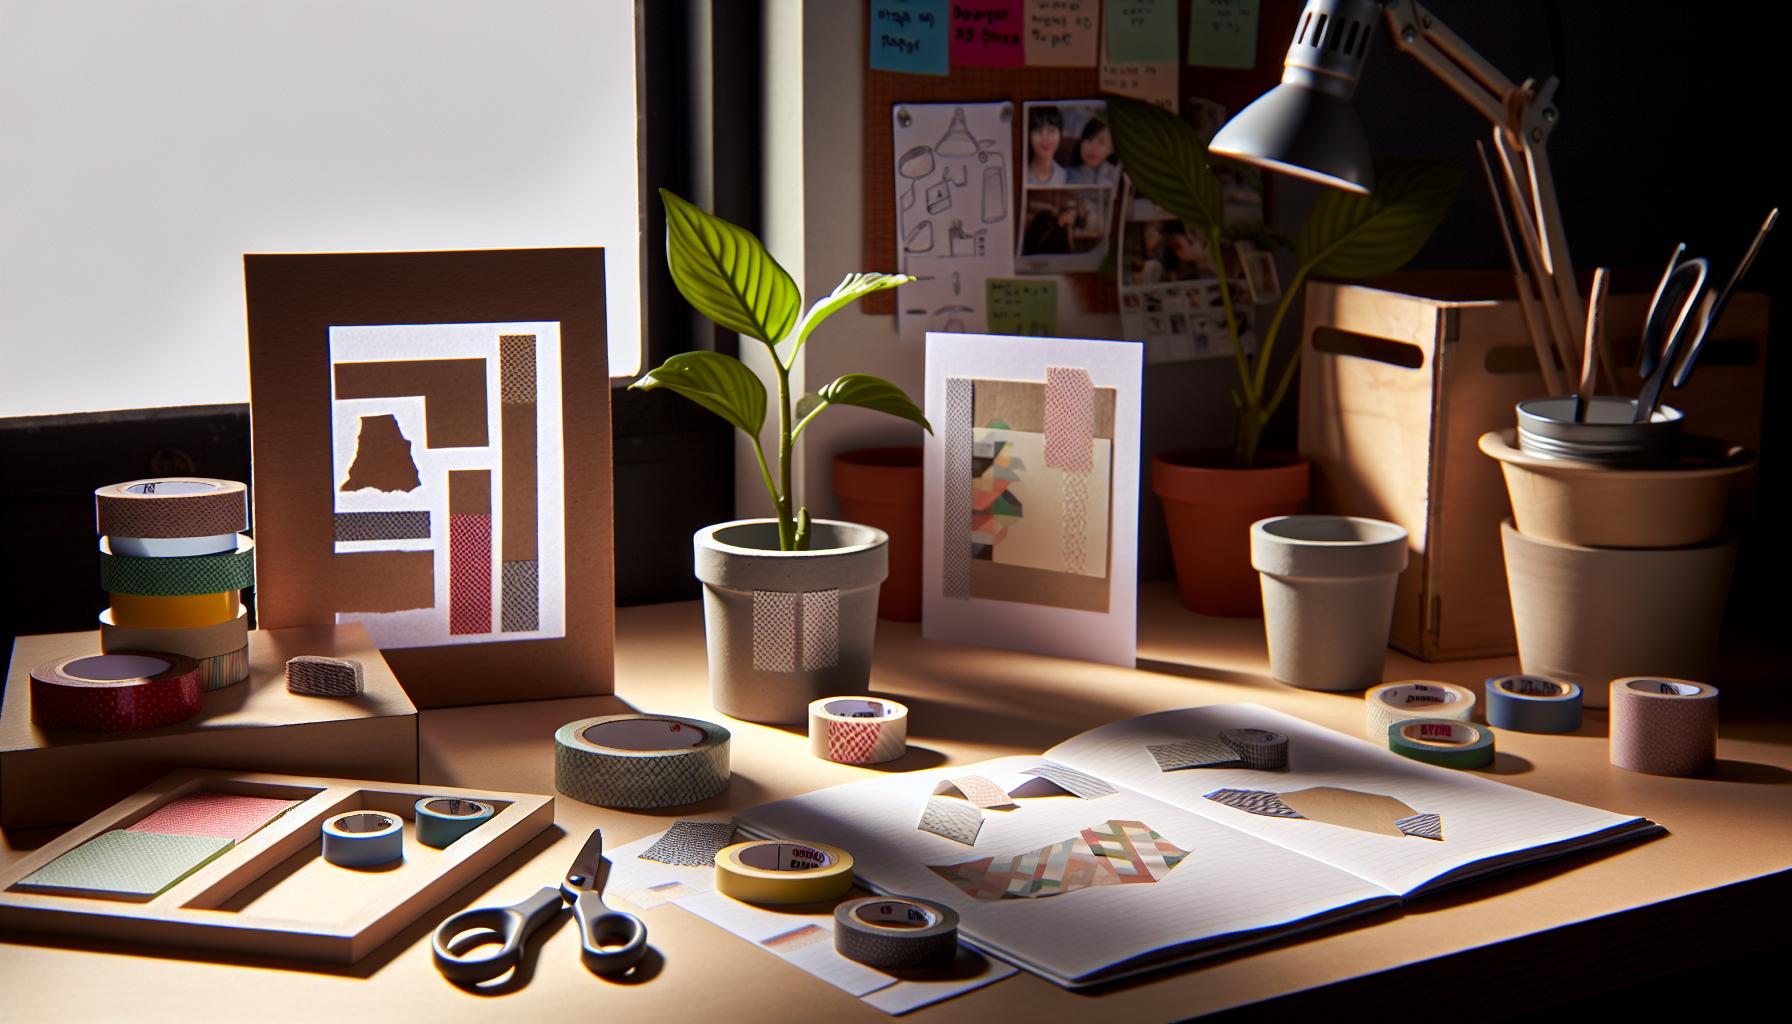
Using split washi tape can truly elevate your crafting projects to new dimensions. When you cut washi tape into thin strips, you open a world of creative possibilities that can breathe life into even the simplest crafts. Whether you’re enhancing your planner, adding flair to gift wrapping, or creating stunning wall art, split washi tape serves as a versatile embellishment that can be tailored to your specific needs.
One great way to use thin strips of washi tape is to create intricate patterns in your scrapbooking or journal layouts. Imagine alternating colors to form chevron designs, or layering pieces to craft unique borders around your photos or drawings. You can even weave different strips together to create eye-catching textures. The delicate nature of washi tape allows for easy repositioning, which is a game changer when you’re experimenting with designs.
Another creative application is for labeling and organizing. Use split strips to create DIY labels for your craft supplies or pantry items. Simply cut the tape to the desired width and use a fine-tip pen to write on it. Not only does this keep things neat and tidy, but the aesthetic appeal of washi tape adds a touch of charm to your organization efforts. Plus, if you ever want to change your labels, washi tape is easy to remove and reapply without leaving a sticky residue.
Don’t forget about home decor! Whether you’re sprucing up picture frames, making your own wall decals, or designing unique, handmade greeting cards, split washi tape can be a delightful addition. Try creating a gallery wall by using various colors and patterns to frame pictures or art pieces. The light, adhesive nature of washi tape means you can switch things up whenever inspiration strikes without damaging your walls.
With these practical strategies, the next time you grab your washi tape, remember that cutting it into thin strips will not only improve your crafting versatility but also ignite your creativity. Get ready to explore new dimensions and make your projects stand out!
How to Store and Organize Your Washi Tape

Storing and organizing washi tape effectively can make a world of difference for any crafter. Imagine opening your craft drawer and immediately seeing all your beautifully patterned tapes, ready for use. There’s no frustration, just inspiration! The right organization not only saves time but also helps you keep track of tape colors and designs, especially when you’ve cut strips for various projects.
One of the simplest solutions is to use clear jars or containers. This method allows you to see your tape at a glance, making it easy to grab just what you need. Place the tape rolls upright in jars, categorized by color or pattern. For those who enjoy a more chic look, consider using decorative boxes or baskets to house your washi tape collection. You can even label sections for quick identification.
Another great option is to invest in a washi tape dispenser. These come in various designs-some even allow you to display multiple rolls simultaneously. Dispensers can be a perfect addition to your workspace, ensuring your tape is not only accessible but also adds a touch of aesthetic charm to your setup. If you’re short on space, a pegboard can offer a creative and functional solution. Hang smaller rolls by threading them through hooks or clips for easy viewing and access.
Finally, don’t overlook the importance of keeping your washi tape stored properly. Keep it away from direct sunlight to prevent fading and curling. If you often cut your tape into strips for projects, consider a designated cutting station where you can easily trim and store your remnants. Having a small drawer or container nearby for those leftover pieces means you’ll always have bits ready for your next creative endeavor.
Keeping your washi tape organized not only enhances your crafting experience but also sparks creativity, making it easier to combine colors and patterns for your next masterpiece. Start experimenting with these storage strategies, and watch how they can transform your crafting routine!
Common Mistakes to Avoid When Cutting Tape
When it comes to cutting washi tape in half, it’s easy to fall into common traps that can lead to frustrating results. One major mistake is using the wrong cutting tool. A dull blade or unsuitable scissors can cause tears or jagged edges, ruining the clean look you’re aiming for. Instead, invest in a sharp craft knife or precise scissors designed for such tasks. They’ll help you achieve smoother, straighter lines, making your projects look professional.
Another pitfall is measuring incorrectly. Rushing through this step might lead to uneven strips or wasted tape. Take a moment to plan out your measurements carefully. Use a ruler or straight edge as a guide, and mark the desired width lightly with a pencil if necessary. This will provide a clear path for your cutting, ensuring you get the narrow strips you want without any guesswork.
Additionally, don’t underestimate the importance of the cutting surface. Cutting on a rough or uneven surface can create resistance, again leading to poor cuts. Always use a self-healing cutting mat or a smooth, sturdy surface to ensure clean cuts. This also protects your tools from damage and keeps your workspace tidy.
Lastly, be mindful of your tape’s adhesive quality. Some washi tapes lose their stickiness if you handle them too much or apply too much pressure while cutting. Always handle your tape gently and aim for a precise cut in one smooth motion. If you find your tape is lifting, consider applying it lightly without squeezing too hard as you press it down. Making these small adjustments can help you avoid common mistakes, and in turn, elevate your crafting game significantly.
Expert Techniques for Precision Cutting
When precision is key to your washi tape projects, mastering some expert cutting techniques can make all the difference. The right approach not only ensures straight, clean lines but also elevates the overall look of your crafts. Here’s how to cut washi tape in half with the precision that professionals rely on.
Using a craft knife or rotary cutter instead of standard scissors can significantly enhance your cutting accuracy. These tools allow you to apply steady pressure, maintaining control over delicate materials like washi tape. Moreover, always keep your blade sharp; a dull blade can create jagged edges that detract from your finished product. To achieve the best results, place a ruler along the line where you want to cut and run your knife along its edge. This method not only guides your cut but also prevents any accidental slips.
Another essential technique involves proper tape tension. Make sure your washi tape is applied flat to your cutting surface; any wrinkles or bubbles can lead to uneven cuts. When you’re ready to cut, apply gentle but steady pressure on the tape, pulling it slightly taut. This tension helps keep the tape aligned correctly while you’re cutting, ensuring the edges stay crisp and straight.
Finally, don’t underestimate the value of practice. Take your time with each cut, and if you’re unsure, practice on scrap pieces before you move on to your actual project. Finding your rhythm is key; the more you cut, the better you’ll understand the nuances of the material and tools. Remember, crafting is as much about the process as it is about the final product, so enjoy the journey as you refine your skills.
Enhancing Your Craft Projects with Washi Tape
Using washi tape in your craft projects can transform mundane items into works of art. This versatile material adds color, pattern, and personality, allowing creatives to explore endless possibilities. When you master cutting washi tape in half, you can create intricate designs that enhance your projects, whether it’s card making, scrapbooking, or organization tasks.
Think about how a simple strip of washi tape can elevate a handmade card. By cutting the tape into thin lines, you can outline shapes, define sections, or create borders that draw the eye. Use these thin strips to add texture or to create layered looks that give depth to your designs. For example, a delicate floral arrangement can be beautifully accented by a thin washi tape border, refining your overall presentation. Remember, contrasting colors and patterns can create stunning effects.
Additionally, consider how split washi tape can be applied in mixed media projects. Its adhesive quality allows you to attach paper, fabric, or even lightweight embellishments seamlessly. Create collage effects by layering various pieces of cut washi tape, giving your project a unique flair while maintaining balance and cohesion. The best part? Mistakes are easy to fix with washi tape-just peel it off and reposition it as needed.
To truly maximize the impact of your crafting, experiment with different textures and widths of washi tape. Use wider pieces for bold statements and thin strips for subtle accents. You can even combine both to achieve a layered look. Ultimately, the goal is to let your creativity shine through. With practice and experimentation, your projects will not only look polished but also reflect your personal style. Happy crafting!
Alternatives to Cutting Washi Tape: Quick Solutions
When you’re knee-deep in a crafting project, there are times you may not want to go through the hassle of cutting washi tape into thin lines. Luckily, there are smart alternatives that can save you time and boost your creativity without sacrificing the aesthetic appeal of your work. Here are some quick solutions to consider.
Instead of cutting washi tape, you can layer multiple strips of different widths on top of each other. This technique not only provides visual interest but also allows you to create the appearance of thinner lines without the precise cutting effort. Mix and match patterns-place a thin piece on top of a wider one to form unique borders or shapes on your projects.
Another clever option is to use washi tape punches or dies if you have them handy. These tools can create shapes and borders from washi tape with ease, eliminating the need to cut by hand. A heart, star, or flower punch can add charming accents to your crafts without the precision cutting, allowing you to incorporate intricate designs effortlessly.
If you’re in a pinch and don’t have the right tools, consider using scissors as a guide instead of attempting to cut straight lines. Simply place a ruler or another straight edge along the tape and run your scissors along the side. This method ensures you cut straight without needing to measure the tape beforehand, making it a quick fix.
Lastly, repurpose wider strips of washi tape by folding them to create different thicknesses. For instance, if you fold a wide piece of tape in half lengthwise, you’ll get a thinner strip that’s just as effective. This gives you the flexibility to adjust widths based on your project’s needs without reaching for cutting tools.
Using these alternatives can not only streamline your crafting process but also open up new avenues for creativity. Embrace the versatility of washi tape, and let your imagination run wild with these effortless solutions!
Inspiration for Washi Tape Crafts and Designs
Washi tape is a game changer in the crafting world, offering endless possibilities for creativity. When you split washi tape into thin lines, you’re opening the door to a plethora of unique designs that can elevate your projects. Think of how thin strips can become intricate borders on handmade cards, or serve as delicate features in scrapbooking layouts. The beauty of washi tape lies not just in its variety of colors and patterns, but in how versatile it can be when cut down to size.
One innovative way to use cut washi tape is in the creation of custom wall art. By cutting the tape into thin strips, you can form geometric designs or even intricate shapes like flowers and stars on your walls. This technique can transform a simple art piece into a vibrant focal point in any room. Another fun idea is to use split washi tape to create unique bookmarks. By layering different colors and patterns, you not only get functionality but also a dash of flair every time you open your book.
Elevating Everyday Items
Consider using thin strips of cut washi tape to personalize everyday items. Picture your phone case adorned with colorful edges or your laptop getting a stylish upgrade. You can also enhance home decor items like vases or picture frames, giving them an instant refresh that reflects your personality. This level of customization makes washi tape an ideal companion for gift wrapping. Use your splits to create eye-catching borders or to seal gift bags, adding an extra touch of thoughtfulness.
Themed Party Decor
For themed parties or events, split washi tape works wonders in creating cohesive decor. You can make awesome banners by cutting the tape into the necessary widths and layering it creatively. It’s also fantastic for table settings; use cut strips to wrap around napkins or create unique place cards. The options are limitless, and the delightful patterns of washi tape will impress your guests, all while being easy to assemble and disassemble.
Washi tape offers not just beauty but functionality in crafting. Embrace the potential of these thin strips, and let your creativity flourish by integrating them into a variety of projects, from art to practical decor. The key is to have fun and experiment with different patterns and combinations until you find designs that resonate with your artistic vision.
Frequently Asked Questions
Q: How can I cut washi tape without tearing it?
A: To cut washi tape cleanly, use a sharp craft knife or scissors. Always ensure your tools are sharp and clean. You can also use a ruler as a guide to achieve straight cuts, minimizing the risk of tearing.
Q: What’s the best way to cut washi tape evenly?
A: For even cuts, use a straightedge when cutting with a craft knife. Measure the desired width and mark it lightly on the tape. Using scissors, always cut through both layers if it’s folded for the neatest results.
Q: Can I cut washi tape with regular scissors?
A: Yes, regular scissors can be used to cut washi tape. Just ensure they’re sharp for the best results. If you’re looking for precision cuts, consider investing in non-stick scissors designed for cutting tape and adhesives.
Q: Is there a technique for cutting thin strips of washi tape?
A: Yes! For cutting thin strips, use a craft knife along a ruler for accuracy. Creating a template or guide can help maintain uniformity as you cut multiple strips at once.
Q: Should I freeze washi tape before cutting for cleaner lines?
A: Freezing washi tape can help it hold its shape, especially for thicker varieties. However, it’s usually not necessary; using the right cutting tools and methods will yield clean lines without freezing.
Q: What’s the difference between cutting washi tape and regular tape?
A: Washi tape is generally thinner and more delicate than regular tape. It’s important to use sharper tools and gentler techniques to avoid tearing or damaging the tape.
Q: How do I avoid sticky residue when cutting washi tape?
A: To prevent sticky residue, use a cutting mat underneath and ensure your tools are dry and clean. If any adhesive residue remains on your workspace, a bit of rubbing alcohol will remove it cleanly.
Q: Can I use a paper cutter to slice washi tape?
A: Yes, a paper cutter can be effective for slicing washi tape. Just ensure the blade is sharp and adjusted correctly to achieve the desired width without tearing or causing a mess.
In Conclusion
Now that you know how to cut washi tape in half for those perfect thin lines, why not give it a try and elevate your crafting game today? The precision and versatility that comes from mastering this simple technique can take your DIY projects to the next level. Whether you’re decorating your planner, creating stunning gift wraps, or adding flair to your home decor, the possibilities are endless!
Don’t stop here! Explore our other guides on creative uses for washi tape, or check out tips for choosing the best washi tape for your projects. If you found this article helpful, consider signing up for our newsletter for more expert insights and exclusive content. We’d love to hear how your projects turn out-share your results in the comments below, or connect with us on social media!
So grab your washi tape and scissors, and start experimenting. There’s no better time than now to get creative!
The Best Way to Cut Washi Tape: Clean Straight Cuts, Splitting & Tool Guide
While the beauty of Japanese masking tape lies partly in its soft fibers that can be torn by hand, many planner spreads, architectural model tags, and gift wrappings demand surgically sharp borders. Finding the best way to cut washi tape—whether across its width or slicing a standard 15mm roll into two thin 7.5mm pinstripes—comes down to using the right cutting surface and blade bevel.
| Cutting Tool / Technique | Edge Crispness | Lengthwise Splitting Ease | Cutting Speed | Best Usage Context |
|---|---|---|---|---|
| #11 Craft Scalpel & Metal Ruler | 10 / 10 (Surgical precision) | Flawless (on silicone release paper) | Moderate (15 seconds) | Micro-pinstripes, geometric collage |
| Clip-On Dispenser (Karu-Cut) | 9 / 10 (Micro-fine straight teeth) | Crosscuts only | Fastest (1 second) | Daily bullet journaling & note indexing |
| Precision Embroidery Scissors | 8 / 10 (Clean clean cut) | Difficult on long strips | Fast (5 seconds) | Gift wrapping and ribbon borders |
| Natural Deckled Hand Tear | Organic rustic Japanese fiber edge | Unpredictable | Instant | Vintage scrapbooking & junk journals |
How to Split Washi Tape Lengthwise into Two Perfect Halves
- Step 1: Mount onto a Carrier Sheet: Washi tape is too flexible to cut in mid-air. Stick a 12-inch strip of 15mm washi tape smoothly onto a sheet of silicone release paper or wax paper.
- Step 2: Align the Center Guideline: Place a transparent quilter’s grid ruler over the tape. Align the 7.5mm center grid line along the spine of the tape strip.
- Step 3: Slice with a Light Scalpel Drag: Draw a fresh #11 craft blade along the ruler edge in one continuous motion. Apply only enough pressure to slice the top washi paper without severing the release sheet beneath.
- Step 4: Peel Clean Micro-Pinstripes: Gently peel one of the newly created 7.5mm strips from the release paper. You now have two identical, ultra-narrow washi border strips ready for intricate page borders.
Frequently Asked Questions About Cutting Washi Tape
What is the best way to cut washi tape into clean thin strips?
The best way to cut washi tape cleanly is to place the tape strip onto a silicone release sheet or self-healing mat, lay a clear metal-edged acrylic ruler over the center line, and slice smoothly using a fresh #11 craft scalpel or rotary cutter. The release paper prevents the tape from curling or sticking to your ruler during the cut.
Get our latest guides, news, and insights highlighted in your Google Search & AI Overviews.










