

Have you ever struggled to create clear, legible labels for your jars, gifts, or projects? You’re not alone! Many craft enthusiasts find that using washi tape not only adds a decorative touch but also offers a practical solution for organizing and labeling. In this guide, we’ll show you how to write on washi tape effectively, ensuring your tags stand out and remain easy to read. With a few simple techniques and some helpful tips, you’ll transform your labeling game and add that personal touch to your crafts. Let’s dive into the vibrant world of washi tape and unlock its potential for your next project!
Choosing the Right Washi Tape for Your Labels
Choosing the right washi tape can transform your labeling experience from mundane to truly inspiring. With such a vast array of colors, patterns, and textures available, it’s essential to consider a few key factors to ensure your labels not only stand out but also serve their purpose effectively. Start by assessing the size and adhesiveness of the tape. A wider tape is excellent for detailed labels, while slim widths are perfect for smaller items. Additionally, some washi tapes have a stronger adhesive, making them suitable for surfaces that might otherwise be challenging.
Another aspect to consider is the design and color of the washi tape. A vibrant pattern can add a touch of personality, but make sure it doesn’t overwhelm the text you’ll be writing. Pair intricate designs with bold or contrasting colors for clear readability. For instance, if you’re labeling spice jars, choose a bright washi tape to make it easy to spot from a distance, yet one that complements the jar’s aesthetic.
Lastly, think about the finish. Matte washi tape gives a more elegant look, while glossy tape can provide a modern and chic vibe. Depending on how you plan to display your labels, this can significantly affect the overall appearance. Whether you’re organizing files, crafting gifts, or simply adding a decorative touch to everyday items, the right choice of washi tape is crucial. Consider experimenting with different types to find what resonates most with your style and functional needs.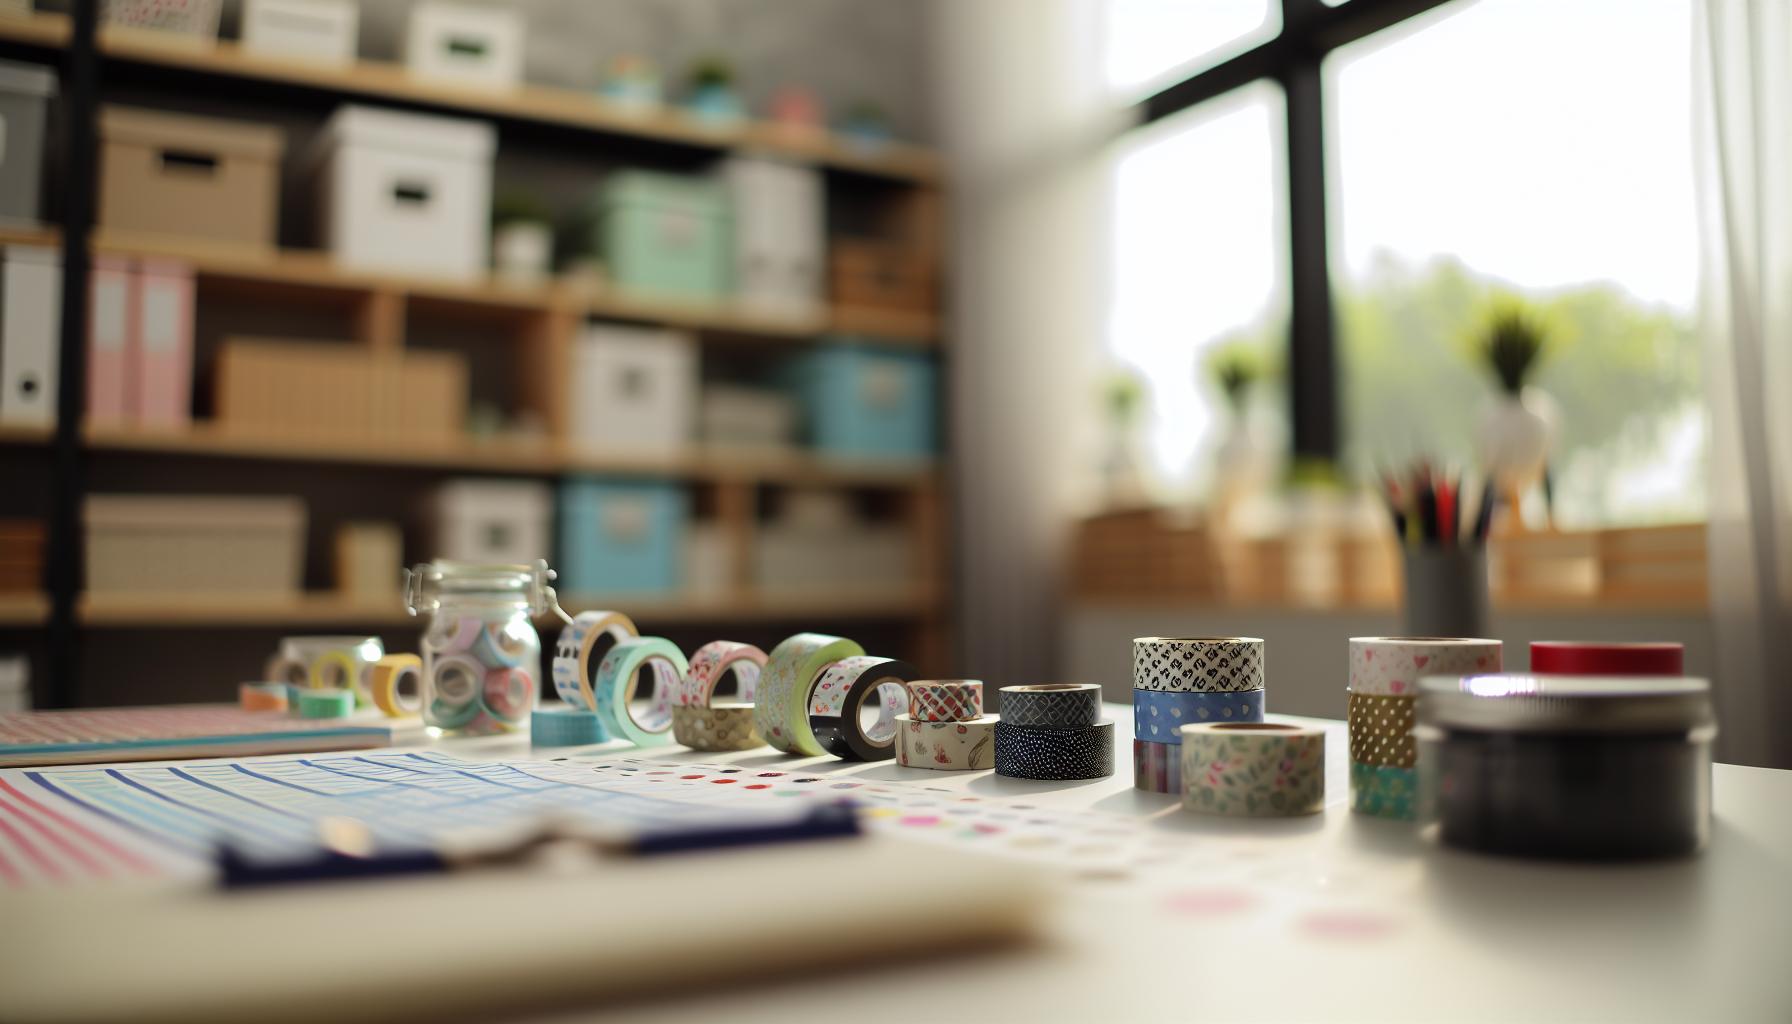
Essential Tools for Writing on Washi Tape
When it comes to writing on washi tape for labels and tags, having the right tools at your disposal can make all the difference. Start with a smooth surface to work on; this helps prevent any mess and ensures your writing stays neat. Here’s what you need to elevate your labeling game:
- Writing Instruments: Not all pens or markers are created equal. For best results, opt for fine-tipped markers or gel pens. These tools provide clear, vibrant lines that stand out against the delicate patterns of washi tape. Avoid ballpoint pens as they can smudge and may not adhere well to the tape.
- Ruler or Straight Edge: If you’re aiming for precision, a ruler is your best friend. Use it to create straight lines and borders on your tape, especially if you’re making labels with a specific shape or design. This simple tool can help keep your labels looking professional.
- Pencil: Before you commit to ink, sketch your text lightly with a pencil. This allows you to measure spacing and alignment without any permanent marks. Once you’re satisfied with the layout, you can trace over it with your chosen ink.
- Eraser: If you make a mistake during the pencil stage, having an eraser handy will help you correct it without ruining the tape. Go for a softer eraser to avoid tearing or damaging the washi.
- Cutting Tool: A pair of scissors or a craft knife will help you trim the tape to your desired length and shape. This can be especially beneficial when creating custom labels that need to fit a specific space.
Equipping yourself with these essential tools not only boosts your productivity but also enhances the fun of personalizing your labeling projects. Remember, the right instruments empower your creativity, allowing your labels to reflect your unique style while remaining legible and organized. So gather these tools, and let your imagination run wild with washi tape!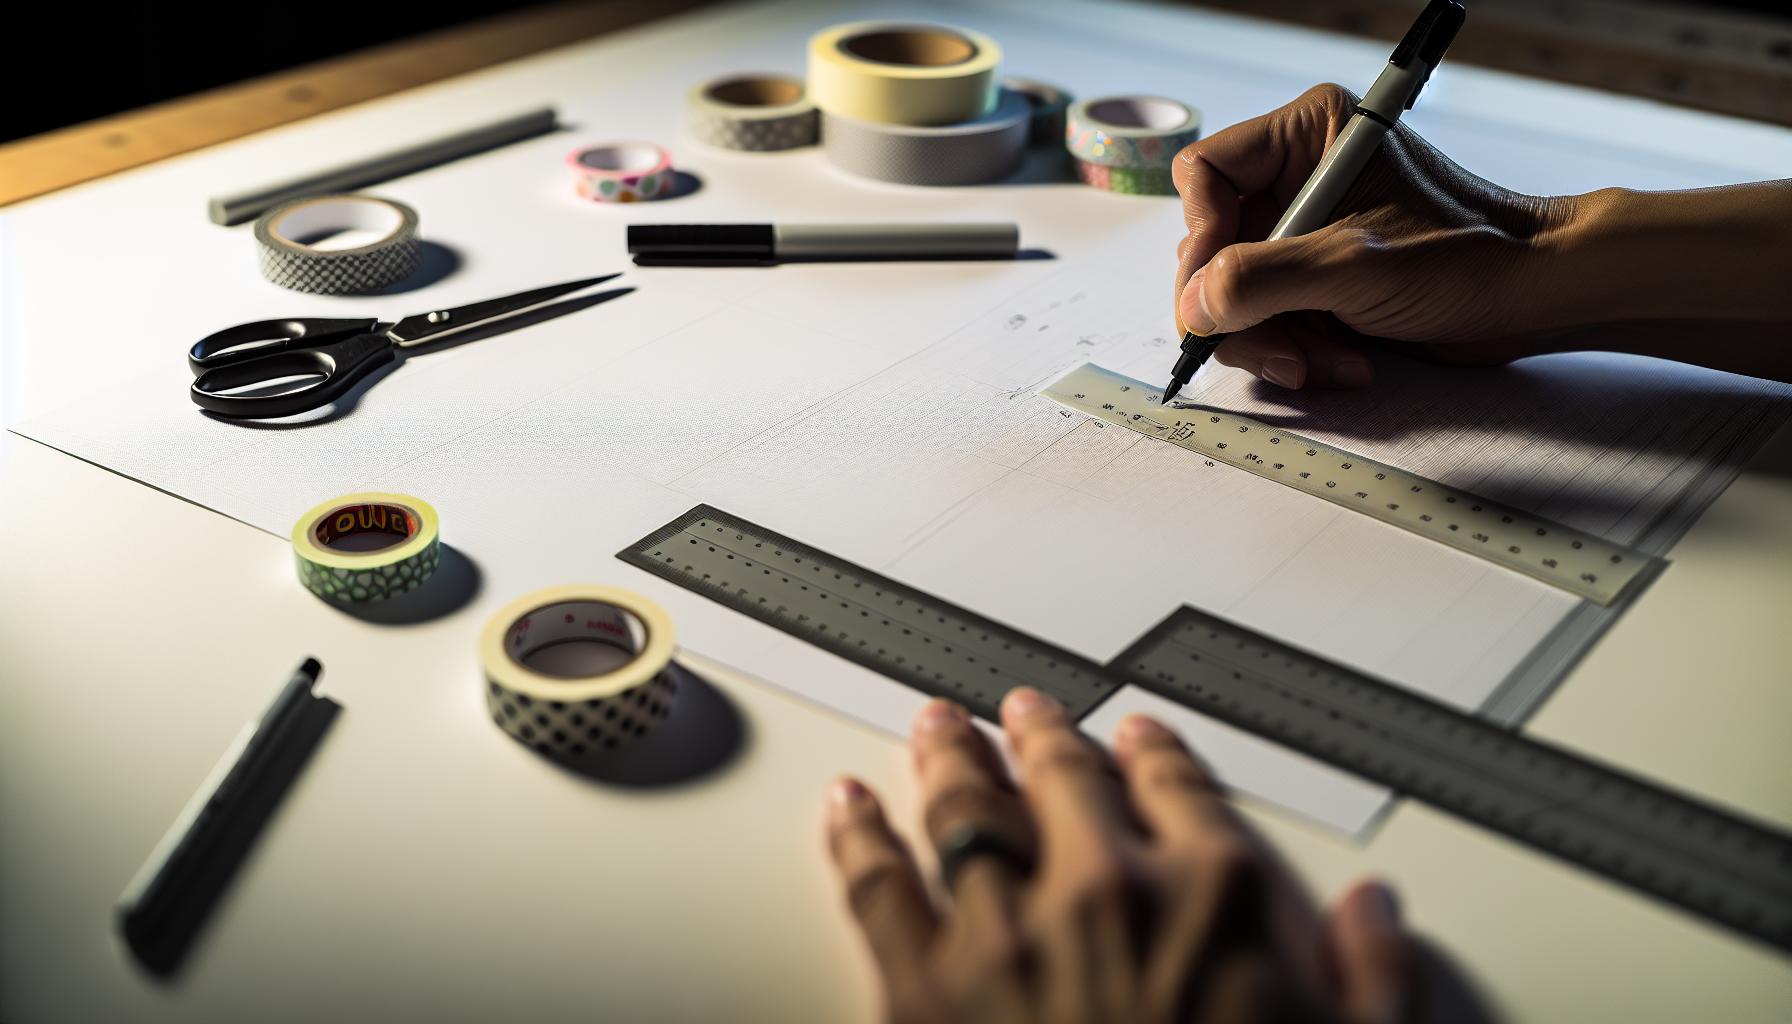
Techniques for Achieving Legible Writing
To make your writing on washi tape not just legible but also visually appealing, it’s essential to employ a few straightforward techniques. Consider the texture of the tape and how different pens react with it. For instance, gel pens and fine-tipped markers glide smoothly over the surface, providing a clean finish. On the other hand, ballpoint pens might smudge or skip, diminishing the overall look of your label. Always test your writing instrument on a scrap piece of washi tape to ensure the results are what you want before proceeding with your actual labels.
Practice Consistency in Size and Style
One of the easiest ways to achieve clarity in your labeling is to maintain consistency in your writing style. Whether you choose to write in all caps or a mix of upper and lower case, staying uniform across your labels helps them look cohesive. Using a ruler or a straight edge can assist in keeping your text straight, which is particularly helpful for longer labels. If you prefer a handwritten look, consider practicing your lettering on plain paper first, mimicking the curvature or flow of your letters.
Spacing and Alignment Matters
Spacing can make or break your labels. Ensure you leave enough space between letters and words for legibility. A handy trick is to lightly mark guidelines in pencil before ink to maintain even spacing. That way, you can erase any pencil marks after your labels are dry, keeping your work neat. Also, consider aligning your text to the center for a symmetrical look, especially on wider pieces of washi tape. This alignment draws the eye and adds to the overall aesthetic of your labeling project.
Embrace the Beauty of Imperfection
Finally, remember that washi tape has its own charm, often showcasing unique patterns and textures that can enhance your labels. Don’t shy away from letting the tape’s design peek through your writing. If you make a mistake, don’t fret-embrace it! Use it as an opportunity to add an artistic touch, like drawing a border or adding a decorative element around your text. Often, these little quirks can give your labels a personal, handcrafted feel that elevates their appeal.
By combining the right tools, consistent techniques, and a touch of creativity, you’ll create washi tape labels that are not only legible but also full of character. Make your labeling projects not just functional but an expression of your unique style!
Creative Ideas for Labeling with Washi Tape
When it comes to unleashing creativity with washi tape, the possibilities are endless! This unique, decorative tape is perfect for labeling everything from pantry items to creative projects. One fun idea is to create custom labels for your spice jars. Use a patterned washi tape to wrap around the jar and write the spice name on it. The tape adds a pop of color and personality to your kitchen while keeping your spices organized and identifiable. Plus, if you change your spice collection, it’s easy to peel off and replace the label without any sticky residue.
Another innovative approach is to make your own planner or journal tabs. Cut strips of washi tape and fold them over the edge of your pages to create fun, colorful dividers. You can label each tab with the corresponding section, like “Goals” or “Recipes.” This not only enhances the aesthetic of your planner but also makes it easy to navigate through your ideas and tasks.
For gifts, consider using washi tape to create thoughtful tags. Cut the tape to the desired length and write a personal message or the recipient’s name directly on it. You can adhere this to a small gift box or hang it from the ribbon. This small touch personalizes your gifts and showcases your creative flair. If you’re feeling artistic, you can layer different washi tapes to make a multi-colored label that stands out even more.
Lastly, don’t limit washi tape to labeling items-think outside the box! You can use it to decorate your workspace or home. Create a wall art piece by sticking washi tape in geometric patterns directly onto the wall. Use these designs to compartmentalize different themes, colors, or inspirations, turning a plain wall into a stunning visual board.
With these ideas, you can easily transform your labeling tasks into a creative adventure. Washi tape not only serves functional purposes, but it also adds beauty and a personal touch to whatever project you undertake. Happy decorating!
Tips for Personalizing Your Tags
Creating personalized tags with washi tape is a simple yet captivating way to add a unique touch to your projects. Whether you’re labeling jars, gifts, or organizing your workspace, adding a personal flair can elevate your labels from functional to fabulous. To truly make your tags stand out, consider these practical tips that draw from both creativity and utility.
To start, think about color coordination. Choose washi tape that complements the colors of the item you’re labeling. For example, if you’re labeling jars in a pastel-themed kitchen, select soft-colored tapes with delicate patterns. This not only keeps everything looking cohesive but also makes the labels easy on the eyes. Additionally, layering different tapes can create striking visual interest. Try using a bold pattern as a base and a simpler design on top for contrast.
Next, add a personal message or doodle. Instead of just writing the contents, consider including a fun fact or a quirky description that adds character. For instance, instead of labeling a jar simply as “Sugar,” you might write “Sweet like You!” Adding your own touch transforms a practical label into something heartfelt. And don’t underestimate the power of doodles. A small star or flower can give your label a charming visual appeal.
When it comes to the writing instruments, not all pens are created equal. Make sure to utilize permanent or oil-based markers, as they dry quickly and won’t smudge. Experiment with different tip sizes to find what feels right for your project. Fine tips offer precision for smaller text, while thicker tips stand out boldly, making them perfect for headings or keywords.
Lastly, consider including symbols or icons to denote specific categories or types. For instance, if you’re labeling spices, a small chili icon next to “Cayenne” can add a playful touch and help you quickly identify what’s inside at a glance. This not only personalizes your tags but also enhances their functionality.
By applying these simple techniques, you can transform basic labels into personalized tags that reflect your style and intention. Personalization doesn’t just beautify your space-it makes organizing a fun and creative process!
Organizing Your Space with Washi Tape Labels
When it comes to organization, clear labeling can make all the difference, and washi tape labels add style to this essential task. Using washi tape not only brings a pop of color and creativity but also streamlines your ability to identify items quickly. Imagine searching through your pantry for that elusive spice jar-you can save time and frustration by labeling everything with beautiful, coordinated washi tape that actually stands out.
Start by selecting a variety of washi tapes that match your aesthetic. Having a cohesive set allows you to mix and match while still keeping a unified look throughout your space. This method can be particularly effective in areas like home offices, craft rooms, or kitchens. For instance, you might use floral patterns for your herb jars and more vibrant colors for your snack bins. The key is to ensure that the colors and designs not only suit the content but also enhance the overall visual arrangement of your space.
Next, consider how you label your items. Be specific-labels like “Coffee” and “Green Tea” are not just practical; they also create an inviting atmosphere. Use a permanent marker to write legibly, and if you want to go a step further, include a little doodle or icon beside the text. A small coffee cup next to “Coffee” adds personality, making your space feel warm and welcoming. Don’t shy away from using symbols; they can convey information at a glance, which is especially helpful in busy environments.
Lastly, think of washi tape as more than just a labeling tool. It can be used creatively to organize your space. For example, you can create DIY drawer dividers labeled with washi tape-this not only categorizes your items effectively but also keeps them within easy reach. Roll out the tape across the top of your drawers, label each section clearly, and watch how quickly your organization transforms. Remember, the goal is not only to be functional but also to create a space that you enjoy spending time in. Washi tape makes this possible, turning mundane organization into a vibrant expression of your style.
Best Practices for Durable Washi Tape Labels
To create labels that stand the test of time, there are a few essential practices to keep in mind when using washi tape. First, choose the right tape. Not all washi tapes are created equal; some are thicker and adhere better than others, while some may lose their stickiness over time. Look for washi tapes that explicitly state they are designed for labels or are of higher quality to ensure durability.
When applying washi tape, prep the surface properly. Clean the area where the tape will stick to remove any dust or oils that may prevent adhesion. This step is crucial for ensuring that your labels stay put, especially in high-traffic areas or spots that might be touched frequently. Another pro tip is to press down firmly on the tape after sticking it; this ensures better contact and helps prevent peeling.
Writing on washi tape also requires some consideration. Use permanent ink markers, as they offer long-lasting visibility without smudging or fading. If you’re worried about fading due to sunlight, you can even consider using UV-resistant markers. Avoid using water-based inks, as they can run and smear. Additionally, allow any writing to dry completely before handling the tape to avoid smudges or smearing.
Lastly, consider environmental factors. If you’re labeling items that might be exposed to moisture or varying temperatures, make sure to store those items in a protective way. For instance, placing jars in a cabinet rather than leaving them out can prolong the lifespan of your washi tape labels. With these best practices, you’ll ensure that your washi tape labels remain as vibrant and legible as the day you made them.
Exploring Different Writing Instruments for Washi
When it comes to writing on washi tape, the right instrument makes all the difference. The main goal is clarity and durability, so choosing the right tools is key. You want to use pens or markers that won’t smudge and are versatile enough for various surfaces. Here are my top picks for writing instruments you should consider:
Permanent Markers
Permanent markers are a favorite for labeling with washi tape because they don’t smear and provide sharp, clear lines. Look for ones with a fine point for detailed writing-this ensures your notes or titles remain legible, even on narrow strips of tape. Brands like Sharpie offer an extensive range of colors and tip sizes, which can enhance the look of your labels while ensuring durability.
Gel Pens
Gel pens are another fantastic option. They glide smoothly across the tape and come in vibrant colors. Their fine tips allow for neat handwriting, making them perfect for decorative labeling. However, you should allow the ink to dry completely to avoid smudging, especially if they are exposed to moisture.
Acrylic Paint Markers
For those seeking a bold look, acrylic paint markers can offer an artistic flair. These markers provide opaque colors that stand out, especially on lighter washi tape. They’re also water-resistant, which adds to the longevity of your labels. Just note that they might require a bit more drying time compared to permanent markers.
Stylus Pens
If you’re a fan of digital tools, stylus pens on a tablet can be a great way to design your labels before transferring them onto washi tape. This allows detailed planning and the chance to try different fonts and sizes without wasting material.
As you explore these writing instruments, remember to consider the project at hand. Different applications may call for different pens, so don’t hesitate to experiment with combinations to find your perfect match. By selecting the right writing tools, you can create attractive, legible labels that enhance your organization and add a personal touch to your items.
Troubleshooting Common Labeling Issues
When working with washi tape, you might run into some common hiccups that can make labeling a bit of a challenge. Let’s tackle these issues head-on and turn potential frustrations into smooth solutions. One recurring issue people face is smudging. If you’re using gel pens or any ink-based tool, the quick-drying properties of permanent markers often make them a safer bet for crisp lines. Always give your chosen medium adequate time to dry before handling the tape or placing it on items.
Another common stumbling block is the tape lifting or peeling off surfaces. Washi tape can be a bit finicky depending on the type of surface it’s adhered to. If you’re applying it to something textured or porous, consider using a light adhesive spray to reinforce the bond. Testing on a small section first can save you from larger mistakes later.
Sometimes you might find that your fine art doesn’t translate well to washi tape. If your writing appears jagged or rough, it could be the pen’s nib. Opt for pens designed for smoother surfaces, or try holding your pen a little differently; tilting it at a slight angle can sometimes help maintain a steady line.
If you encounter issues with ink bleeding or fading, assess the materials you’re using. For projects that need to stand the test of time, opt for archival ink pens that resist fading and water. And if all else fails, don’t forget that artistic flair can often hide imperfections-consider layering washi tape or using decorative stickers to enhance your labels creatively. With these tips in your toolkit, you’ll be well-equipped to create beautiful, legible, and lasting labels.
Designing Attractive Washi Tape Tags
Designing with washi tape is more than just slapping color on a surface; it’s about creating a visual narrative. Attractive tags can elevate any project, whether it’s labels for gifts, organization in your workspace, or personalized decorations around your home. Using washi tape can add charm and elegance, but how do you turn an ordinary label into a standout piece? Here’s how.
Start with the basics-select the right color and pattern of washi tape that complements your theme. A bold, colorful tape can draw attention to important tags, while subtler patterns can serve as a beautiful background that enhances your writing. Layering different tapes creates depth. For example, you might use a floral pattern on the base and a solid colored tape for a border or text. This layering not only boosts aesthetics but also makes your labels pop, increasing their legibility.
Next, don’t underestimate the power of shapes. Tags don’t have to be rectangular; consider using circles, scalloped edges, or even custom die-cut shapes that fit the theme of your project. You can easily make these shapes by cutting the washi tape into various forms and applying them to a sturdy paper base. You can also add little embellishments like doodles, icons, or stickers that relate to the content of the label, further personalizing your tags.
Consider the typography you choose for writing on your tags. Use a consistent font style that matches the mood of your design-playful fonts for fun gifts or elegant scripts for formal occasions. Test out different writing instruments too. While some people stick to permanent markers, trying gel pens or metallic ink can add flair. Keep legibility in mind, though; you want your message to be clear even amidst all that creativity.
Finally, arrangement matters. If there’s space on your tag, scatter elements like small drawings or decorative flourishes to create a balanced look. Don’t overcrowd; sometimes, less is more. Step back and view your tags as a whole. They should work together visually, whether they’re part of a display or simply organization in your home. With these tips, you’re set to create beautiful, eye-catching washi tape tags that are as functional as they are stunning.
Innovative Uses for Washi Tape Beyond Labels
Washi tape isn’t just for labels and tags; its versatility can inspire a range of creative applications that elevate your everyday crafting and organization. Whether you’re looking to spruce up your home or add a personal touch to gifts, go beyond the typical uses and explore the innovative possibilities of this charming tape.
One fantastic way to use washi tape is in home décor. Think about decorating picture frames, creating custom wall art, or even adding flair to furniture. You can use washi tape to create geometric patterns on walls or line shelves with it for a pop of color. Another fun idea? Make temporary wallpaper in a nursery or playroom-just peel it off when it’s time for a change. The best part is that washi tape comes in numerous patterns and colors, so you can easily switch it up to match the seasons or your mood.
With gifts, washi tape shines as both a decorative element and a functional tool. You can use it to seal gift wrap creatively, attach gift tags, or even create unique bows. Wrap a piece of washi tape around small jars for a cute way to label homemade goodies like jams or bath salts. Moreover, you can make custom cards by incorporating washi tape into your greeting card designs. Just layer different tapes, add some handwritten notes, and you’ve got a heartfelt card that stands out.
Washi tape also becomes a handy organizer for your workspace. Use it to create colorful borders on your whiteboard, or label your office supplies. You can make DIY bookmarks by attaching tape to sturdy paper or cardstock. This way, you have a custom bookmark that can symbolize your reading journey! Additionally, strip washi tape allows you to differentiate between files or folders easily without using permanent labels-an especially good option for anyone who frequently reorganizes or updates their systems.
Finally, let’s not forget the educational possibilities with washi tape. Teachers can use it to create borders around bulletin boards, label classroom items, or develop fun, interactive activities. Students can utilize it for projects, blending creativity with their assignments. The educational uses extend to home studies as well, helping parents to engage children in learning activities that feel less like chores and more like fun.
The charm of washi tape is its ability to transform ordinary tasks into creative opportunities, all while allowing for easy removal and reapplication. Get inspired, think outside the box, and let it be the spark for your next project!
Eco-Friendly Options: Sustainable Washi Tape Solutions
When it comes to labeling with washi tape, being eco-friendly isn’t just a trend; it’s a responsible choice that can enhance your crafting experience. Traditional washi tape may appeal with its designs, but there are eco-conscious options that combine creativity with sustainability. Many brands now offer washi tape made from natural materials, such as recycled paper or plant-based adhesives, which means you can create your labels while minimizing your environmental impact.
Look for brands that emphasize sustainability in their production processes. Recycled paper tapes, for example, not only use post-consumer materials but often come with biodegradable properties. Additionally, opt for tapes that use water-based glues, which are less harmful than chemical counterparts. Brands like MT Tape and others lead the way in providing sustainable options without sacrificing the quality or versatility that make washi tape popular.
If you’re up for a little DIY, consider making your own washi tape. You can use kraft paper or scrap booking paper paired with eco-friendly tape or adhesive. This not only gives you the freedom to create custom designs but also ensures that your materials are sustainable. Personalizing your labels this way can be incredibly satisfying and gives your projects a uniquely personal touch.
While using washi tape, remember to latex paint or non-toxic inks for any writing. These alternatives won’t just support your eco-friendly mission; they’ll also keep your labeling legible and vibrant. The goal here is to maintain a balance between aesthetics and ecological responsibility, allowing your crafting to thrive alongside your values.
Incorporating eco-friendly washi tape solutions into your projects is easier than you might think. With a bit of research and creativity, you can enjoy the beauty of washi tape while honoring our planet.
Q&A
Q: How can I make my writing stand out on washi tape?
A: To make your writing stand out on washi tape, choose a bold pen or marker with contrasting ink colors. Additionally, using a thicker washi tape provides a better surface area for legibility. Consider incorporating decorative elements or using multiple layers of tape to enhance visibility.
Q: What type of ink is best for writing on washi tape?
A: The best ink for writing on washi tape is quick-drying and water-resistant. Gel pens, permanent markers, and paint pens work well. Avoid using fluid inks that might smudge. Make sure to test your chosen pen on a small area first to ensure compatibility.
Q: Can I use washi tape on food containers for labeling?
A: Yes, you can use washi tape on food containers, but ensure you use a waterproof pen to write your labels. For durability, it’s better to avoid using washi tape on containers that require thorough washing. Check out our section on Best Practices for Durable Washi Tape Labels for more tips.
Q: How do I remove washi tape labels without tearing?
A: To remove washi tape labels without tearing, gently peel the tape back at a 45-degree angle. If it resists, heat it slightly with a hairdryer for easier removal. This technique minimizes tearing and leaves surfaces clean for re-labeling.
Q: Can I reuse washi tape labels?
A: Yes, you can reuse washi tape labels if they are removed carefully. Make sure to clean the adhesive residuals if they adhere to surfaces. Storing them flat will help maintain their shape for future use, as discussed in our Organizing Your Space with Washi Tape Labels section.
Q: What are the best decorative techniques for washi tape labels?
A: Using layering, cutting shapes, or combining different patterns creates stunning decorative techniques for washi tape labels. You can also incorporate washi tape borders around your labels to enhance aesthetics greatly. For more ideas, check out Creative Ideas for Labeling with Washi Tape.
Q: Is washi tape eco-friendly?
A: Yes, washi tape is generally considered eco-friendly because it’s made from natural fibers, like hemp or wood pulp. Look for brands that emphasize sustainable practices, which you can explore in the Eco-Friendly Options: Sustainable Washi Tape Solutions section of our guide.
Q: How can I use washi tape to organize my workspace?
A: You can use washi tape to label storage bins, shelves, and office supplies, providing color-coded organization that’s visually appealing. Write directly on the tape for customization or use it as a decorative border around labels. For thorough guidance, see our Organizing Your Space with Washi Tape Labels section.
Wrapping Up
Now that you know how to create legible labels and tags on washi tape, it’s time to put your skills to the test! Remember, the beauty of washi tape lies in its versatility and aesthetic appeal, so don’t be afraid to experiment. Whether you’re organizing your space or crafting unique gifts, washi tape can elevate your projects in no time.
If you found this guide helpful, check out our articles on creative uses for washi tape and step-by-step tips for making stunning labels. Have questions or want to share your creations? Drop a comment below-we’d love to hear from you! Don’t forget to subscribe to our newsletter for more insider tips and exclusive content! Your journey with washi tape starts now; let’s make beautiful things together!
Get our latest guides, news, and insights highlighted in your Google Search & AI Overviews.










