

If you love using washi tape to jazz up your crafts or home decor, you’ve probably faced a frustrating truth: without a good seal, that beautiful tape might not last. Here’s the kicker-sealing washi tape not only preserves its vibrancy but also prevents it from peeling or tearing. Whether you’re enhancing a flexible journal cover or adding flair to furniture, knowing how to seal your tape can make all the difference. In this guide, I’ll share easy, effective methods to make your washi creations stand the test of time. Ready to turn your ephemeral art into something truly enduring? Let’s dive in!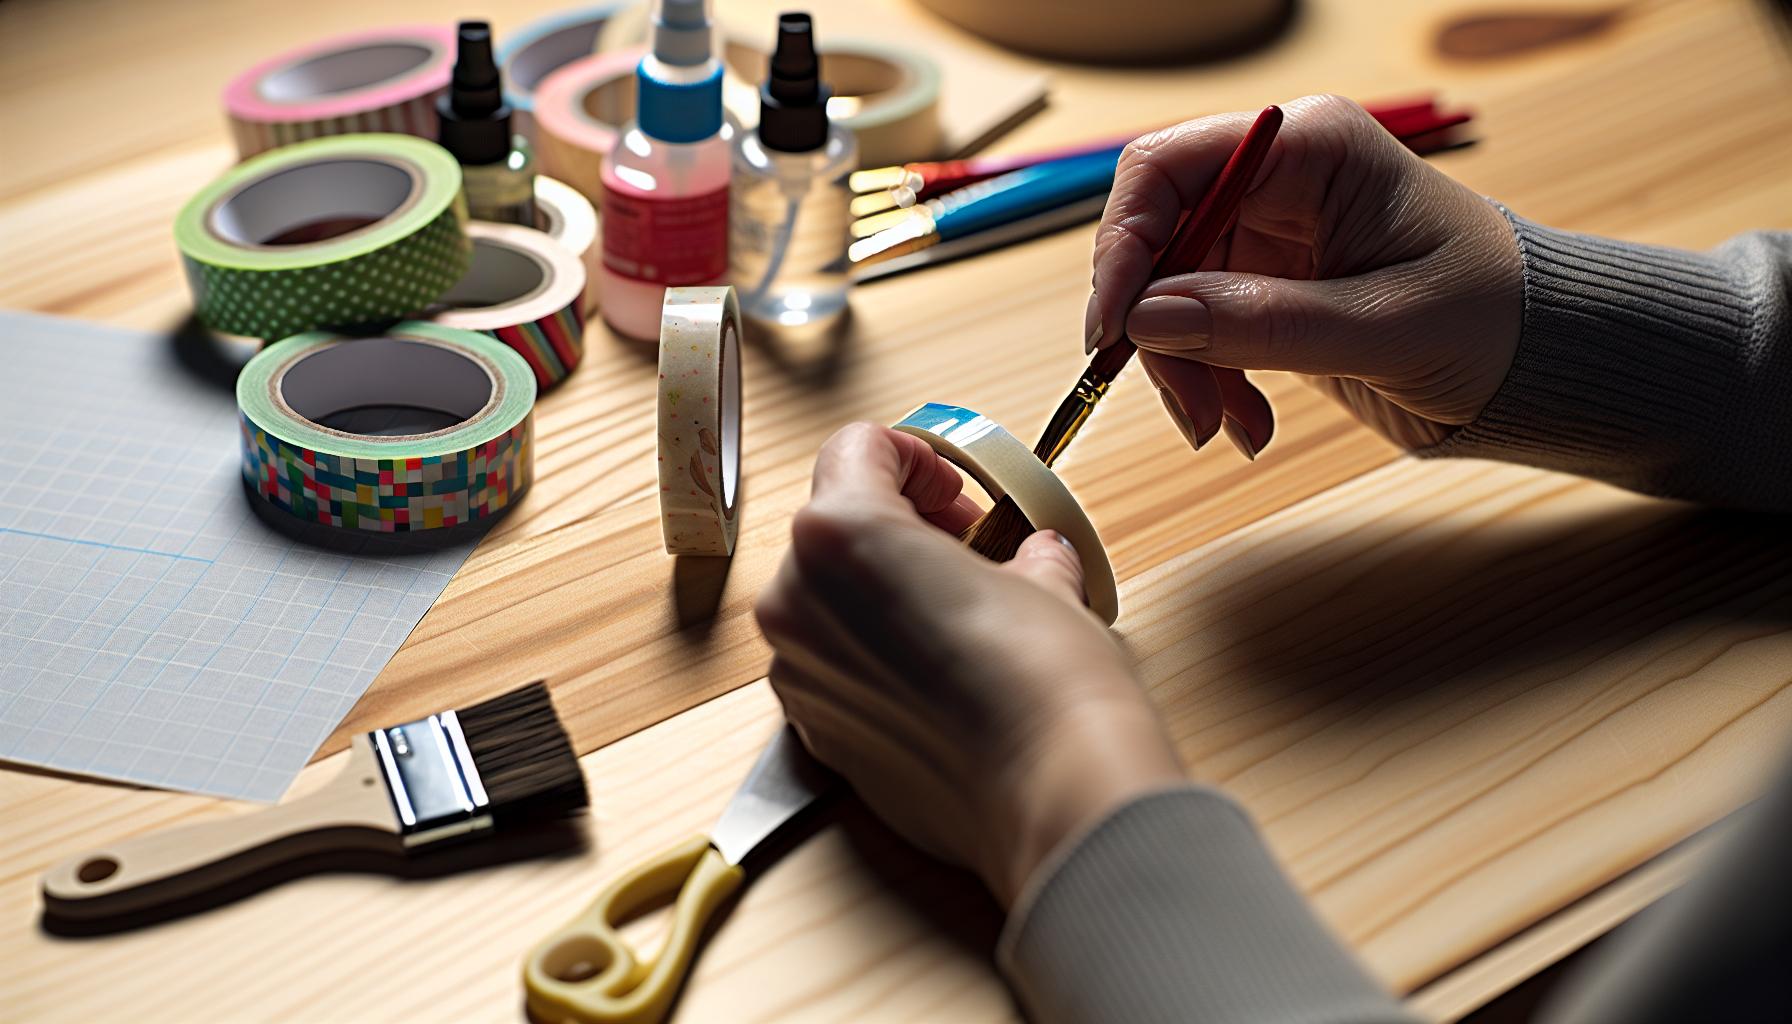
How Sealing Washi Tape Extends Its Life
Sealing washi tape is not just a fun crafting step; it significantly extends the life of your projects. When properly sealed, washi tape becomes resistant to wear and tear, moisture, and fading. This is crucial whether you’re using it for decorative purposes or functional applications. The transparency of most sealants allows the vibrant colors and patterns to shine through, ensuring that the aesthetic you love remains intact for a longer time.
Think about all those projects where you’ve seen the tape peel off or fade after a while. By sealing it, you create a protective layer that bonds with the tape, safeguarding it against everyday elements. For example, when sealing washi tape on furniture, a product like Mod Podge can not only preserve the design but also enhance the surface with a glossy finish. This technique keeps your creations looking fresh, and you won’t have to worry about them losing their charm over time.
Sealing also aids in maintaining the adhesion of washi tape. When exposed to air and physical contact, tape can lose its stickiness. A good seal can prevent this from happening, ensuring that the tape remains firmly in place, whether on a scrapbook page, framed art, or a DIY furniture piece. By investing a little time in sealing your washi tape, you’re ensuring that your hard work and creativity hold up beautifully against the test of time.
Ultimately, sealing washi tape transforms it from a temporary craft supply into a lasting element of your artistic endeavors. With just a few simple materials and techniques, you can increase its durability and longevity, making your projects not only visually striking but also enduring treasures.
Essential Materials for Sealing Washi Tape
To truly maximize the longevity of your washi tape projects, it’s essential to select the right materials for sealing. The right sealants not only protect but enhance the vibrancy and durability of your creations. Here’s what you need to get started.
- Sealants: Look for high-quality sealants like Mod Podge or clear acrylic spray. Mod Podge is ideal for paper projects as it dries clear and can provide a glossy finish, while clear acrylic spray offers a more lightweight option that can be used on various surfaces without affecting the tape’s color.
- Brushes: If you’re using Mod Podge, you’ll need a soft brush for application. A foam brush is often recommended as it provides even coverage without leaving brush marks.
- Protective Gear: Don’t forget about gloves and a mask! While most sealants are safe, it’s best to protect your skin and avoid inhaling fumes, especially when using spray sealants.
- Drop Cloth or Newspaper: Work on a protected surface to catch any drips or spills. This will make cleanup easier and keep your workspace tidy.
To enhance your projects, consider investing in specific sealers designed for washi tape, which can offer additional benefits like enhanced adhesion and moisture resistance. Always test your chosen materials on a small sample first to ensure compatibility, especially if you’re sealing mixed-media projects that combine various materials. This preparation will help you achieve a professional-looking finish that keeps your washi tape looking fresh for the long haul.
Step-by-Step Guide: How to Seal Washi Tape
Sealing washi tape accurately transforms your beautiful crafts into durable, long-lasting pieces. Whether it’s a planner, a journal, or a decorative element in home décor, taking the time to seal your washi tape ensures that it stays vibrant and intact through the rigors of everyday use. Here’s a straightforward guide that outlines how to seal washi tape effectively, so you can maintain its charm and usability.
Start by gathering all your materials. You’re going to need a quality sealant like Mod Podge or a clear acrylic spray, a soft brush (preferably a foam one for better application), some gloves and a mask for safety, and protective covering for your workspace, like a drop cloth or newspaper. Once you have everything in place, it’s time to begin.
- Prepare Your Workspace: Lay out your drop cloth or newspapers to catch any spills. Ensure the area is well-ventilated, especially if you’re using spray.
- Apply Your Sealant: If using Mod Podge, dip the foam brush in the sealant and gently apply it over the washi tape. Use light strokes and avoid over-saturating-too much sealant can cause the tape to wrinkle. If you prefer spray sealant, hold the can about 6-12 inches away from your project and apply a light, even coat.
- Allow to Dry: Let the first coat dry completely. This usually takes about 15-30 minutes, depending on your sealant. For enhanced protection, you may want to apply a second coat once the first one is thoroughly dry.
- Final Touches: After the final coat dries, your washi tape will be protected from moisture and wear, allowing it to maintain its vibrancy. Store your items properly to prolong their lifespan.
By following these steps, you can easily seal your washi tape in a way that not only preserves its beauty but also enhances its durability. Whether it’s for a daily planner filled with ideas or a scrapbook preserving memories, effectively sealed washi tape can make all the difference in your creative projects.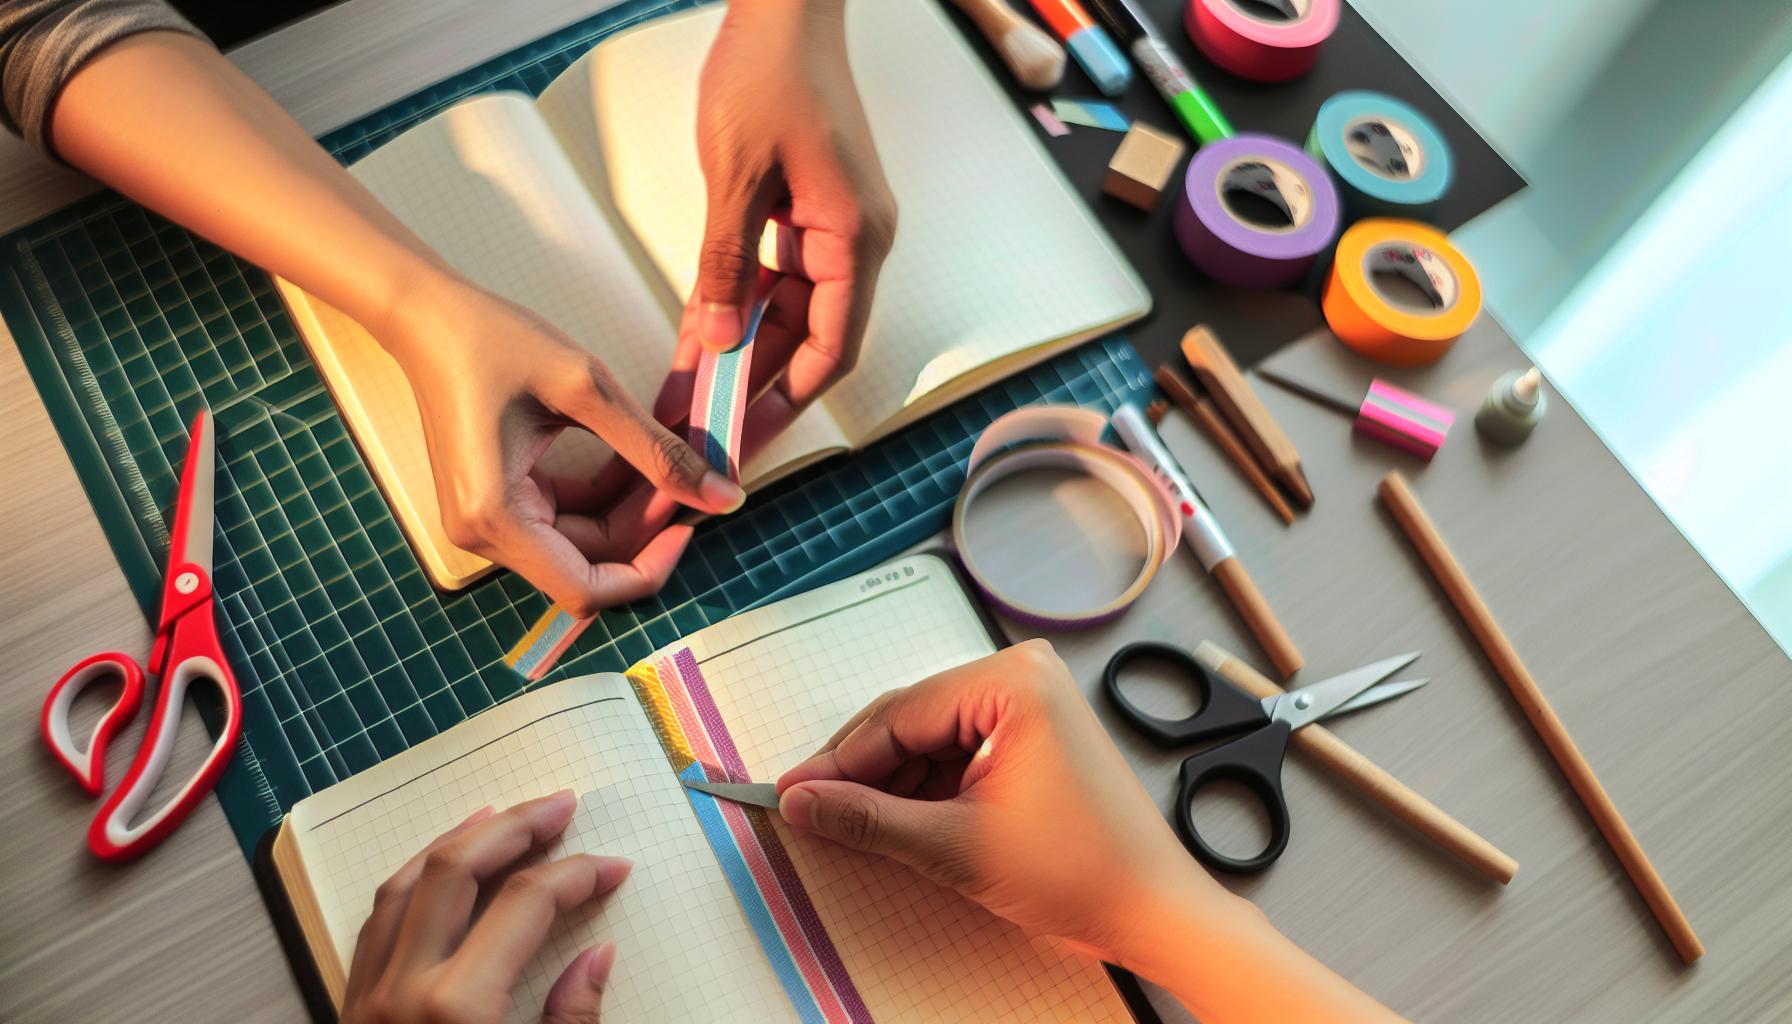
Different Techniques for Sealing Washi Tape
Sealing washi tape is essential for preserving its beauty and longevity in your projects. By using various sealing techniques, you can protect your creations from moisture, dust, and general wear and tear, which can quickly dull the vibrancy of your tape and reduce its lifespan. Here are some effective techniques to consider that accommodate different styles and preferences.
Clear Acrylic Sealant
A popular choice among crafters, clear acrylic sealants offer a protective layer without altering the look of your washi tape. Simply spray or brush on the sealant, ensuring even coverage. This method is excellent for larger projects and provides a durable finish that stands up well to moisture and handling. As you apply it, hold the spray can 6-12 inches away and use light, sweeping motions to avoid pooling or dripping.
Mod Podge
Another favorite, Mod Podge, is ideal for sealing washi tape on items like journals or decorative boxes. Use a foam brush to gently apply a thin layer over the tape. It’s vital to apply it lightly to prevent the tape from wrinkling. Once dry, Mod Podge creates a glossy finish that enhances the colors of the tape, bringing your designs to life. You can also opt for the matte version if you prefer a non-shiny look.
Paint or Glue Sealer
For those who like a customized approach, using diluted white glue or even craft paint as a sealer can yield interesting results. Mix glue with a little water for easy application. Apply it with a brush over the edges of the tape to keep them adhered and prevent lifting. This technique helps when working with layered designs or when you need the tape to hold together more firmly.
Using Clear Packing Tape
A practical and straightforward technique is to cover your washi tape with clear packing tape. This method works well for flat surfaces like scrapbook pages and planners. Simply lay the clear tape over the washi tape, pressing down to eliminate any air bubbles. It’s a quick fix that provides a robust surface against scratches and fading while maintaining the original aesthetic of your washi tape.
Utilizing these sealing techniques not only extends the life of your washi tape but also elevates the overall quality and durability of your creative projects. Experiment with different methods to find what works best for your needs, and enjoy crafting with confidence knowing your beautiful designs will last!
Common Mistakes to Avoid When Sealing
When sealing washi tape, avoiding common pitfalls can make all the difference in the longevity and appearance of your projects. Neglecting proper drying time is a major misstep; if you rush to touch your project or add more layers before the previous coat has fully dried, you risk smudging the tape or clouding the sealant. Always check the manufacturer’s instructions for drying times, and be patient-sometimes a few extra minutes can save you from a frustrating redo.
Another frequent error is applying too much sealer. Whether you’re using Mod Podge, clear acrylic spray, or any other liquid, a heavy hand can lead to wrinkles, bubbles, or even drips that ruin the clean finish of your washi tape. It’s smarter to apply thinner layers and build up to the desired effect rather than slathering on a thick coat. This also allows the colors of the tape to shine through without becoming dulled by excess sealant.
Do not skip surface preparation either. If the surface isn’t clean or is too textured, the sealant may not adhere properly, leading to peeling or lifting over time. Always wipe down your working area and ensure it’s free from dust, oils, or other residues. Finally, pay attention to the type of sealer you choose for your project. Not all sealers are created equal; some may react poorly with washi tape’s adhesive or could alter its color. Test a small area first to ensure compatibility.
By keeping these common mistakes in mind, you’ll set yourself up for success and enjoy durable, beautiful results that showcase your creativity. Remember, sealing isn’t just an afterthought-it’s a crucial step in preserving your artistic endeavors. Happy crafting!
Creative Ways to Use Sealed Washi Tape
When you’ve taken the time to seal your washi tape, it opens up a whole new realm of creative possibilities. Sealed washi tape isn’t just about durability; it transforms into a versatile medium for various artistic projects. Here are some engaging ways to make the most of your sealed washi tape and elevate your crafts.
First off, consider using sealed washi tape for DIY decorative elements around your home. You can enhance picture frames, vases, or even furniture by wrapping sections with your beautifully sealed tape. This method not only adds a pop of color and personality to your decor but also ensures that the tape holds up against time and wear.
Another fantastic application is in creating custom bookmarks. Simply cut pieces of sealed washi tape into your desired shape and add a tassel or charm at the end. This not only showcases your favorite designs but also gives your reading an elegant touch. Plus, the sealing protects the tape from wear and tear as you flip through those pages.
For the planners and bullet journal enthusiasts, sealed washi tape can serve as a fantastic header and divider. Its sturdy quality ensures that your layouts remain intact over time, keeping everything neat and organized. Incorporating sealed washi tape to highlight important dates or to create themed sections can inject a burst of creativity into your planning routine.
If you’re into gift wrapping, using sealed washi tape can elevate your presents from simple to spectacular. Create stylish bows or use long strips to craft unique gift embellishments. The durability of sealed tape means the decorations will last through transport and handling, making your thoughtful gifts look their best.
No matter how you choose to utilize it, sealed washi tape is a wonderful tool that combines beauty with functionality. By incorporating it creatively into your projects, you’re not only preserving your artistic efforts but also enjoying the process of crafting in innovative ways.
How to Store Sealed Washi Tape Properly
It’s easy to overlook how you store your washi tape, but proper storage can significantly extend the life of your sealed designs. Treating your washi tape with care means it’s ready for your next creative spark whenever inspiration strikes. Here’s how to keep your sealed washi tape in top condition.
First, always store your washi tape in a cool, dry place. Heat and humidity can degrade the adhesive over time, making it less effective when you’re ready to use it. A temperature-controlled environment is ideal, away from direct sunlight which can cause fading. Try using a dedicated drawer or a storage box that closes tightly to keep dust and moisture at bay.
For organization and ease of access, consider using storage solutions like small bins or even a fishing tackle box. These options allow you to categorize your washi tape by color, pattern, or size, making it quick and easy to find what you need. You can also wrap each roll in a small piece of plastic wrap to prevent them from unwinding and getting tangled. An alternative approach is to use washi tape dispensers, which can keep rolls neatly arranged while also being portable for crafting on the go.
Additionally, if your washi tape comes in a specific packaging that’s durable, stick with it. The packaging is often designed to keep the tape safe and can also help you remember which designs are which. When you’re using sealed washi tape for projects, make sure to return any unused portions to their storage solutions promptly to maintain their quality.
By taking these steps to store your sealed washi tape properly, you’ll ensure it remains in excellent shape, ready to enhance your projects with vibrant designs and reliable stickiness whenever you need it. Don’t underestimate the power of good storage; it’s key to keeping your crafting supplies in prime condition!
DIY Projects to Showcase Sealed Washi Tape
You might be surprised by how many amazing crafts you can create with sealed washi tape. Once you’ve taken the time to seal your tape properly, you can use it in various DIY projects that showcase its beauty and durability. Here’s how to turn your sealed washi tape into stunning decor and useful items.
Start with simple bookmarks. Cut strips of cardstock into your desired shape, then adhere sealed washi tape in vibrant patterns. These personalized bookmarks make for great gifts or a fantastic way to keep your place in your favorite novel. If you’re feeling adventurous, try to layer different tapes for a more complex design.
Next, consider creating decorative jars. Clean empty jars become stunning functional decor when you wrap them with sealed washi tape. The tape adheres beautifully and adds color and personality to storage jars, vases, or even candle holders. Arrange different colors and widths to achieve a unique look. Not only do these jars look chic, but they provide organization for your crafting supplies or office materials.
Additionally, think about making greeting cards or scrapbook pages with your sealed washi tape. Use it as a border or a decorative element that adds dimension and interest to your creations. Try layering tape with stamps or other embellishments to create a truly one-of-a-kind card. When people receive a card adorned with your unique washi tape, they’ll appreciate the personal touch.
Lastly, don’t forget about home decor! Sealed washi tape can transform light switch covers or picture frames into eye-catching pieces. Simply apply the tape in fun patterns and colors, and you’ll breathe new life into everyday items in your home.
With these ideas, your sealed washi tape can go beyond just being a decorative element; it can become a key ingredient in a range of creative projects. With a little imagination, you can turn your crafting supplies into beautiful, functional art!
Best Products for Enhancing Tape Longevity
To truly make your sealed washi tape last a lifetime, investing in the right products can make all the difference. It’s not just about sealing the tape; it’s about creating an environment where that seal can thrive. Here are some game-changing options that will help enhance the longevity and effectiveness of your washi tape.
First and foremost, adhesive sealants are a must-have. Products like Mod Podge or clear acrylic sealers offer a protective layer, sealing in the adhesive while adding a finish that prevents peeling and fading. When applying these sealants, look for non-toxic options if you’re concerned about fumes or safety, especially when crafting projects for kids or around pets. You can apply them with brushes or spray cans, depending on your project size.
Another fantastic product to consider is double-sided tape. This isn’t just any tape; high-quality double-sided adhesive can hold washi tape securely without the risk of it lifting or flaking over time. Use it when attaching washi tape to heavier projects, like frames or wooden items, where traditional adhesives might falter.
Don’t overlook storage solutions that maintain the integrity of your washi tape. Investing in a climate-controlled craft storage box keeps your supplies shielded from heat and humidity, which can cause wear and tear. Look for containers with compartments, so you can organize your washi tape by color or pattern, making it easy to find what you need without exposing the rolls to unnecessary air or sunlight.
Finally, washi tape dispensers can greatly enhance usability while preventing damage. These handy tools allow you to cut the tape neatly while also keeping it organized and less prone to curling or sticking to itself. Some dispensers even offer weighted bases to keep them steady while you work.
By incorporating these products into your crafting routine, you’ll not only extend the life of your washi tape but also improve your overall crafting experience. Take the time to choose high-quality options, and you’ll see the benefits in the longevity and performance of your beloved washi tapes.
Real-Life Tips from Washi Tape Enthusiasts
When it comes to washi tape, enthusiasts have some tried-and-true strategies that can significantly extend its life and enhance its appearance. The excitement of using washi tape can sometimes lead to neglecting its preservation, but a few solid tips can keep it looking fresh and vibrant for your crafting projects.
Many crafters recommend using Mod Podge for sealing washi tape, as it not only protects the surface but also adds a lovely finish. It’s ideal for projects that might face wear and tear, like phone cases or decorative boxes. A fellow crafter shares that applying a thin layer with a brush makes a noticeable difference-just be sure to let it dry completely before using the item. This two-step process builds a strong barrier against dust and moisture.
- Choose the right time to seal: Fans of washi tape suggest sealing things when you first apply the tape rather than waiting until it shows signs of wear. This proactive approach helps in maintaining the tape’s adhesion and prevents it from lifting over time. Crafting a project like a journal cover? Seal as you go.
- Layer your sealing product: Using two coatings of Mod Podge can enhance protection, as one layer might not be robust enough. Remember that patience is key-waiting for each layer to fully dry ensures a smoother and more durable finish.
- Be mindful of humidity: Washing tape lovers warn against using sealed items in humid conditions. If you live in a damp climate, consider storing your washi tape projects in a cool, dry place to avoid bubbling or discoloration.
- Test on scraps first: Before sealing significant projects, try your products on small scraps of washi tape. This helps you gauge how the sealant affects the color and pattern, so you’re not surprised later on.
Storing washi tape correctly is just as crucial. One enthusiast swears by using a craft organizer with individual compartments, ensuring each roll is easily accessible but protected from dust. Another tip is to keep your washi tape rolls in a cool, dark place-direct sunlight can cause fading.
By incorporating these tips from real users, you can showcase your creativity with washi tape while preserving its beauty for longer. Happy crafting!
Frequently Asked Questions About Washi Tape Sealing
When it comes to sealing washi tape, many crafters have common questions that can make or break their projects. One of the most frequent queries is whether Mod Podge is the best option for sealing. From personal experience, I can say that Mod Podge is fantastic-it offers excellent durability and can even enhance the look of your washi tape, making colors pop. Just be sure to apply thin layers and let each one dry completely to avoid any dullness.
Another popular question is about the longevity of sealed washi tape. “How long will it last?” is a concern for anyone eager to preserve their creations. While there’s no one-size-fits-all answer-since factors like humidity and sun exposure play a significant role-sealed washi tape can last for many months or even years if stored properly. For instance, storing your projects in a cool, dry place away from direct sunlight will help maintain both the adhesive and overall appearance.
A lot of crafters wonder if they need to seal their washi tape at all. The short answer? It depends on the project. For items subject to wear, like phone cases or journals that get frequent use, sealing is highly recommended. However, for decorative pieces that won’t be handled often, you might skip the extra step. Just keep in mind that unsealed washi tape can be more susceptible to lifting and peeling.
Lastly, people often ask about potential mistakes to avoid when sealing. One common pitfall is applying too much sealant in one go, which can lead to bubbling or uneven finishes. Stick to light, even coats and allow adequate drying time in between layers. And for those experimenting, testing on scrap pieces of tape before sealing your main project is a great way to prevent unexpected results. By keeping these considerations in mind, you’ll be well on your way to mastering the art of sealing washi tape for lasting beauty.
Frequently asked questions
Q: What materials do I need to seal washi tape effectively?
A: To seal washi tape effectively, you’ll need clear sealant spray or Mod Podge, a clean brush, and a pair of scissors. Clear tape can also work as a temporary seal. Ensure your workspace is clean and dry for the best results. For additional tips, refer to the “Essential Materials for Sealing Washi Tape” section of the article.
Q: How long does sealed washi tape last compared to regular washi tape?
A: Sealed washi tape can last significantly longer than unsealed tape-it can maintain its adhesion and appearance for months or even years, depending on the sealing method used. Proper sealing techniques ensure minimal wear and tear over time, making your creations more durable.
Q: Can I use washi tape outdoors, and how do I seal it for outdoor use?
A: Yes, you can use washi tape outdoors if it’s sealed with a weather-resistant sealant like outdoor Mod Podge. Make sure to apply a generous coat and allow it to cure fully before exposure to the elements. This enhances the tape’s durability against moisture and UV light.
Q: What are common mistakes to avoid when sealing washi tape?
A: Common mistakes include using too much sealant, not allowing sufficient drying time, or applying it in a humid environment. These can lead to bubbling, peeling, or reduced adhesive effectiveness. For a detailed guide, check the “Common Mistakes to Avoid When Sealing” section in the article.
Q: Can I re-seal washi tape that has already been used?
A: Yes, you can re-seal washi tape that has been used. Clean the surface gently with a dry cloth to remove dust or residue, then apply a fresh layer of sealant. This process can revitalize the tape’s appearance and restore its sticking power.
Q: What are some creative ways to highlight sealed washi tape in my projects?
A: You can use sealed washi tape in various creative ways, such as creating unique bookmarks, decorative elements for scrapbook pages, or even as borders for photo frames. For more inspirations, see the “Creative Ways to Use Sealed Washi Tape” section of the article.
Q: How do I properly store sealed washi tape to maintain its quality?
A: Store sealed washi tape in a cool, dry place away from direct sunlight. Use a storage box or an organizer to keep them flat. This prevents warping and maintains their adhesive quality. Check the “How to Store Sealed Washi Tape Properly” section for further details.
To Conclude
Now that you know how to seal washi tape for longevity, it’s time to put these techniques into action and protect your precious decor. Don’t just stop here-explore our handy guides on choosing the best washi tapes for your projects or find tips on creative ways to use them in your crafting. Want to get even more from your washi tape? Check out our Get our latest guides, news, and insights highlighted in your Google Search & AI Overviews.










