
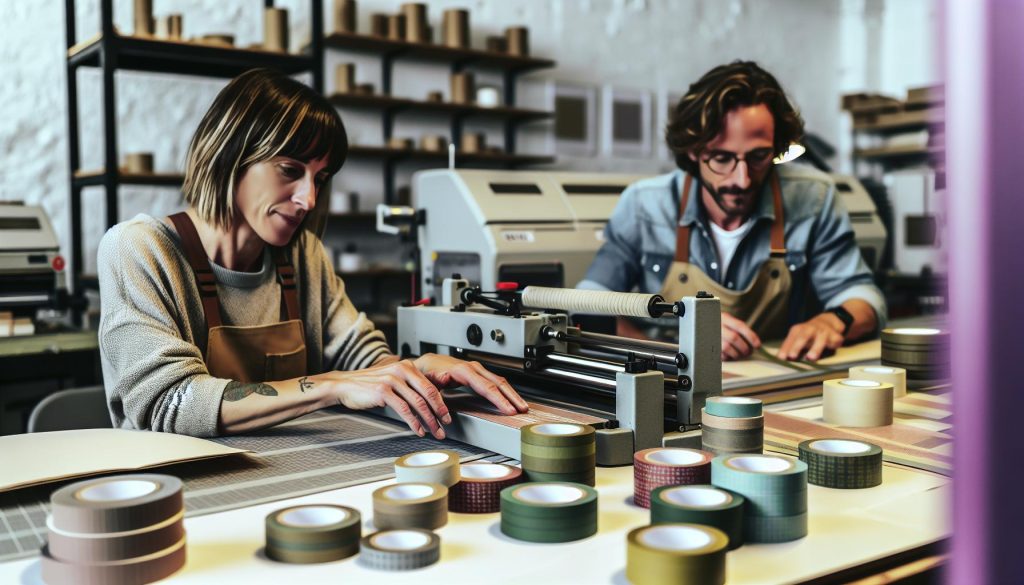
Have you ever marveled at the beauty of washi tape and wondered how you could create your own unique designs? Washi tape, celebrated for its stunning aesthetics and versatility, can elevate your crafting game, whether you’re a hobbyist or a professional. Printing your own washi tape opens up a world of creativity; you can personalize it for gifts, home decor, or your own projects! In this guide, we’ll explore different methods to print washi tape, both at home and through professional services. You’ll discover techniques that match your skill level and resources, allowing you to dive into a fun, rewarding project that reflects your personal style. Get ready to unleash your creativity and learn how to make stunning washi tape that will impress anyone who sees it!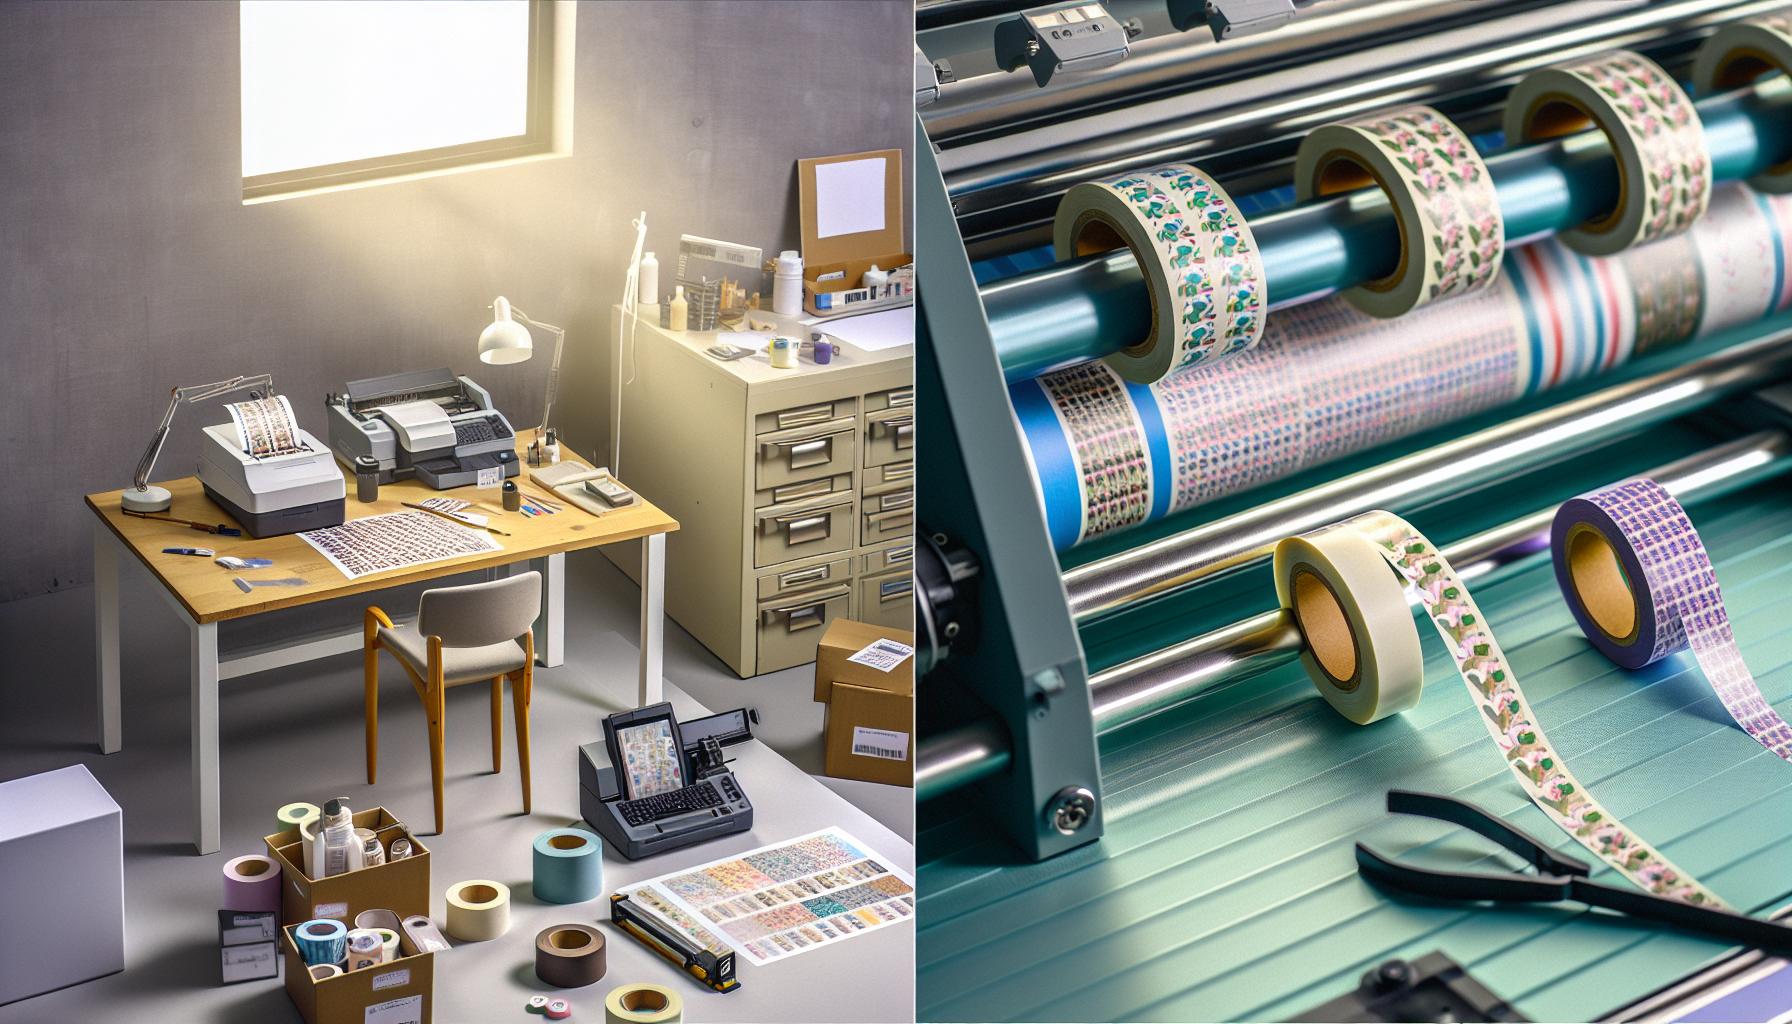
Understanding Washi Tape Printing: Techniques & Equipment
When it comes to printing washi tape, understanding the techniques and equipment involved is pivotal to achieving great results. The beauty of washi tape lies in its rich textures and vibrant colors, and capturing that essence during the printing process is what sets your designs apart. Traditional printing methods like screen printing and flexography are popular choices for professional production, allowing for high-quality prints with consistent color saturation. These techniques utilize specialized inks that adhere well to the washi tape’s surface, ensuring that your designs remain vibrant and intact.
For those tackling DIY projects at home, home printers can also effectively print on washi tape, but it might require a bit more finesse. Inkjet printers are commonly used, as they can produce intricate designs and a wide color range. However, you’ll need to use a special adhesive-backed paper that mimics the washi tape, allowing your home printer to handle the print job smoothly. Make sure to set the printer for high-quality output and test your designs on regular paper first to tweak any colors or details before committing them to the tape.
Essential Techniques to Consider
In addition to selecting the right printing method, consider the following techniques to elevate your washi tape printing:
- Layering Colors: Use overlays for added depth. This technique can create complex visuals that pop.
- Utilizing Transparencies: Incorporate transparent sections in your designs to give a wash of color without overpowering your base print.
- Creative Textures: Experiment with different materials, like using bamboo or rice paper in conjunction with washi tape, for unique tactile experiences.
The right equipment tailored to your printing ambitions will also play a significant role. Whether you’re investing in a high-quality printer, choosing the right inks, or deciding on the finish for your tape, each piece of equipment influences the final product. A solid understanding of your tools and techniques will set you on the path to creating stunning, custom printed washi tape that showcases your unique designs.
Essential Materials Needed for Printing Washi Tape
To create beautiful printed washi tape, you need to gather a variety of essential materials that will impact the quality and effectiveness of your designs. Whether you’re embarking on a DIY project or diving into professional production, having the right supplies is crucial for achieving vibrant, high-quality prints.
For DIY Projects at Home:
- Adhesive-Backed Paper: You need paper designed to mimic washi tape’s texture and finish. This special adhesive paper allows your inkjet printer to print directly onto the tape, making it easier to cut and apply later.
- Inkjet Printer: A good-quality inkjet printer is key for producing detailed designs with a broad color spectrum. Make sure it’s capable of high-resolution printing since washi tape’s beauty lies in its intricate patterns.
- Specialty Inks: Depending on your printer, opt for dye-based or pigment-based inks. Pigment inks generally offer better water and fade resistance, ensuring your creations last longer.
- Clear Coating (Optional): After printing, a clear sealant can help protect your designs from scratches or smudges, giving them a polished finish.
For Professional Printing:
- Screen Printing Setup or Flexographic Printer: If you’re printing in bulk, professional methods like screen or flexo printing are effective. These require more investment but yield consistent, vibrant colors.
- High-Quality Washi Tape Rolls: Source rolls of blank washi tape that are compatible with your chosen printers. The tape’s quality will significantly affect the final print.
- Specialized Inks for Washi: Use inks designed for washi printing that offer superior adhesion and brightness. Look specifically for inks that maintain color integrity after drying.
- Cutting Tools and Equipment: Whether you’re manually cutting your printed tape or using a cutting machine, having precise tools will help create clean, professional edges.
By investing in these essential materials, you’ll lay a solid foundation for your washi tape printing projects. From home experiments to large-scale production, having the right supplies enables you to showcase your creativity vividly and effectively.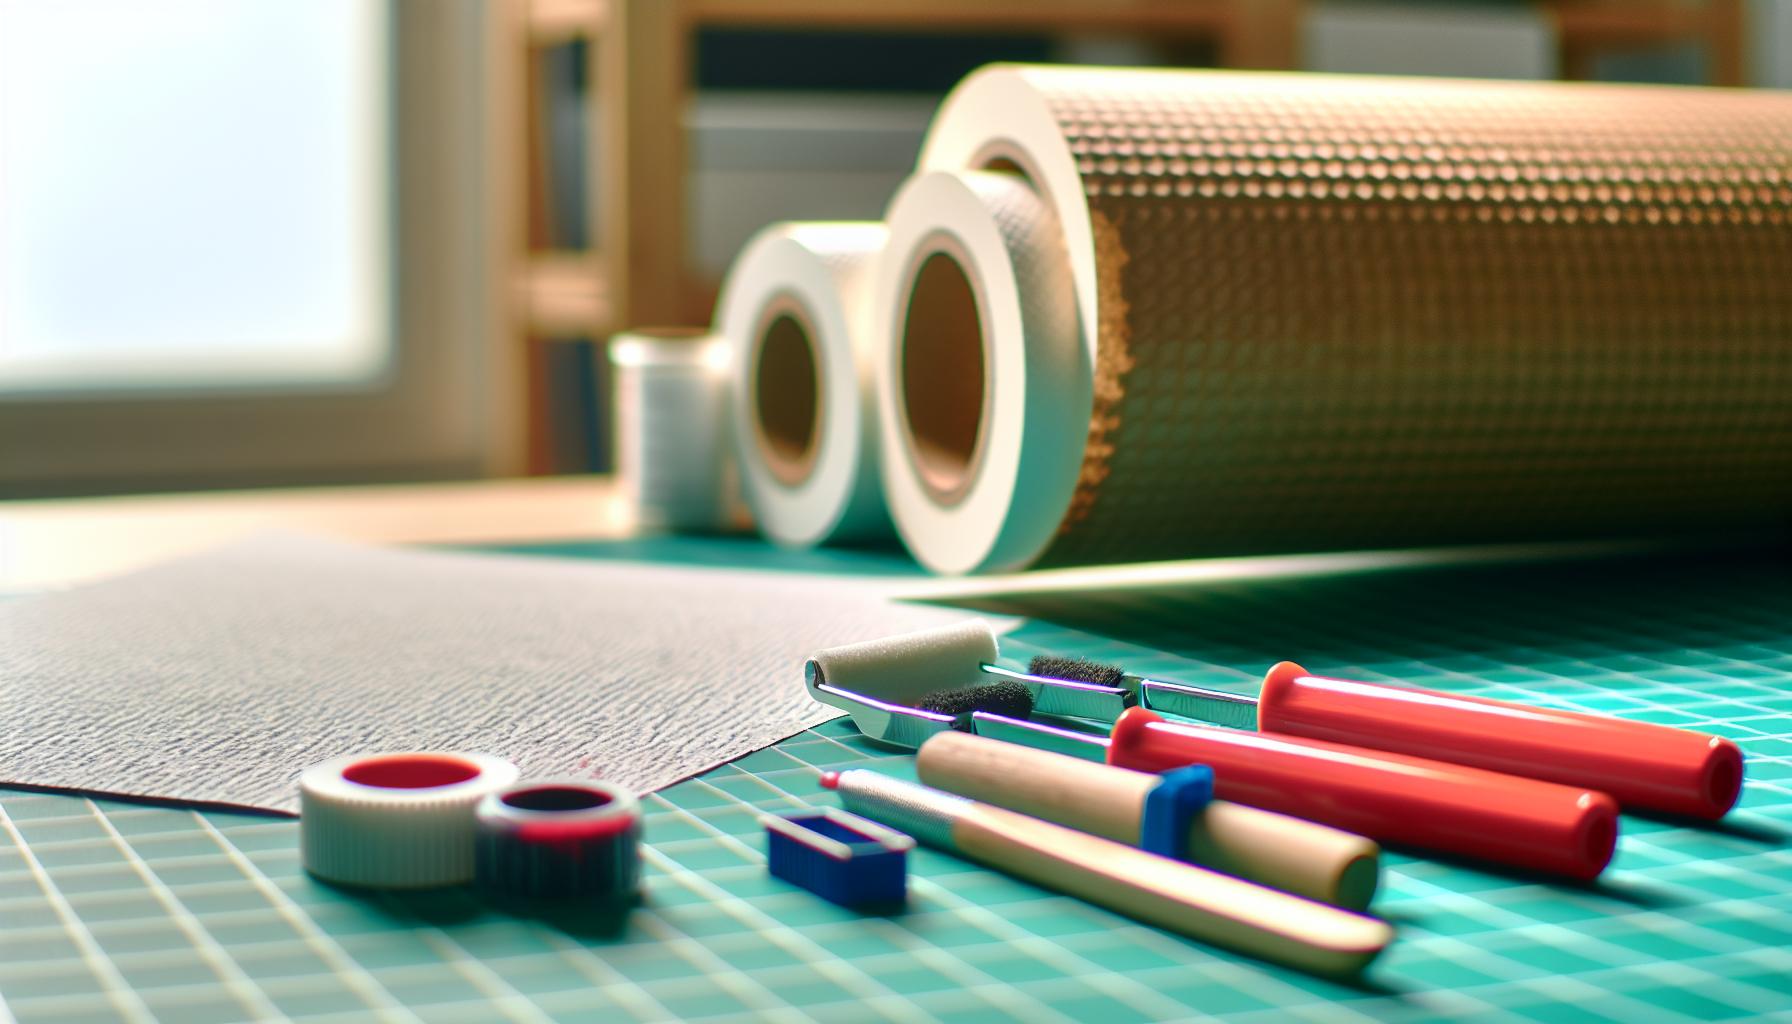
Home Methods for DIY Washi Tape Printing
Creating your own printed washi tape at home is not just a fun and creative project; it’s a way to add a personal touch to your crafts, gifts, and décor. With a few basic materials and a bit of know-how, anyone can achieve beautiful results that rival store-bought designs. The best part? You don’t need to break the bank to bring your ideas to life.
Start by gathering your essential materials. You’ll need adhesive-backed paper that resembles the texture of traditional washi tape. This special paper allows you to print directly onto it while maintaining that signature flexibility and lightness. A good-quality inkjet printer is crucial, as it should be capable of high-resolution output to capture the intricate designs that make washi tape so appealing. If you want your creations to withstand the test of time, consider using pigment-based inks, which offer better water resistance and color longevity compared to dye-based options.
Once you have your materials, it’s time to design! Take advantage of graphic design software or even free online tools to create custom patterns that reflect your style. Use bright colors and bold designs to make your tape stand out. After printing, finish up with a coat of clear sealant to protect your work from scratches and to enhance the overall finish. This step can elevate your simple prints to professional quality.
Don’t forget about experimentation! Play around with different techniques, like layering designs or using unconventional colors. This is your chance to create unique tapes tailored specifically to your needs. So, whether you’re making customized tape for a special occasion or just for day-to-day crafting, the possibilities are endless-and the satisfaction of creating something from scratch is unbeatable. Dive in, get creative, and enjoy the process of making your very own printed washi tape!
Step-by-Step Guide to Professional Washi Tape Printing
Creating professional-quality washi tape at home is an exciting project that allows for endless creativity. To get started, focus on a systematic approach that combines quality materials, precise printing techniques, and thoughtful design.
First, set up your workspace. Gather all essential tools, including an inkjet printer that can handle high-resolution images, adhesive-backed paper designed for tape-making, and graphic design software or online design tools. Ensure your printer settings are optimized for the highest quality output. This means selecting the right paper type in the printer settings and adjusting the resolution to at least 1200 dpi for sharp, vivid images. Pigment-based inks are recommended for their durability and resistance to fading.
Next, let’s dive into the design process. Think about the themes or patterns you want to create. Use your graphic design software to layout your designs, keeping in mind that washi tape typically has a limited width. Creating designs that are repeatable can give you a seamless look. Consider incorporating colors and motifs that reflect your personal style or current trends. Once you’re satisfied with your design, print a test sheet on regular paper to check alignment and colors.
When it comes to printing your washi tape, here’s how to do it effectively:
- Load your adhesive-backed paper into the printer, ensuring it’s inserted correctly for optimal printing.
- Print your design and inspect it immediately after. Check for any inconsistencies or errors.
- After printing, apply a clear sealant to the printed surface to protect it. This step is crucial as it enhances the colors and seals the ink, preventing smudging or fading.
Lastly, provide plenty of time for drying and curing. If you’re doing multiple designs, stack them carefully between sheets of parchment paper to avoid sticking. With patience, you’ll have customized washi tape ready to inspire your creative projects!
With this step-by-step guide, you’ll master the art of washi tape printing and be well on your way to creating beautiful, personalized tape that stands out in any crafting endeavor. Don’t hesitate to experiment; that’s where the magic happens!
Designing Custom Prints for Washi Tape
can be incredibly rewarding, allowing you to express your unique style and creativity. Think of it as transforming a blank canvas into a vibrant piece of art that you can share with others. The beauty of washi tape lies not just in its functionality but in its ability to carry your personal touch.
To kick off your design process, start by gathering inspiration. Explore current design trends, nature, or even your favorite color palettes. A few popular styles include geometric patterns, florals, and minimalist designs. Consider how your print will be used-will it be for scrapbooking, gift wrapping, or home decor? Tailoring your design to its intended use can make it all the more impactful.
When it comes to creating your designs, utilize graphic design software like Adobe Illustrator or free tools like Canva. Keep in mind the width of your tape as you create. Too intricate a design might get lost on a narrow strip, while something overly simple might not stand out. Aim for a balance; designs that are repeatable across the width of the tape will create a seamless look, so think about how your patterns can tile or flow into one another.
Also, pay attention to color choices.Colors can drastically affect the final appearance of your printed washi tape. Bright, vibrant hues draw the eye and can evoke emotions. If you’re going for subtlety, pastels or monochromatic schemes can create an elegant aesthetic. Don’t forget to do test prints on regular paper first-this can save you from surprises when the final product stacks up against your expectations. Using a color wheel can also help you choose complementary shades that enhance your overall design.
Ultimately, the key is experimentation. Feel free to mix and match styles, colors, and motifs. The beauty of DIY washi tape printing is that there are no rules-only opportunities to explore your creativity and make something truly unique.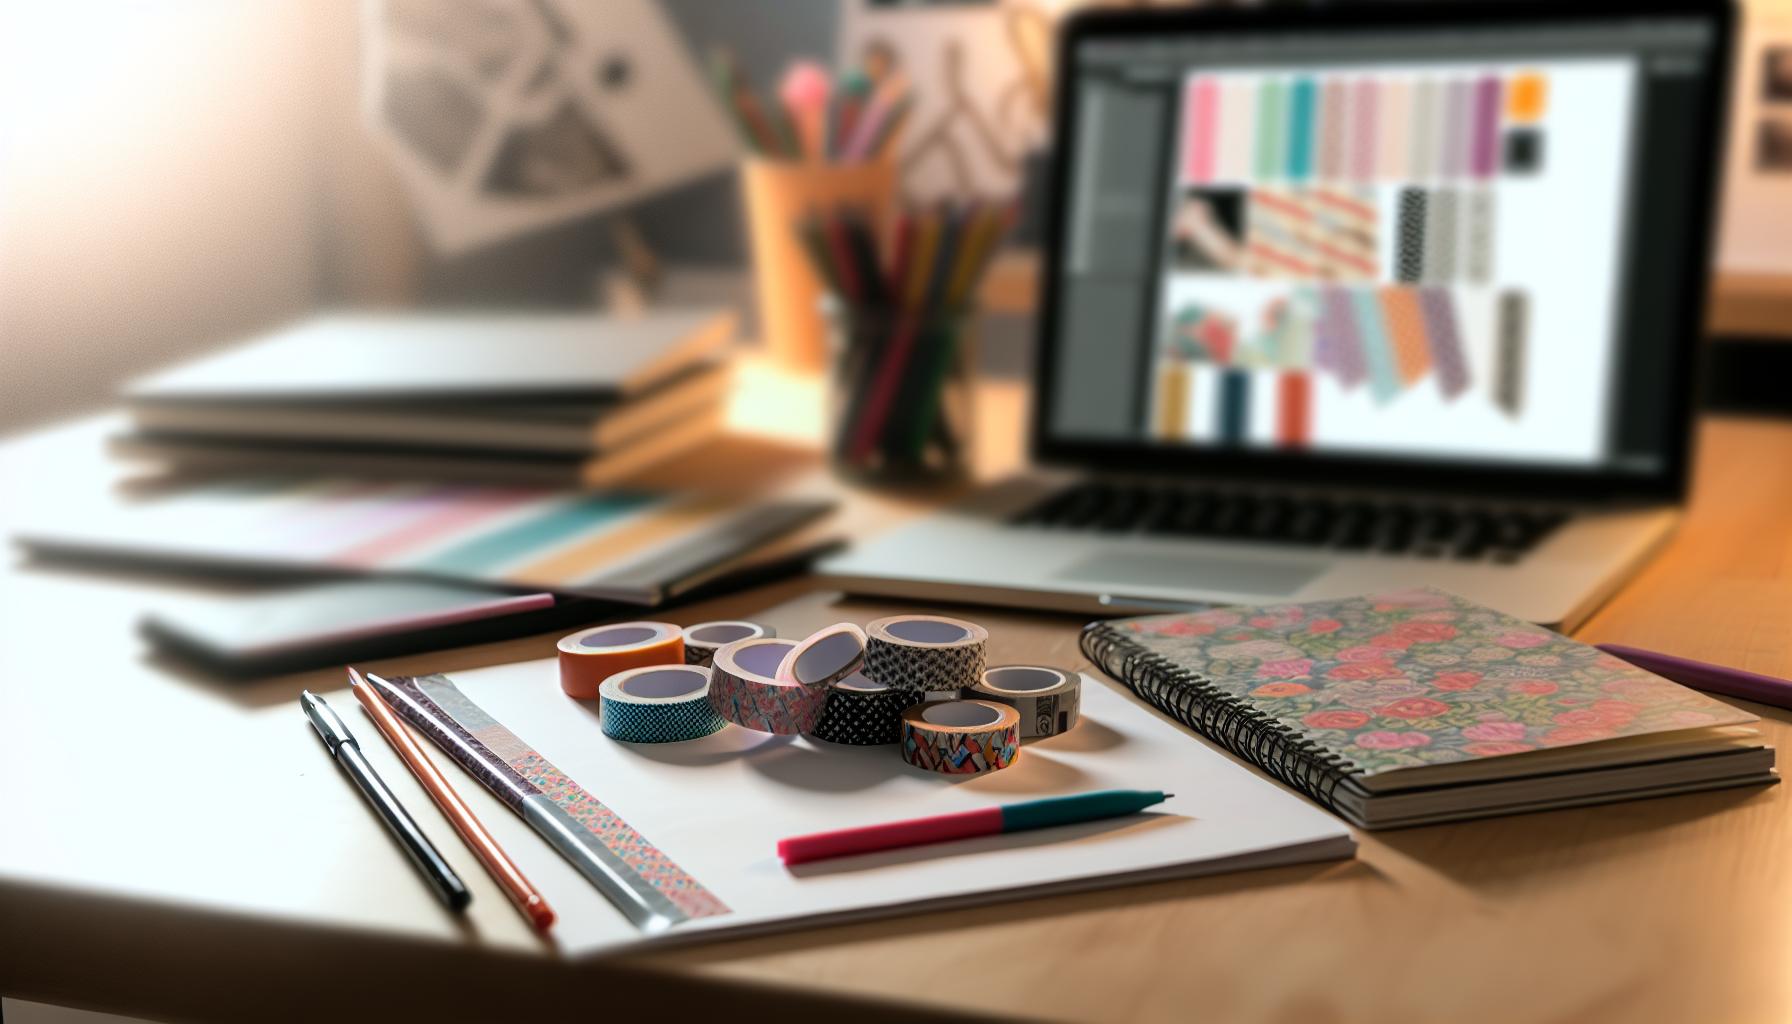
Tips for Achieving Vibrant Colors and Clear Prints
To make your printed washi tape truly stand out, achieving vibrant colors and clear prints is essential. A common mistake is underestimating the importance of both your printing method and material choices. Let’s dive into effective strategies that will bring your designs to life.
Choose the Right Printer and Ink
If you’re printing at home, the type of printer you use can significantly affect the vibrancy of your colors. Inkjet printers are great for rich color reproduction, while laser printers can offer sharper details but might not produce as vivid colors, especially for pastels. If you have access, consider using a professional printing service that specializes in high-quality printing-they often have advanced color management tools that can make a big difference.
Optimize Your Color Settings
Always pay attention to your color settings when preparing your file for print. Use the CMYK color mode, which is tailored for print outputs, unlike RGB, which is meant for screens. Make sure you calibrate your monitor to match your printer’s color output. It’s also wise to conduct test prints on plain paper to see how colors shift before committing to the actual washi tape.
Test Your Materials
Not all tapes are created equal. Washi tape can vary significantly, and different brands will absorb ink differently. Do a few test prints on the specific tape you plan to use. This will help you determine how the materials react and ensure that the final product meets your expectations.
Enhance Color Vibration
To achieve more vibrant colors, consider using a primer or a white base layer. Some tapes could have a slightly transparent finish that can dull colors when printed directly. By using a white or light base, you enhance the overall brightness and impact of your colors. Additionally, choosing high-quality, acid-free inks can help in preventing fading over time, ensuring that your designs remain vivid even after extended use.
By following these steps and being mindful of your materials and processes, you’ll be well on your way to creating stunning, colorful, and clear prints on your washi tape. The key is to experiment and iterate until you find the perfect combination that reflects your unique style. Happy printing!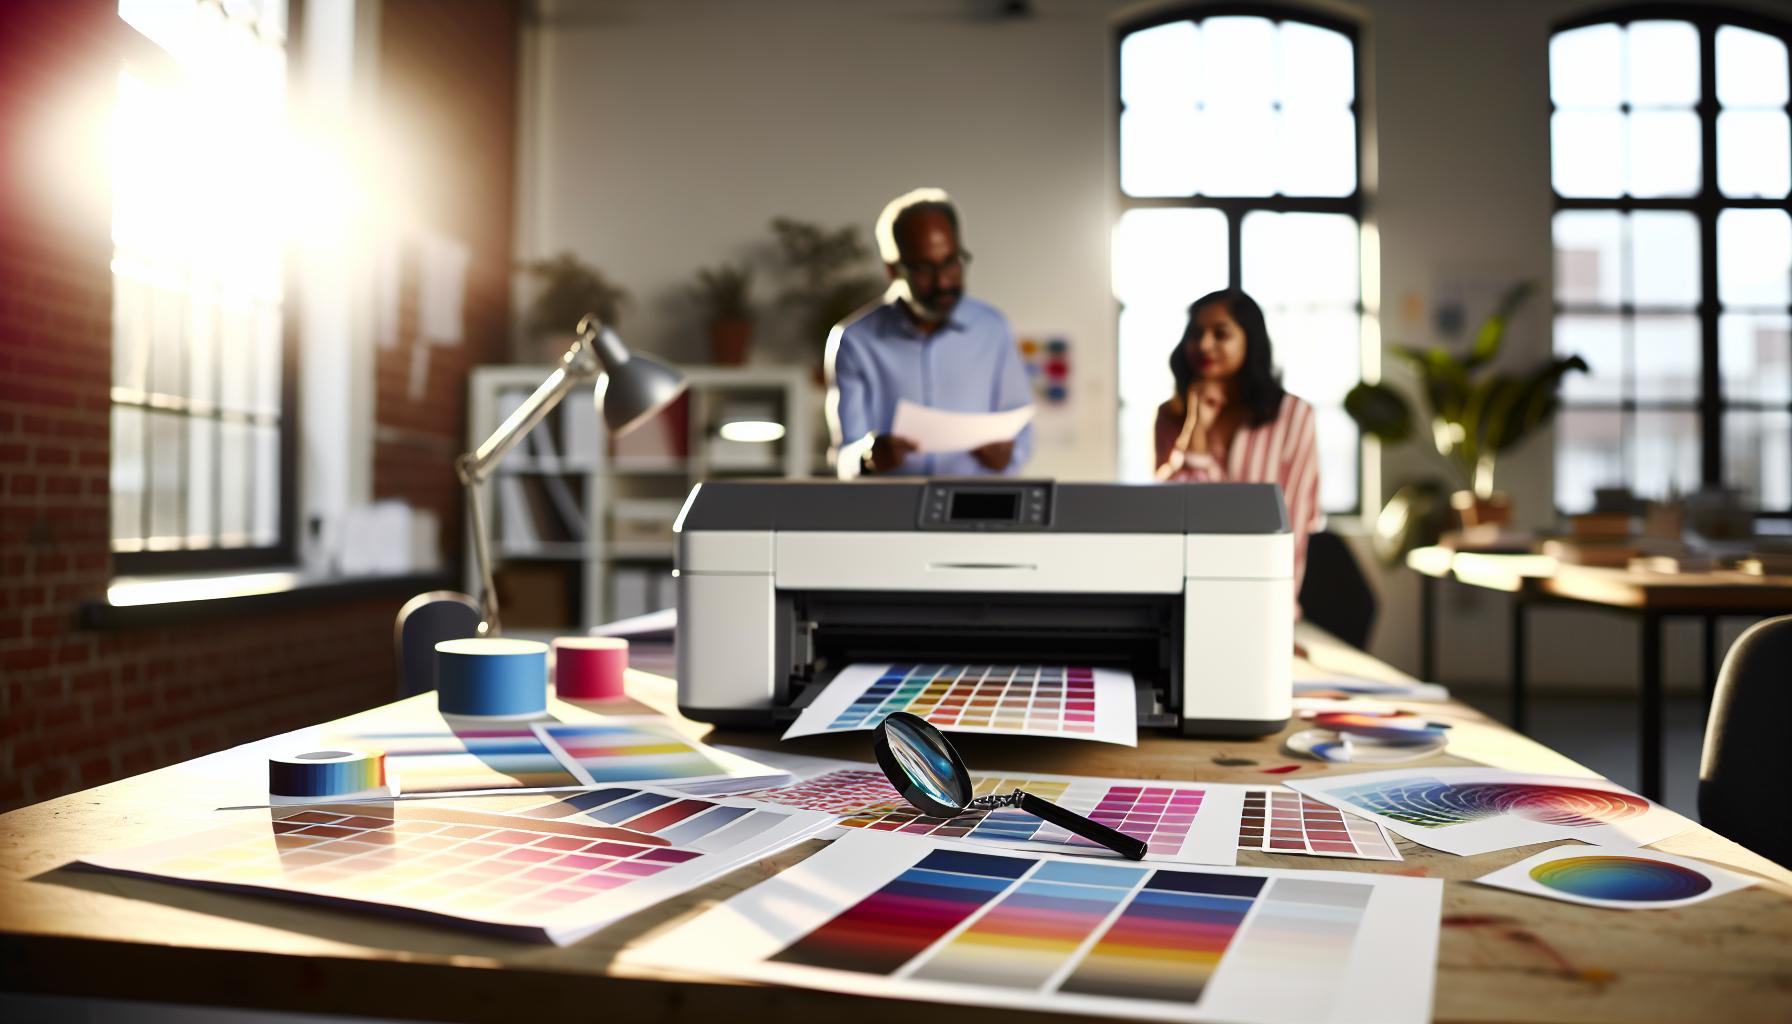
Common Pitfalls in Washi Tape Printing to Avoid
Printing washi tape can be an incredibly rewarding creative venture, but it comes with its set of potential missteps. Knowing what to watch out for will save you time, materials, and frustration. Here are some common pitfalls that can derail your project and how to avoid them.
First off, not testing your materials is a mistake many beginners make. Different brands of washi tape absorb ink in various ways. If you dive into a full print run without testing, you may end up with colors that don’t appear as vibrant or designs that don’t adhere well. Always conduct sample prints on the specific tape you’ve chosen to ensure it meets your expectations concerning color and adhesion.
Another frequent issue is overlooking printer settings. Many people forget to switch their color mode from RGB (which is designed for screens) to CMYK (which is suited for print). This simple mistake can lead to colors appearing dull or washing out. Take a moment to calibrate your monitor and conduct test prints on plain paper. Reviewing the print quality in a controlled environment helps catch problems before committing to your final tape.
Next, ignoring design size and scale is a trap that can lead to disappointing outcomes. Ensure that your graphics are properly sized for the width and length of the washi tape. If your designs are too intricate or too small, they may lose clarity once printed. Relying on vector graphics can help, as they scale without losing quality.
Lastly, don’t underestimate the importance of using high-quality inks. Cheap inks can fade or smear, ruining the professional feel of your washi tape. Invest in quality, acid-free inks that are designed for the type of printer you’re using, and consider doing a few trial runs to gauge how your colors hold up.
Avoid these pitfalls by being deliberate in your preparation and process. With a little patience and attention to detail, you’ll create beautiful, high-quality printed washi tape that showcases your unique style. Happy printing!
Advanced Techniques for Unique Washi Tape Effects
Using advanced techniques can transform your printed washi tape from standard to spectacular. One method to consider is layering designs. By printing multiple layers with varying opacities, you can create depth and richness in your prints. For example, a bold floral pattern over a subtle watercolor background can lead to stunning results. Just remember to align each layer perfectly-using registration marks can help keep everything in line.
Another exciting technique is the use of texture. Incorporate textured elements in your designs, like stitching or rough brush strokes. This can be achieved during the design phase in software like Adobe Illustrator, where you can overlay textures on your graphics. When printed, these textured designs bring a tactile dimension to washi tape that adds visual interest.
If you’re looking to experiment, try mixing media. Combine traditional art methods like watercolor or ink with digital techniques. Paint your designs on paper, scan them, and use software to refine. This mix of hand-crafted and digital elements not only personalizes your creations but also gives them a unique touch that purely digital designs often lack.
Using specialty inks can elevate your printed washi tape, too. Consider metallic or glow-in-the-dark inks for added intrigue. These inks can enhance the visual appeal of your designs and make your tape stand out, perfect for special projects or seasonal items.
Finally, don’t overlook the power of custom finishes. After printing, you can consider laminating the tape for a glossy look or adding a matte finish for something more subtle. Alternatively, consider die-cutting certain shapes from your washi tape, creating unique forms that can be playful and eye-catching.
- Layering Designs
- Incorporating Textures
- Mixing Traditional and Digital Media
- Using Specialty Inks
- Custom Finishes and Die-Cutting
By employing these advanced techniques, you’ll not only create high-quality printed washi tape but also develop a distinctive style that resonates with your artistic vision. Remember, experimentation is key-don’t be afraid to test new ideas to see what resonates with you and your audience.
Finding Quality Washi Tape Printers
When it comes to printing your own washi tape, finding the right printer can make all the difference. It’s not just about the printing capability; the quality of the ink, the type of paper, and even the printer’s size can influence the final look of your custom designs. Choosing a printer that specializes in graphics is crucial because traditional printers may not handle the intricacies of washi tape printing effectively.
Start by looking for inkjet or eco-solvent printers that offer high resolution and vibrant color output. These types of printers tend to excel in producing the rich, detailed designs that wash tape is known for. Brands like Epson, Canon, and HP are notable for their high-quality printers; models specifically designed for photography can produce stunning results. Make sure the printer is compatible with various types of media, particularly specialty papers that simulate washi tape’s unique texture and finish.
Don’t underestimate the impact of the ink you choose either. Dye-based inks offer vibrant colors but are less water-resistant compared to pigment-based inks, which are durable and longer-lasting. If you’re producing tape for craft projects that might be used outdoors or in humid conditions, the durability offered by pigment inks can be a game-changer.
For those who want to ensure professional quality, consider outsourcing to printing services that specialize in washi tape. Companies like Sticker Mule or TapeStry offer wide-ranging options for customization and even small batch runs, relieving you of the need to invest heavily in printer equipment right away. This approach allows you to gauge demand and refine your designs before committing resources to your own printing setup.
Ultimately, whether you go for a home printer or a professional service, pay attention to reviews and customer feedback. Try to connect with fellow creators online to get recommendations on hardware or services they trust and have successfully used. There’s a thriving community of washi tape enthusiasts who can provide insights and possibly save you from costly errors.
How to Use Digital Tools for Washi Tape Design
When diving into the world of washi tape design, digital tools can unlock endless creative possibilities. These tools elevate your designs from basic to eye-catching, enabling you to create stunning, customized tape without the intimidation factor. Whether you’re a seasoned pro or just starting, mastering design software is key to producing designs that will pop off the tape.
Start by choosing software that aligns with your comfort level and needs. Programs like Adobe Illustrator and Canva are excellent for vector designs and custom layouts. With Illustrator, you can use advanced features like the Pen Tool for intricate designs, while Canva offers user-friendly interfaces with drag-and-drop capabilities, perfect for quickly assembling graphics. Explore templates that are tailored for tape designing to streamline your process. You’ll find it much easier to visualize how your final product will look when working in specific dimensions.
Utilizing digital color palettes is another game changer. Tools like Adobe Color or Coolors help you choose harmonious color schemes that will translate beautifully onto washi tape. Don’t shy away from experimenting with textures and patterns; free resources like Creative Market or Unsplash can provide unique backgrounds or images that enhance your designs. Remember, vibrant and high-contrast colors often yield the best results on washi tape, as they stand out better against the semi-transparent surface.
For more technical aspects, consider using digital mockup generators. Websites like Placeit allow you to visualize your designs on actual washi tape rolls, giving you a realistic preview of the final product. This step is crucial before printing, as it helps catch any design flaws and ensures your artwork translates well onto tape. Ultimately, leveraging these digital tools not only streamlines your design process but also enhances the quality of your finished products. Keep experimenting, and don’t hesitate to share your creations with the community for feedback and inspiration!
Selling Your Printed Washi Tape: What You Need to Know
Selling printed washi tape can be a rewarding venture, especially in today’s craft-centric marketplace where unique products stand out. To succeed, you need to focus on understanding your target audience and knowing how to effectively market your creations.
First off, identify your niche. Are you targeting planners, scrapbookers, or DIY enthusiasts? Tailor your designs and marketing messages to appeal directly to these groups. Unique designs inspired by current trends or popular themes can significantly enhance your appeal. Consider tapping into social media trends, seasonal themes, or even collaborating with influencers in the crafting community to widen your reach.
Once you’ve crafted your product, packaging it appealingly is crucial. Good packaging not only protects your product but also serves as a marketing tool. Use eco-friendly materials, include your brand logo, and consider adding a personal touch, like a handwritten note. This can create a memorable experience for your customers and encourage them to share their purchase on social media, giving you free exposure.
Next, think about where to sell your washi tape. Online platforms like Etsy or Amazon Handmade are popular choices, but don’t overlook the power of local markets or craft fairs. These venues allow you to connect with customers face-to-face, gather immediate feedback, and build a local following. Invest time in creating a visually appealing online store with quality images and thorough descriptions that highlight the uniqueness of your products.
Lastly, leverage social media. Create engaging content that showcases your washi tape in use, share behind-the-scenes looks at your printing process, or hold giveaways to build engagement. Regularly interacting with your audience by asking for their opinions on new designs can also keep them invested in your brand.
In summary, selling printed washi tape is all about creativity, connection, and presentation. With the right strategies, you can turn your passion for washi tape into a thriving business.
Inspiration: Creative Uses for Printed Washi Tape
Washi tape isn’t just for planners and scrapbooks; its versatility makes it a favorite for countless creative projects. You’ll be amazed at how this simple craft supply can transform everyday items and give your personal touch to everything from gifts to home decor. Whether you’re using your printed washi tape for practical purposes or just for fun, the possibilities are endless.
One of the most creative uses for printed washi tape is gift wrapping. You can use it to create unique patterns or embellishments on plain wrap, turning a simple gift into a work of art. Just tear off strips and layer them to form interesting designs or add a piece to a tag for a cohesive look. The beauty of washi tape is that it’s easy to remove and reposition if you want to make adjustments.
Home Decor
Enhancing your home with washi tape is another fun option. From framing photos to creating wall art, you can easily add color and texture to your living space. Try using washi tape to outline shapes on your walls or to create faux picture frames around art. You can also decorate everyday items, like vases or jars, giving them a fresh look without the commitment of paint.
- Light Switches: Decorate around switches and outlets for a colorful accent.
- Furniture Makeover: Add strips of washi tape to furniture edges for a playful touch.
- Bookmarks: Create custom bookmarks by cutting washi tape into desired shapes.
Stationery and Organization
Consider using your printed washi tape to organize your workspace. Label files, binders, and storage boxes by using different designs to categorize items visually. It’s not just a decorative element; it helps you stay organized with style. Plus, making custom planner stickers with washi tape gives your planner an inviting and personalized look.
Washi tape is also perfect for crafting cards or making invitations. Personalize cards for occasions like birthdays, weddings, or holidays with your unique prints. Just layer the tape onto the card for vibrant designs or to set a theme before writing your message.
In short, printed washi tape is a versatile tool that can add flair to virtually anything you can think of. Get creative with it, and don’t be afraid to experiment. You’ll discover that the only limit is your imagination!
Frequently asked questions
Q: What type of printer is best for printing washi tape?
A: The best printers for washi tape printing are inkjet printers, particularly those that use pigment-based inks. These inks tend to produce vibrant, longer-lasting prints. For professional results, consider a dedicated label printer if you plan to print large quantities.
Q: How can I prepare my designs for washi tape printing?
A: To prepare your designs, use graphic design software like Adobe Illustrator or Canva. Set your canvas size to match the width of your washi tape, and ensure your designs are in high resolution (at least 300 DPI) for clear, professional results.
Q: Can I print washi tape at home without a special machine?
A: Yes, you can print washi tape at home using a standard inkjet printer. Just use washi tape sheets designed for printing, ensuring they are compatible with your printer. This is a simple DIY method for personal projects.
Q: What should I do if my prints smudge on washi tape?
A: If your prints smudge, ensure the ink is fully dry before handling the tape. Use a fixative spray designed for inkjet prints to protect your designs. Additionally, check your printer settings to avoid excessive ink usage.
Q: How do I ensure my colors turn out vibrant when printing washi tape?
A: To achieve vibrant colors, calibrate your monitor and adjust the printer settings to match the color profile of the washi tape. Use high-quality pigment inks and consider color testing before running a full print.
Q: Is it cost-effective to print my own washi tape?
A: Printing your own washi tape can be cost-effective for personal use or small projects. However, for large quantities or complex designs, it might be more economical to purchase pre-printed washi tape from suppliers.
Q: What are some creative uses for printed washi tape?
A: Printed washi tape can be used for various creative projects, such as journal decoration, gift wrapping, or custom labels. Its versatility makes it suitable for scrapbooking, card-making, and even home decor.
Q: Are there specific paper types for printing washi tape?
A: Yes, use adhesive paper specifically designed for washi tape printing. Look for a paper that’s compatible with your printer type-inkjet or laser-and suitable for creating thin, flexible tape that maintains a clear print quality.
The Conclusion
Now that you’ve learned how to print washi tape at home and professionally, it’s time to unleash your creativity! Remember, whether you’re crafting unique gifts or sprucing up your home décor, the possibilities are endless. Don’t hesitate-try out the techniques discussed and watch your designs come to life.
Ready for more? Explore our guides on Creative Crafting Ideas and Advanced Printing Techniques to elevate your projects even further. If you have questions or want to share your experiences, drop a comment below-we’d love to hear from you!
Finally, don’t miss out on our newsletter for more tips and tricks tailored just for you. Dive deeper into the world of crafting, and make your creative mark today!
Get our latest guides, news, and insights highlighted in your Google Search & AI Overviews.










