
Washi tape is beloved for its versatility in art and DIY projects, but did you know it isn’t inherently waterproof? That’s right! Many crafters struggle with how to use washi tape in outdoor or wet environments. The good news is you can easily make it waterproof with a few simple techniques. Imagine enhancing your crafts with this added durability-it means you can create without limits. In this guide, you’ll learn effective methods to seal and protect your washi tape, ensuring your projects can withstand the elements. So let’s dive in and discover how to keep your creations safe and beautiful, no matter where you use them!
Understanding Washi Tape: What Makes It Unique
Washi tape stands out in the crafting world not just for its distinctive patterns and vibrant colors, but also for its unique texture and versatility. Originally from Japan, this decorative tape is made from the fibers of the mulberry tree, giving it a lightweight, semi-transparent quality that traditional tape simply can’t match. When you peel off a length of washi tape, you’ll notice its gentle tackiness, which allows it to adhere to various surfaces without causing damage. This makes it perfect not only for scrapbooking and gift wrapping but also for more creative uses, like decorating phone cases or creating custom wall art.
What truly sets washi tape apart is its adaptability. It can easily be cut, torn, and layered, allowing artists and crafters to explore countless design possibilities. Unlike standard adhesive tapes, washi is often repositionable, which allows for experimentation without the risk of permanent marks or sticky residue. This feature makes it a favorite among DIY enthusiasts and those looking to personalize their projects with a touch of flair. Additionally, washi tape can be used alongside other media, integrating seamlessly into mixed media artworks or as a lightweight masking tape in painting.
Yet, while washi tape excels in aesthetics and functionality, its relatively delicate nature poses a challenge when it comes to durability, especially in environments with moisture. Understanding this unique blend of benefits and limitations is crucial when deciding how to preserve and protect your projects. Emphasizing the importance of waterproofing your washi tape creations can ensure that your designs last and retain their beauty, whether displayed indoors or outdoors.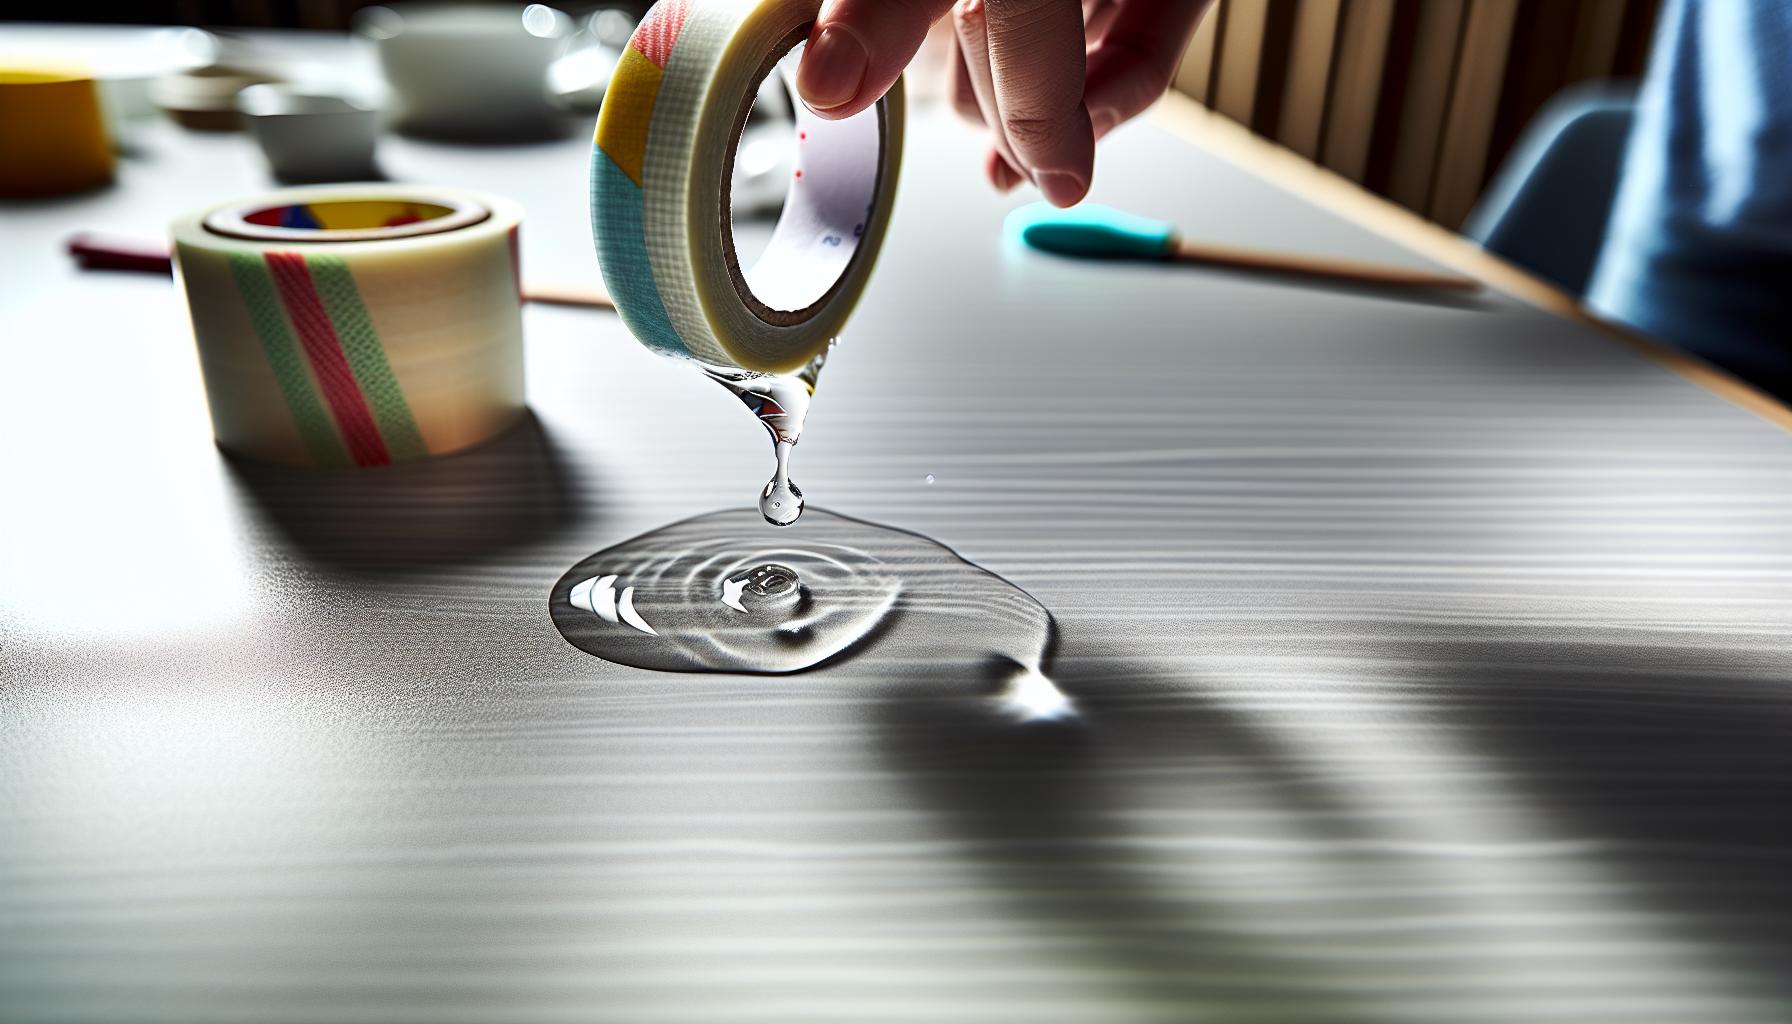
The Importance of Waterproofing Your Washi Tape
Washi tape may be a crafting favorite for its beauty and versatility, but if you want your creations to withstand the test of time-especially in damp or variable environments-waterproofing is a game changer. The delicate nature of traditional washi tape means it’s prone to damage from moisture, which can lead to peeling, smudging, and fading. For those who love to create outdoors or incorporate washi tape into items that might get wet, understanding how to properly protect your projects is essential.
Investing time in waterproofing not only extends the lifespan of your washi tape designs but also enhances their overall appearance. A well-sealed washi tape piece can maintain its vibrancy and integrity, whether it’s a handmade card, a floral decoration, or a journal page exposed to humidity. Think about your high-use items-items like planners or journals often travel with us and face spills or accidental rain. By applying waterproofing methods, you’re ensuring your artworks and messages stay intact, keeping them looking fresh and professional.
When it comes to practical applications, many people underestimate the impact of simple waterproofing techniques. For instance, using a clear acrylic sealant or a specific waterproofing spray can provide an effective barrier against moisture. You could also consider layering your washi tapes or combining them with complementing items that offer durability while allowing for flexibility in design. More than just protective measures, these techniques enable you to experiment artistically without sacrificing longevity.
Amplifying the protection of these creative assets empowers you to explore new ventures and push the limits of your craft. By prioritizing waterproofing, you’re not only preserving the art, but you’re also ensuring that every project can be enjoyed in any setting-indoors or out. With a bit of care and the right methods, your washi tape creations can shine brilliantly, no matter the elements they face.
Best Methods to Seal and Protect Washi Tape
To keep your washi tape creations looking fresh and vibrant, mastering a few sealing methods is essential. Whether you’re crafting a delicate journal page or creating decorations for a party, applying the right protective layer can make all the difference. The great news is that there are simple, effective techniques out there to waterproof your designs, ensuring they resist moisture while maintaining their stunning appearance.
One of the most popular methods is using a clear acrylic sealer. Spray-on formulas can provide a durable, waterproof finish that doesn’t alter the colors of your tape. Just ensure you apply it in thin, even coats, allowing each to dry fully before adding another. For a more hands-on approach, consider using a brush-on sealant. This method allows for greater control, particularly on intricate designs, but requires patience to avoid brush strokes. Always test on a small area first!
Another fantastic option is waterproofing spray specifically designed for fabric or paper. These sprays create a flexible barrier that can withstand occasional spills. To use them effectively, hold the can about 6-12 inches from your project, and spray in a sweeping motion. Like with acrylic sealers, make sure to let it dry completely.
Lastly, layering is an underrated technique. By applying additional layers of washi tape and sealing them together, you not only increase durability but also add depth and interest to your project. It’s a fun way to experiment with color combinations while enhancing waterproof protection. Just remember, whatever method you choose, always allow ample drying time before exposing your projects to moisture.
Embracing these methods can transform the longevity of your washi tape projects, letting you enjoy their beauty without the worry of wear and tear.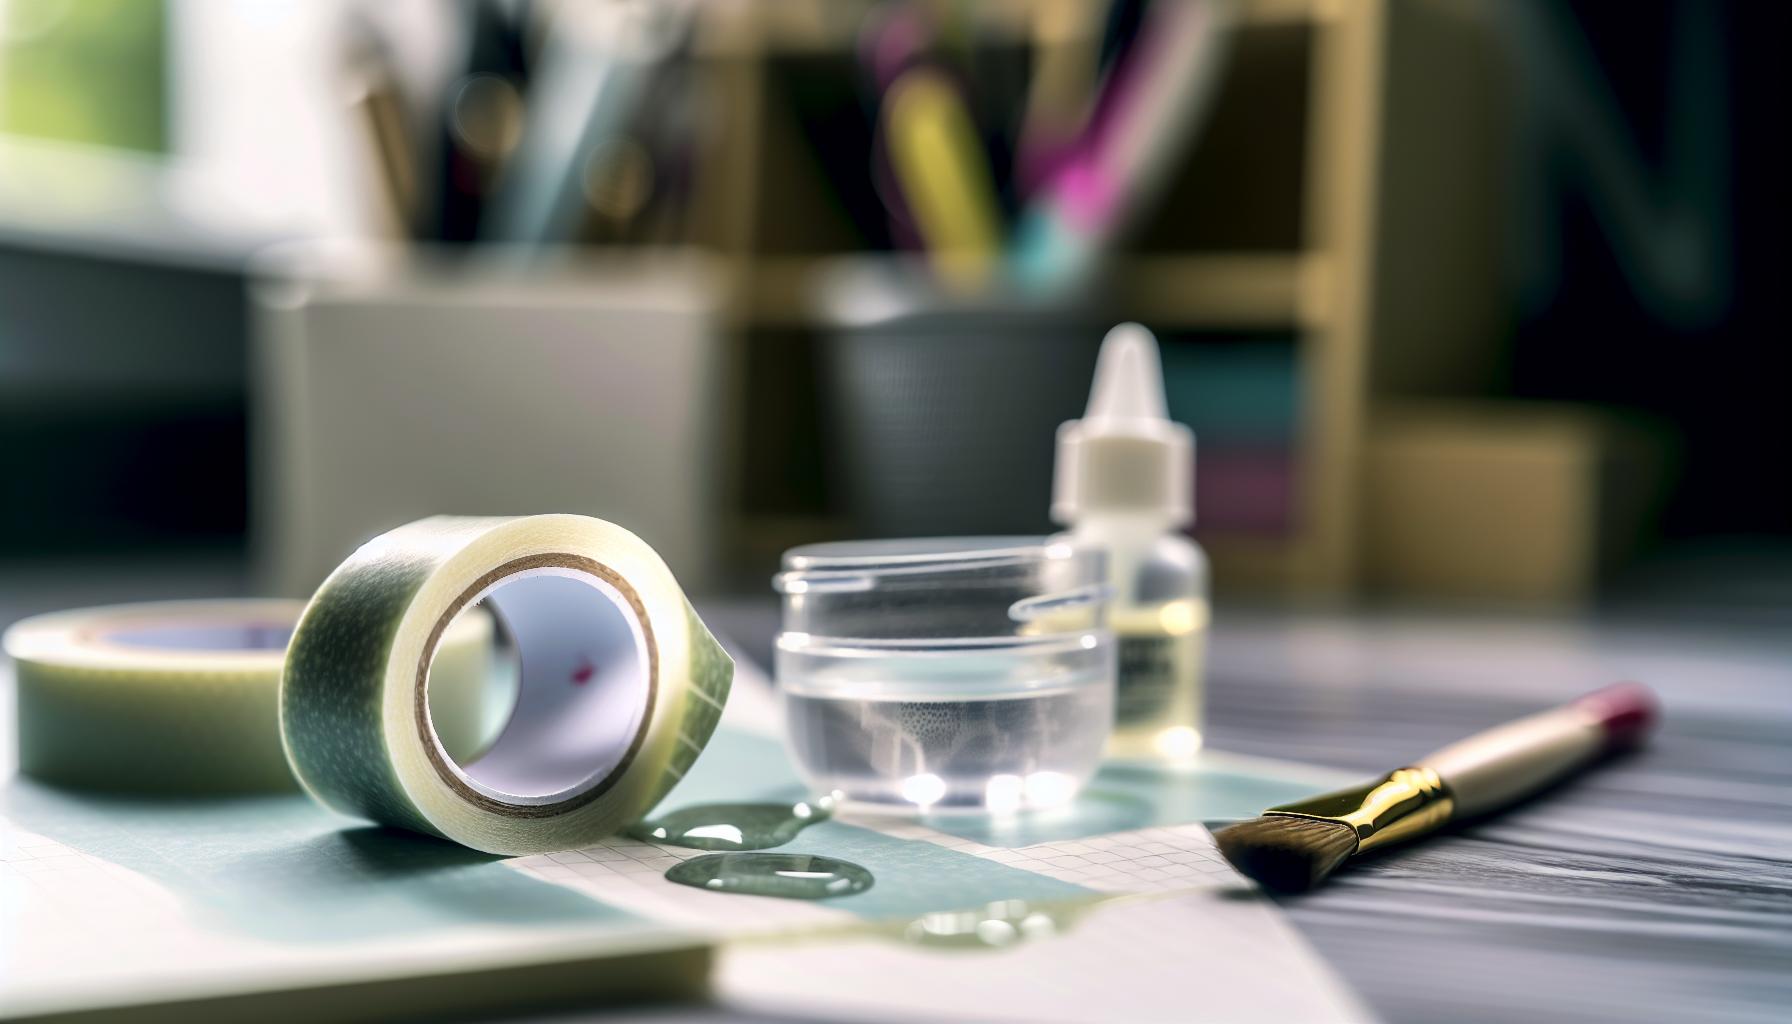
Top Waterproofing Products for Washi Tape
To truly leverage the beauty of washi tape, choosing the right waterproofing products is essential. Not all sealants are created equal, and selecting the right one can mean the difference between a vibrant project that endures the test of time and one that fades away with moisture. Here’s a rundown of some of the top products and techniques every washi tape enthusiast should consider.
Clear Acrylic Spray Sealers
One of the best go-to options is a clear acrylic spray sealer. These products offer a robust, waterproof barrier that won’t obscure the colors of your tape. They’re especially effective for larger projects or when you need a quick application. Make sure to select a spray that’s acid-free, as acidic solutions can damage paper over time. Popular choices include Mod Podge Clear Acrylic Sealer and Krylon Crystal Clear Acrylic Coating. Both are favored by crafters for their reliable performance and affordability.
Brush-On Sealants
For those detailed projects where precision matters, brush-on sealants can provide a more controlled application. Products like Liquitex Professional Gloss Varnish allow you to paint directly over your washi tape designs without disrupting the colors or patterns. The key here is to apply thin layers to prevent clumping and ensure even coverage. Always remember to let each layer dry completely before applying the next.
Waterproofing Sprays
If you’re looking for something versatile, waterproofing sprays specifically made for fabric or paper are fantastic. These sprays, like Scotch Gard Fabric & Upholstery Protector, create a flexible coating that repels moisture. Just hold the spray about 6-12 inches from your work and apply it in light layers. This method is particularly useful for items that will see some wear and tear, such as planners or travel journals.
Layering Techniques
Don’t overlook the power of layering! By adhering multiple strips of washi tape together and sealing them with a topcoat, not only do you increase durability, but you also create a stunning visual effect. This method can be particularly impactful when using contrasting colors or patterns that complement each other.
By integrating these waterproofing products into your crafting routine, you’ll ensure your washi tape projects maintain their beauty and functionality for much longer, making every design a cherished piece of art. Embrace these tools and techniques, and watch your creativity flourish without the stress of wear and moisture damage.
Step-by-Step Guide to Sealing Washi Tape
To ensure your washi tape projects withstand the test of time and moisture, sealing them properly is essential. Here’s a straightforward guide that breaks down the sealing process into manageable steps. With the right approach, you can protect your beautiful designs and keep them looking fresh.
Start by gathering your materials. You’ll need your washi tape, a clean surface to work on, and your chosen waterproofing sealant-like a clear acrylic spray, brush-on sealer, or waterproofing spray. Make sure your workspace is well-ventilated, especially when using sprays. Lay down some drop cloths or newspaper to catch any overspray or drips.
Next, apply your washi tape as desired. Whether you’re creating a decorative border, crafting a journal page, or enhancing a photo, get your layout just right. Once you’re satisfied with the arrangement, it’s time to seal. If you’re using a spray sealer, hold the can about 6-12 inches from the surface and apply a light, even coat over the tape. Make sure to cover all edges, as these are often where moisture can creep in. For brush-on sealants, use a clean brush to apply a thin layer carefully, ensuring you cover all the tape without soaking it. Let the first coat dry fully before adding additional layers-two or three coats usually provide the best protection.
Once your final coat is dry, give your project a test. Gently dab a bit of water on an inconspicuous area and see how it holds up. This simple test can save you time and effort down the line and reassure you that your craft is well-protected. Remember, the goal is not just to add a waterproof layer but to enhance the vibrant look of your washi tape while keeping it functional. With these easy steps, you’ll preserve the beauty of your creations and enjoy lasting results!
Common Mistakes to Avoid When Waterproofing
When waterproofing your washi tape, it’s easy to overlook some critical details that can mean the difference between a successful project and disappointment. Many crafters rush through the sealing process, thinking one layer is enough, but this can lead to moisture seeping through. A common mistake is applying the sealant too thickly in an attempt to create a waterproof barrier. This often results in drips and an uneven finish that compromises both the appearance and function of your tape.
Another frequent pitfall is not allowing adequate drying time between coats. If you’re using multiple layers, patience is key. Skipping this step can cause the sealant to mix with your washi tape, leading to potential smudging or loss of color vibrancy. Always test a small area first or check the manufacturer recommendations for drying times before proceeding.
Additionally, neglecting to cover the edges of the tape is a big oversight. These edges are the most vulnerable spots where water can sneak in. When applying your sealant, make sure to focus on these areas; a light, even coat over all edges can significantly enhance water resistance.
Lastly, don’t forget to choose the right product for the job. Some sealants may not be compatible with washi tape, leading to discoloration or damage. Research or test various products on scrap samples. Choosing a suitable waterproofing spray or brush-on sealer specifically labeled for use with papers or tapes will go a long way to ensuring your projects last. By avoiding these mistakes, you can protect your beautiful creations and enjoy them for years to come!
How to Test if Your Washi Tape is Waterproof
Testing the waterproof quality of your washi tape can be both straightforward and crucial, especially if you’re planning to use it in environments where moisture is inevitable. One effective way to gauge whether your tape can withstand water exposure is to perform a simple water test.
Start by cutting a small piece of the washi tape and applying it to a non-porous surface, such as a ceramic tile or plastic sheet. Make sure the surface is clean and dry before applying the tape to ensure a strong bond. After applying the tape, gently press down on it to eliminate any air bubbles and enhance adhesion.
Next, using a dropper or small cup, apply a few drops of water directly onto the tape. Observe how the tape reacts. If the water beads up and rolls off without seeping through, you’ve likely got a winner that’s waterproof. If the water seeps underneath the tape or causes it to lose its stickiness, it indicates that the tape isn’t fully waterproof or has a low water resistance.
Another approach is to put your tape sample through a light wash. Submerge the tape completely in a bowl of water for about 30 seconds, then take it out and let it dry. Check for color running, tape softening, or loss of adhesion. This method mirrors real-life usage and helps validate the tape’s performance in your projects.
Lastly, remember to take note of any specific brand claims regarding waterproofing. Some manufacturers may indicate whether their washi tape is waterproof or merely water-resistant. Always conduct tests with your own materials, as results can vary based on the tape’s specific formulation and usage conditions. Testing your washi tape isn’t just smart-it’s essential for ensuring your beautiful creations stand the test of water!
Creative Uses for Waterproofed Washi Tape
Waterproofed washi tape opens up a world of creativity that can elevate your projects beyond the traditional uses of regular tape. Imagine being able to decorate your outdoor planters, add flair to your children’s rain gear, or even create stunning art pieces without worrying about water damage. Its versatility means you can use it in ways that were once off-limits, embracing both function and design.
One fantastic way to utilize waterproof washi tape is in your gardening adventures. Use it to label plants, creating colorful markers that stand out in your flower beds. Simply write the plant names on the tape and stick them to wooden stakes or directly onto the pots. Not only does this method keep your garden organized, but it also adds a pop of personality to your outdoor space.
Another creative application is in crafting custom coasters. Cut shapes from cork or wood and cover them with waterproof washi tape for a personalized touch. These coasters can withstand spills and look great on your coffee table, proving that practicality and style can go hand in hand. You can also get crafty with home décor: wrap waterproof washi tape around vases, candle holders, or picture frames to create unique pieces that can handle a little humidity.
Don’t overlook the fun you can have with kids’ crafts! Waterproof washi tape can turn ordinary rain gear, like umbrellas and rain boots, into fantastic fashion statements. Let your kids design their own colorful patterns using the tape, transforming functional items into personalized art pieces that they’ll love to show off, rain or shine.
Incorporating waterproof washi tape into your projects not only enhances creativity and personal expression but also ensures your designs stand up to the elements. Embrace the possibilities and let your imagination run wild!
Tips for Long-Lasting Waterproof Washi Tape
When it comes to keeping your waterproof washi tape projects looking fresh and functional, a few simple strategies can really make a difference. Your tape can withstand moisture and spills, but it benefits greatly from proper care. Here are some straightforward tips to ensure that it lasts and retains its stickiness and vibrancy over time.
First, always apply your waterproof washi tape to clean and dry surfaces. Whether you’re decorating plant pots or creating coasters, any dust or moisture can compromise adhesion. Ensure the surface is smooth; if you’re using it on textured materials, like wood, consider sanding down rough spots first. Also, avoid stretching the tape as you apply it, since this can lead to peeling or lifting at the edges.
Next, consider sealing your projects. After applying washi tape, using a clear spray sealant can help enhance its waterproof properties. Opt for a sealant designed specifically for crafts, as it will ensure both compatibility with the tape and durability. Just remember to spray lightly and allow sufficient drying time – a few thin layers are better than one thick coat.
Additionally, try to store your projects properly. When not in use, keep your items out of direct sunlight and extreme temperatures. This can prevent fading and degradation, especially if you’re exposing them to elements like heat or humidity. If you’re using the tape outdoors, consider using higher-quality waterproof tape that’s designed for external exposure, as this can further prolong the lifespan of your creations.
Lastly, always be mindful of wear and tear. Items exposed to extensive handling or outdoor conditions may require occasional touch-ups. Having a roll of waterproof washi tape handy allows you to easily fix any peeling edges. By following these tips, you can ensure that your waterproof washi tape projects not only look great but also stand the test of time.
Maintaining Your Waterproof Washi Tape Projects
is vital to ensuring they remain attractive and functional over time. Washi tape can add a beautiful touch to various crafts, but if you want it to withstand moisture and daily use, a little extra care goes a long way.
Start by always storing your finished projects in a suitable environment. Avoid direct sunlight, which can cause colors to fade and adhesive properties to weaken. Temperature fluctuations can also impact the integrity of your projects, so keep them in a consistent, moderate climate. If you’re using washi tape on outdoor items, like garden pots or furniture, select products that are specifically designed for outdoor use, as they hold up better against UV light and moisture.
Next, keep an eye out for signs of wear and tear, especially on items that experience a lot of handling or exposure to the elements. It’s helpful to have extra rolls of waterproof washi tape readily available for quick touch-ups. If you notice any edges peeling or lifting, don’t hesitate to reapply tape or use a clear adhesive to maintain a seamless appearance.
Regular maintenance also involves gentle cleaning. If your project gets dirty, use a damp cloth rather than soaking it in water, as excessive moisture can weaken the adhesive over time. For projects exposed to heavy use, consider applying a clear sealant as a protective layer. Just ensure that the sealant is compatible with washi tape; a light coat can help preserve both the color and adhesive quality.
By following these simple maintenance tips, you’ll enhance the longevity and aesthetic of your waterproof washi tape projects, ensuring they stay vibrant and intact for as long as possible.
Troubleshooting Issues with Waterproof Washi Tape
If you’ve ever found yourself frustrated with washi tape that just won’t stick, you’re not alone. Many crafters run into issues with adhesive failure, especially when trying to make their projects waterproof. Here’s how to troubleshoot some common problems you might encounter.
First, consider the surface you’re applying your washi tape to. Washi generally adheres best to clean, smooth surfaces. If you’re working with porous materials, such as untreated wood or textured surfaces, the adhesive might not have enough contact to hold well. A quick fix? Use a primer or sealer on the surface before applying the tape. This creates a smoother canvas and can improve adhesion.
Another common issue is water getting under the tape, which can loosen its grip. To prevent this, make sure you’re sealing the edges of your washi tape properly. Applying a clear-drying adhesive along the edges can create a waterproof barrier. If you’re finding that water still slips through, it might be time to reapply the tape or consider a more robust waterproof tape designed specifically for elements exposure.
If your washi tape is lifting or peeling, especially after exposure to humidity, that could signal an issue with the sealant you used. Ensure that any protective coating is compatible with washi tape. Products that are too harsh or heavy can break down the adhesive. Lightweight, flexible sealants are typically better options and can help maintain the integrity of your designs. Test on a small area first to ensure compatibility.
Lastly, keep the longevity of your projects in mind. Avoid placing washi tape in direct sunlight for extended periods; UV rays can degrade both the tape and any sealant used. Regularly check your projects for signs of wear, and be ready to apply touch-ups as needed. Having some extra waterproof washi tape on hand can save you from last-minute panic when repairs are necessary. By addressing these common issues head-on, you’ll keep your waterproof washi tape projects looking fresh and vibrant for much longer.
Frequently Asked Questions About Waterproofing Washi Tape
When diving into the world of waterproofing washi tape, you might find yourself with plenty of questions. It’s common to wonder just how effective various methods are or what products work best. Let’s address some of those frequently asked questions to help clear things up.
Where can I use waterproof washi tape? This type of tape is incredibly versatile! It’s perfect for outdoor crafts, planners exposed to humidity, or any project where moisture might be a concern. Just ensure that the surface is clean and dry for the best adhesion.
What’s the difference between waterproof and water-resistant? This is a crucial distinction. Waterproof means the tape can withstand exposure to water without getting damaged or losing adhesion, while water-resistant means it can resist a small amount of moisture but will likely not hold up under heavy exposure. Always check the specifications of your washi tape before purchasing.
Can I make regular washi tape waterproof? Absolutely! You can use products like clear spray sealants or Mod Podge as a top coat. Just remember to apply in a thin, even layer to avoid the tape becoming too stiff or losing its stickiness.
Additionally, many crafters wonder how long their waterproofing efforts will last. With proper sealing and protection, your projects can maintain their integrity for several months, even years. Just remember, the longevity can be impacted by factors like sunlight exposure and humidity levels.
When testing the waterproofness of your tape, a simple method involves submerging a small piece in water for a few hours. If it maintains its adhesion and structure, you’re on the right track.
One last tip: always store your washi tape in a cool, dry place to prolong its life. Keeping these points in mind will ensure you enjoy your washi tape projects without the frustration of unexpected water damage.
Q&A
Q: Can you really make washi tape waterproof?
A: Yes, you can definitely make washi tape waterproof! The most effective methods include using a sealant spray or applying a clear waterproof laminate. These products enhance adhesion and protect the tape from moisture, ensuring it lasts longer in wet conditions.
Q: What materials can I use to seal washi tape?
A: For sealing washi tape, consider using acrylic sealants, mod podge, or clear varnish. These materials create a protective barrier against water while preserving the aesthetic of the tape. Ensure to follow the product instructions for the best results.
Q: How long does waterproofing washi tape last?
A: Waterproofing can last indefinitely if done correctly, but it also depends on usage. Heavy wear or exposure to the elements may degrade the protective layer over time. Regular maintenance and reapplication of the sealant can extend its life significantly.
Q: Can I use washi tape outdoors after making it waterproof?
A: Yes, once you’ve waterproofed washi tape, it’s suitable for outdoor use. Just ensure you have applied a high-quality sealant and recheck for any damage over time. This way, your decorative projects stay vibrant and intact despite the weather!
Q: Will waterproofing change the appearance of washi tape?
A: Waterproofing can alter the finish slightly, depending on the product used. Clear sealants may enhance the colors and add shine, while others may leave a matte finish. Always test on a small area first to see how it affects your specific tape.
Q: How do I know if my washi tape is waterproof?
A: To test if your washi tape is waterproof, conduct a simple water test. Apply a few drops of water on an unsealed piece and see if it smudges or disintegrates. Waterproofed tape will repel water and maintain its integrity.
Q: What are the best brands for waterproofing products?
A: Some top brands for waterproofing products include Krylon for sealants and Mod Podge for crafting. These are trusted options among crafters for creating a durable, water-resistant barrier on various surfaces, including washi tape.
Q: Are there DIY methods to waterproof washi tape?
A: Yes! You can create a homemade waterproofing solution using clear nail polish or diluted PVA glue. Apply a thin layer on the washi tape, let it dry completely, and check for water resistance afterward. This cost-effective method works well for many crafters.
Final Thoughts
Now that you know how to make washi tape waterproof, it’s time to put this practical knowledge into action! Don’t let your beautiful designs get ruined by moisture-use our sealing tips to keep your creations looking fresh and vibrant. If you have any questions or want to share your results, drop a comment below!
For more crafting inspiration, check out our guides on DIY projects and tips for using washi tape creatively. And if you’re eager to take your crafts to the next level, consider signing up for our newsletter for exclusive content and resources. Remember, your artistic journey doesn’t stop here-explore more and keep those creative juices flowing!
Get our latest guides, news, and insights highlighted in your Google Search & AI Overviews.










