
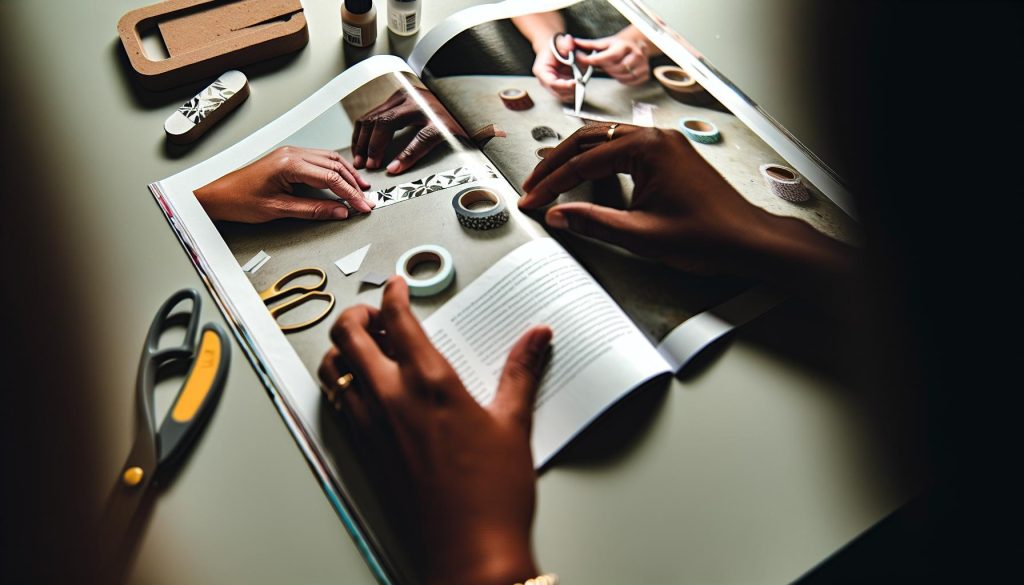
Did you know that washi tape can transform even the simplest projects into stunning works of art? Making your own homemade washi tape not only adds a personal touch to your crafts but can also save you money and unleash your creativity. In just three easy steps, you can create beautiful, patterned tape that’s perfect for decorating journals, gifts, or any space that needs a splash of color. Whether you’re an experienced crafter or just starting out, this DIY project is a fun way to express your style and enhance your projects. So, let’s dive into how you can craft your own unique washi tape and impress everyone with your creative flair!
Choosing the Right Materials for Your Washi Tape
can make all the difference in the quality and charm of your final product. The beauty of handmade washi tape lies not only in its aesthetic appeal but also in its functional characteristics. Start with selecting your base paper; traditional washi, made from the fibers of plants like the kōzo (paper mulberry), offers a unique texture and durability that synthetic papers simply can’t match. If you’re aiming for authenticity, go for genuine washi paper, which lends a delicate yet strong quality to your tape.
When it comes to adhesive, the impact is significant. A repositionable glue stick or removable double-sided tape can provide flexibility and ease of use. You want the adhesive to hold well, yet allow you to peel the tape off without ripping your projects or leaving residue behind. Additionally, consider the finishes; some crafters prefer matte to keep things subtle, while others lean towards glossy for a vibrant pop. Experimenting with different textures and finishes can lead to stunning results.
Don’t overlook the embellishments you can incorporate. From pressed flowers to hand-painted designs, these additions can elevate your washi tape from simple to stunning. When choosing embellishments, ensure they blend seamlessly with your base materials and resist flaking or fading. Lastly, consider the overall theme of your projects. The colors and textures you choose should harmonize with your crafting style, making your washi tape not just a tool, but a highlight of your creativity. Remember, the joy of DIY is in the discovery, so don’t hesitate to play around with materials until you find the perfect combination!
Step-by-Step Guide to Making Washi Tape
Start your journey into creating your own washi tape with a simple yet effective approach that promises both fun and creativity. Making washi tape at home not only allows you to customize your designs but also fuels your crafting spirit with unique styles that the store-bought varieties can’t match. Here’s a straightforward, step-by-step guide to help you craft your own washi tape.
Gather Your Materials
Before you dive in, ensure you have the right tools and materials at hand. You’ll need:
- Base Paper: Authentic washi paper is ideal, but any lightweight paper will do.
- Adhesive: Go for repositionable glue or removable double-sided tape for flexibility.
- Scissors: Sharp scissors will give you clean cuts.
- Decorative Items: Think about using markers, stamps, or embellishments to personalize your tape.
- Protective Surface: Use a cutting mat or old newspaper to protect your workspace.
Create Your Tape
- Cut the Paper: Start by cutting your base paper into strips. The width can vary based on your preference, but a good starting point is about 1 inch wide. Make sure they’re long enough to roll as tape.
- Apply Adhesive: Take one paper strip and apply a layer of your chosen adhesive on one side. If you’re using double-sided tape, stick it along one edge of the paper strip.
- Add Decor: Now comes the fun part! Decorate the other side of the paper with your embellishments. You can draw patterns, use stamps, or even stick small pressed flowers to create a stunning effect. Let your creativity shine!
Final Touches
Once you’ve finished decorating, simply roll the paper up with the adhesive side on the inside. If you’ve used any wet materials, allow the tape to dry completely before using it. For added durability, you might consider sealing it with a light coat of clear spray or washi tape sealant.
Making your own washi tape allows for limitless customization. In no time, you’ll have a stash of beautiful, handmade tape that adds a personal touch to all your crafting projects. So gather your materials, unleash your creativity, and enjoy the process!
Creative Design Ideas for Custom Washi Tape
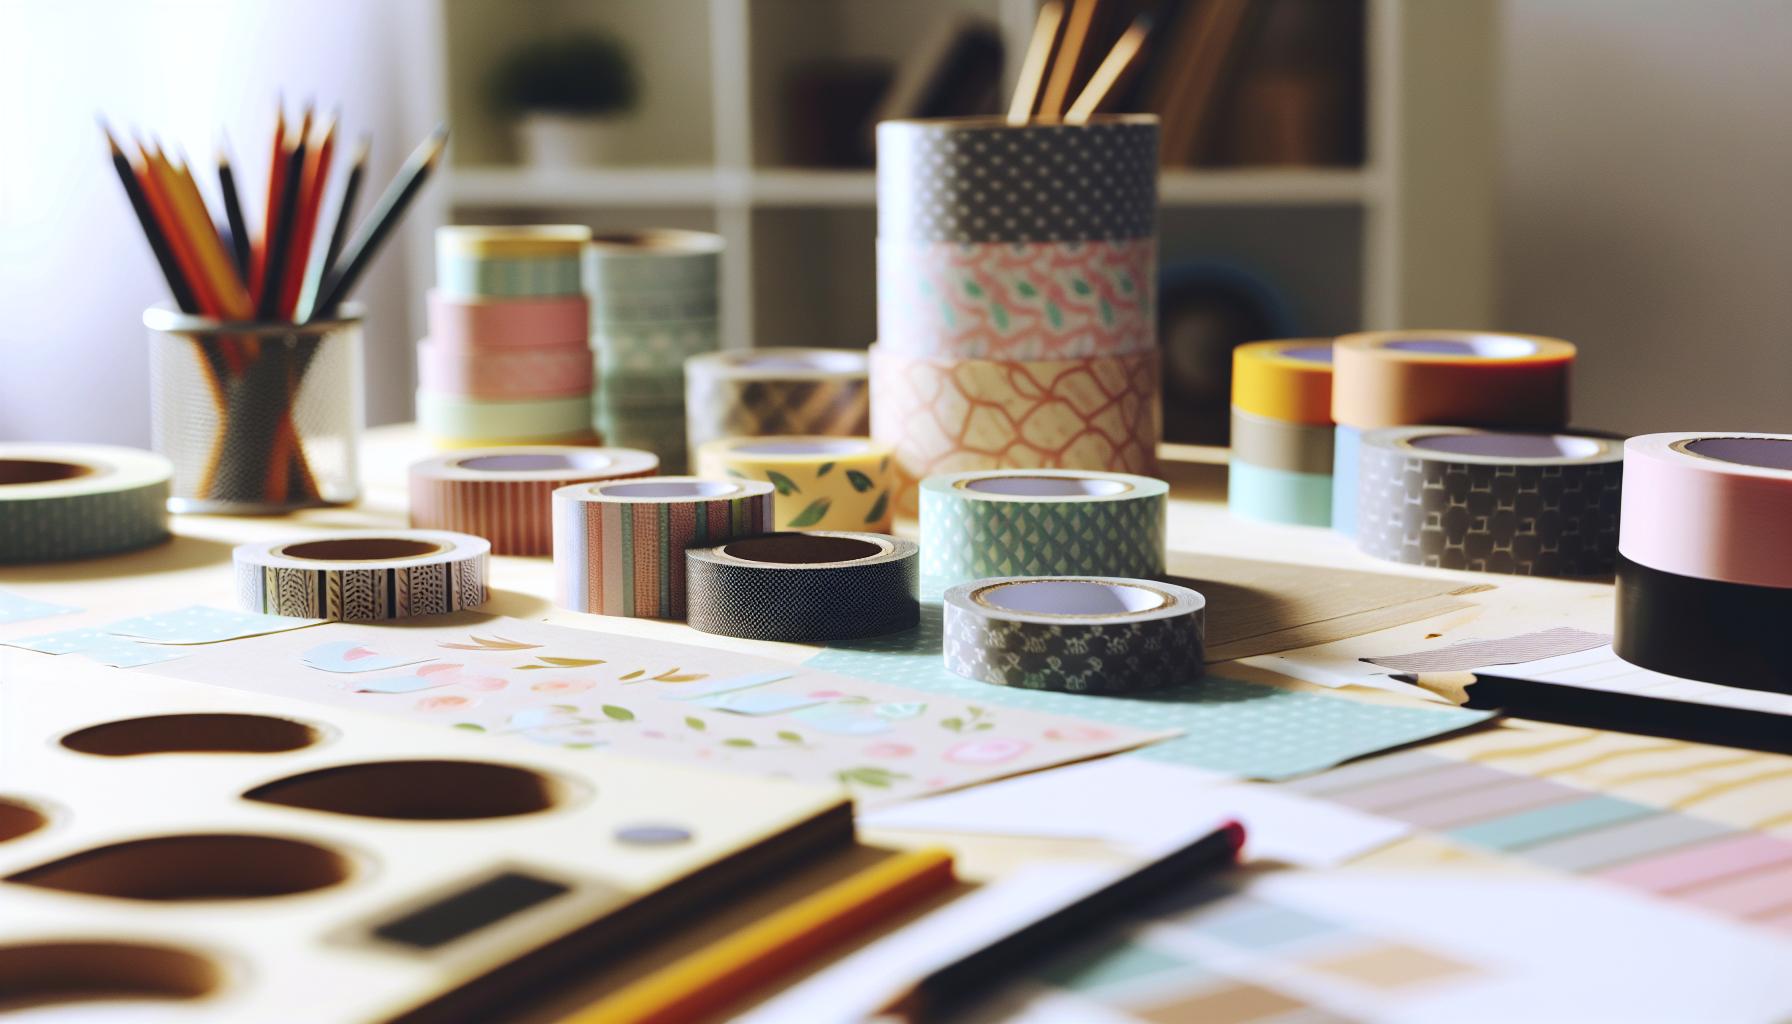
One of the most exciting aspects of making your own washi tape is the ability to create designs that truly reflect your personality and style. Customizing your tape opens up a world of creative possibilities-think outside the standard floral patterns! You can incorporate unique themes that resonate with your interests, whether it’s gaming, nature, or artistic styles. Start by brainstorming ideas that inspire you, and don’t be afraid to mix and match different concepts.
To give you a jumpstart, here are some creative design ideas:
- Seasonal Themes: Capture the essence of each season by creating washi tape that reflects seasonal colors and motifs. For example, use warm tones and falling leaves for autumn or soft pastels with floral designs for spring.
- Personalized Messages: Use stamps or hand-lettering to add meaningful quotes, fun sayings, or special dates. This is a great way to create tape that can be used for gifts or personal notes.
- Layered Looks: Experiment with layering translucent papers or using two different designs. This can create a beautiful depth and texture that standard washi tape simply can’t match.
- Nature-Inspired Patterns: Draw inspiration from nature by pressing leaves or using natural dyes for a more organic look. You could even try printing small animal or plant motifs.
- Color Blocking: Cut strips from papers of complementary colors and stick them together for a trendy color-blocked effect that’s very much in vogue.
- Artistic Flair: Capture your artistic side by creating mini paintings or doodles on your tape. Use watercolors or markers to make each piece a canvas of its own.
This is just a taste of what you can achieve with custom washi tape. The beauty of DIY lies in its flexibility-there are no limits! Once you’ve created your designs, think about how you can use them. From gift wrapping to scrapbooking or even decorating your planner, your homemade washi tape can be both functional and beautiful. Dive into your creative process and let your imagination guide you-you might just surprise yourself with what you can create!
Tips for Storing and Using Your Homemade Washi Tape

Storing and using your homemade washi tape effectively can make all the difference in keeping it fresh and fun for your craft projects. You’ve put in the effort to create beautiful designs, so let’s ensure they last and remain easy to use. One of the best practices is to store your washi tape in a cool, dry place away from direct sunlight. This prevents fading and keeps the adhesive from losing its stickiness. A simple solution? Use a drawer organizer or small storage bins to keep your rolls neat and within reach. This way, you can easily spot the designs you want without rummaging through a chaotic mess.
When it comes to using your homemade washi tape, consider cutting it into smaller strips to enhance its usability. This is especially handy for smaller projects where a full length might be too much. Additionally, try to incorporate your tape into daily planning or journaling rituals-by using it regularly, you keep your creative juices flowing and may discover new ways to repurpose your designs. You could create color-coded sections in your planner, make custom bookmarks, or even label items in your craft space.
If you ever find that your tape isn’t sticking as well as it should, there’s no need to fret. A quick remedy is to gently warm the adhesive side with your fingers before applying it. This can revive the sticky quality without compromising your designs. Lastly, be mindful of moisture-while washi tape is quite durable, exposure to high humidity can soften the adhesive, making it less effective. Always keep a watchful eye on your storage environment, and your homemade creations will be ready to enhance your crafts whenever inspiration strikes.
Troubleshooting Common Washi Tape Issues
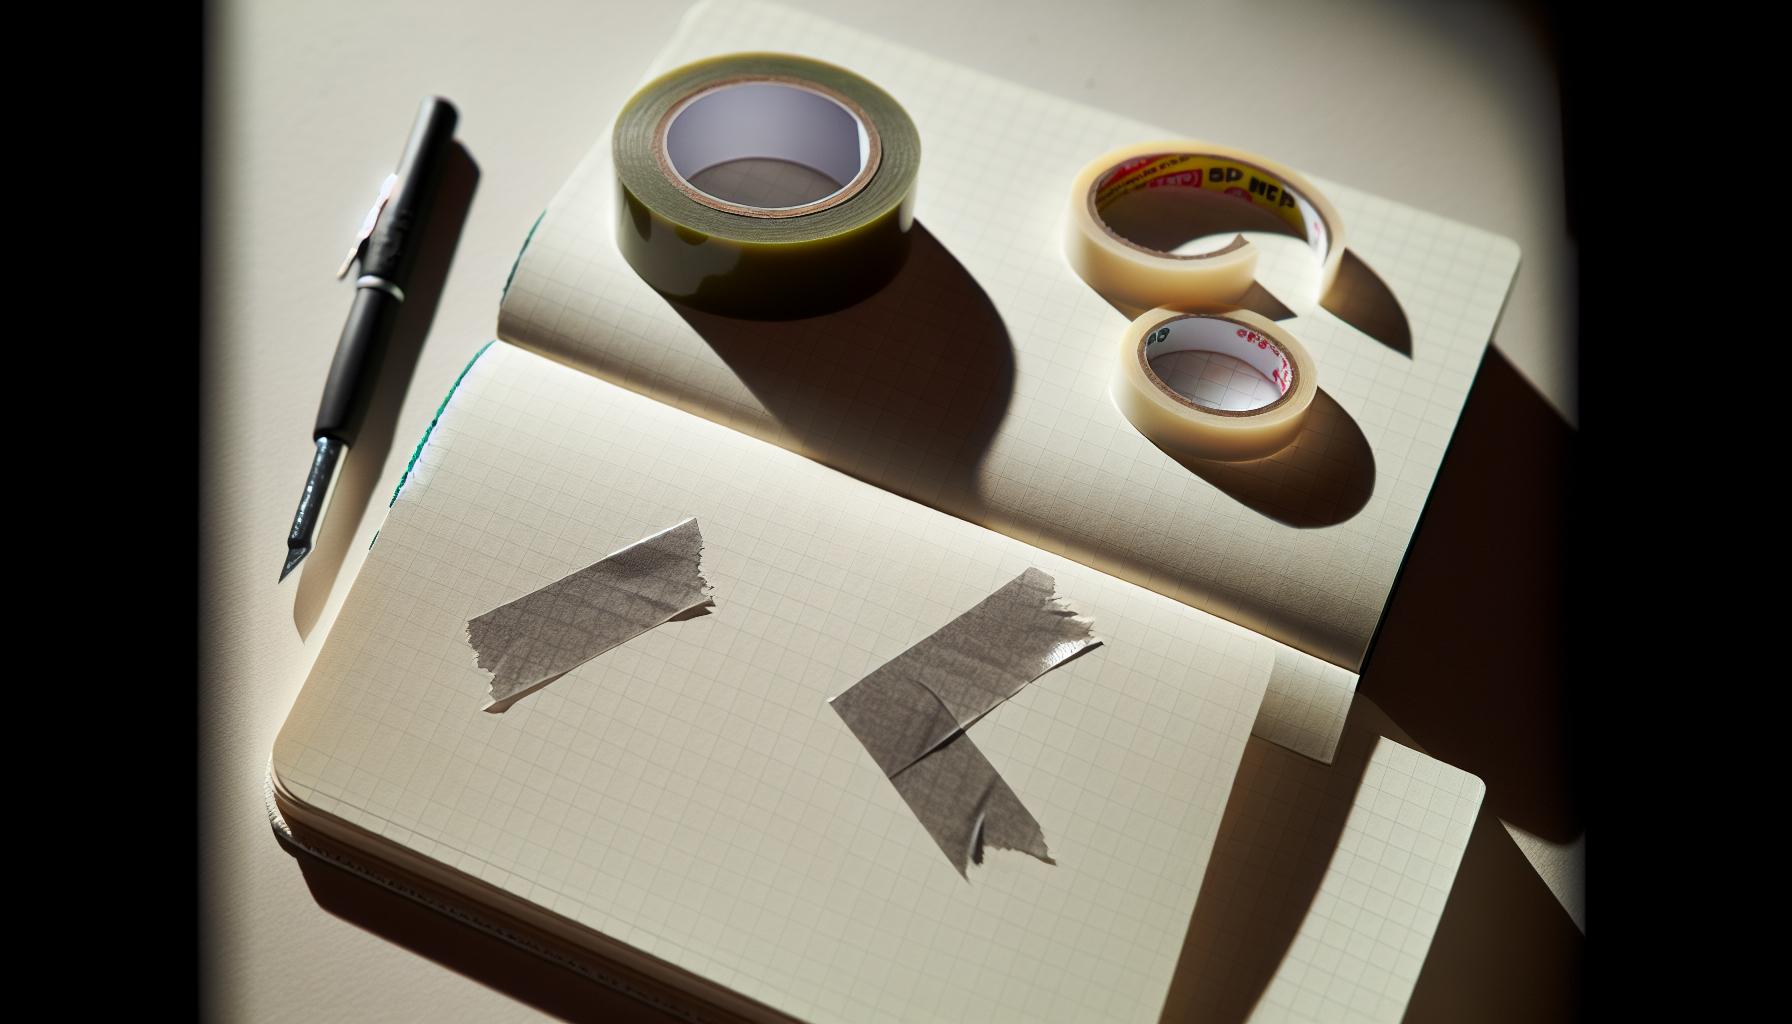
If you’ve invested time and creativity into making your own washi tape, you want it to perform beautifully, right? Unfortunately, even the best homemade tapes can run into issues. Let’s dive into some common problems you might face when using your DIY creations and how to fix them effectively.
To start, one frequent complaint is that the tape doesn’t stick well. This can happen for a few reasons, but the good news is there’s an easy fix. The glue used in homemade washi tape may not have the same holding power as commercial options. If you find this is the case, a simple solution is to warm the adhesive side of the tape gently with your fingers before sticking it down. The warmth can reactivate the adhesive, allowing it to bond better without damaging your design.
Another common issue is that the tape may wrinkle or tear during application. This is often due to applying it too tightly or on uneven surfaces. To avoid this, unroll the tape slowly and try to lay it down flat, using a smoothing tool like a bone folder or even your fingers. This helps eliminate air bubbles and ensures it adheres uniformly. If a wrinkle does occur, don’t panic! Just peel it back gently, reposition, and reapply.
Lastly, humidity can be an uninvited guest, making your tape lose its stickiness or become overly soft. If you live in a humid area, consider storing your washi tape in a dry, climate-controlled space. You might also want to experiment with different adhesive types in your tape-making recipe that are more moisture-resistant. For those unexpectedly rainy days, always test your tape on scrap paper before using it on your actual projects.
By being proactive and understanding these common issues, you can ensure your homemade washi tape stays both beautiful and functional, ready to enhance all your crafting endeavors.
Exploring Advanced Techniques for Unique Washi Tape
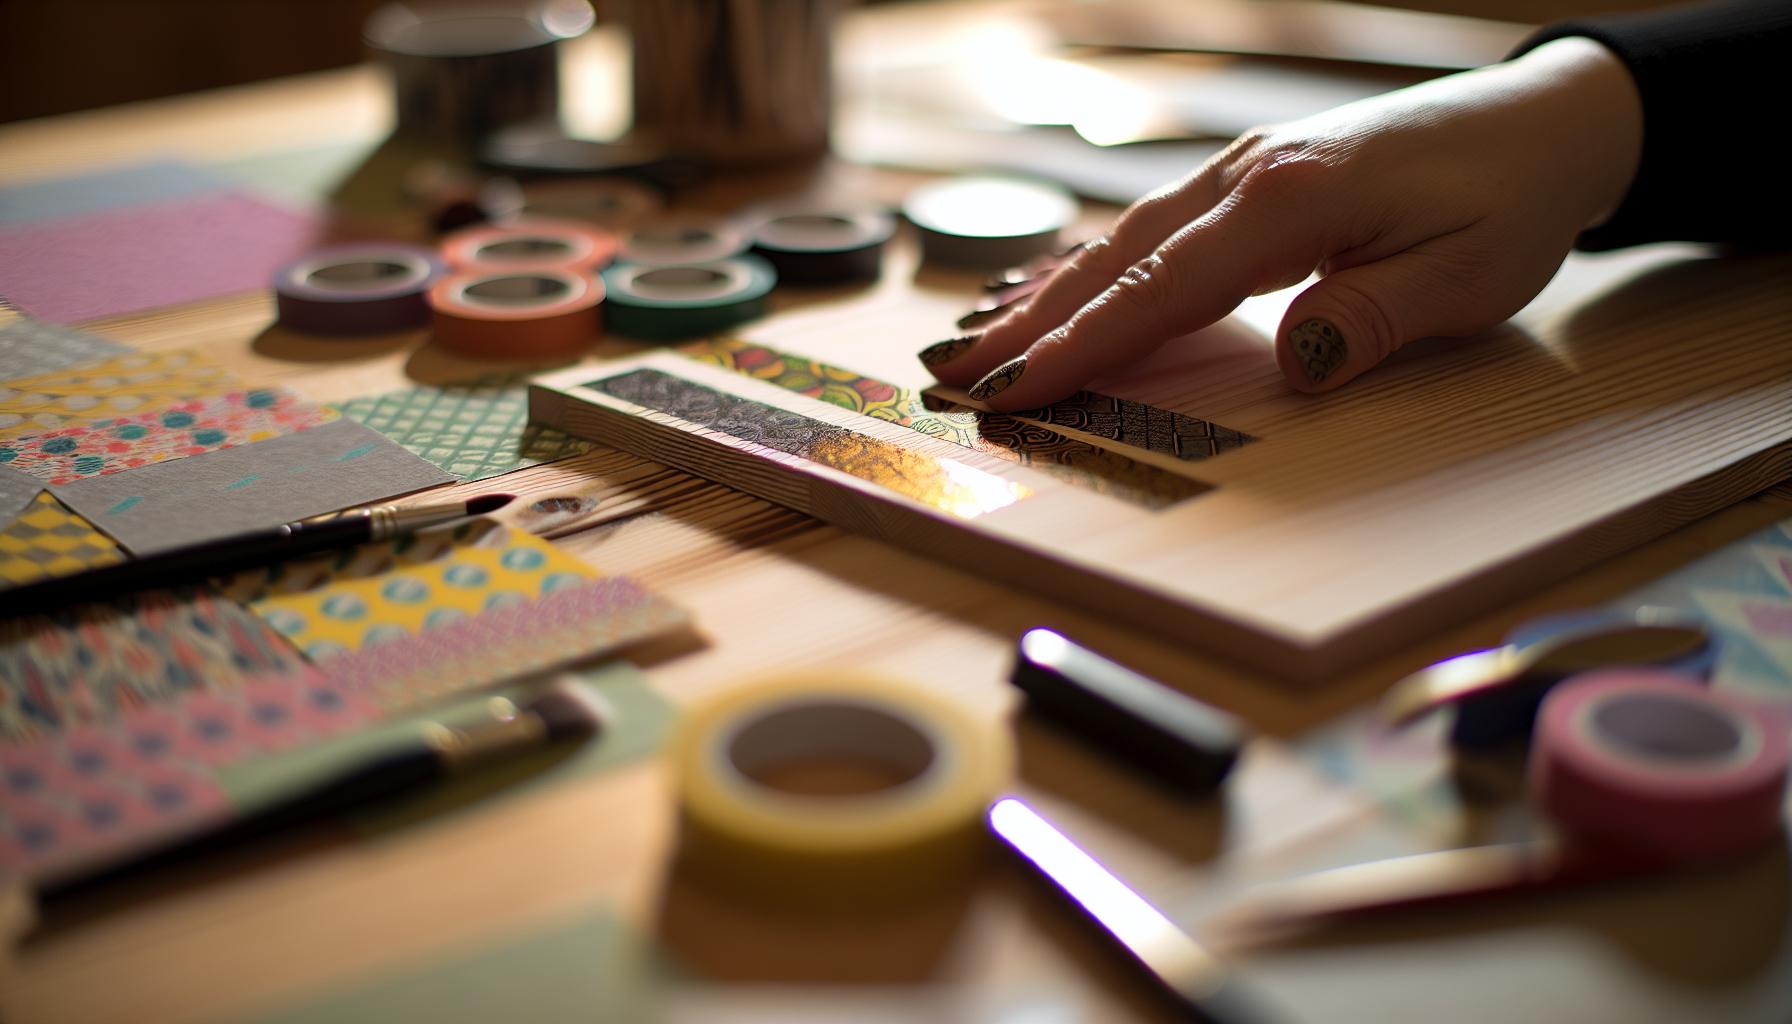
To elevate your homemade washi tape from functional to fabulous, exploring advanced techniques can set your creations apart. Whether you’re a seasoned crafter or just getting started, these methods will help you unleash your creativity and make custom tapes that reflect your unique style.
One exciting approach is incorporating textures into your designs. Instead of sticking to flat paper, try layering different materials or mediums. For instance, you can use fabric scraps, embossed cardstock, or even transparent film to create a multi-dimensional effect. This not only adds visual interest but also allows you to play with how light interacts with your tape. Try using a heat press or an iron to adhere fabric to the tape base for a seamless finish that feels luxurious.
Another technique to consider is using specific printing methods or tools. Utilizing a stamping technique, for example, can create intricate patterns and designs on your tape. Hand-carved stamps or even at-home printing strategies with inkjet printers can make your washi tape truly personalized. Remember, the more you experiment with colors and designs, the more options you’ll have for your projects. Don’t hesitate to mix media – watercolor paints, gel pens, and even digital designs can broaden your creative palette.
Incorporating Special Effects
Adding special effects can also give your washi tape an extra pop. Here are some ideas:
- Glitter: Sprinkle fine glitter over wet paint or adhesive while working on your tape to add sparkle.
- Foils: Use heat transfer techniques to apply metallic foils for a shiny, elegant look.
- Die-Cutting: Create shapes or patterns out of the tape using a die-cut machine for intricate designs and easy versatility.
Regardless of the techniques you choose to explore, remember that the goal is to have fun and experiment. Each new method provides an opportunity for growth, allowing you to refine your skills and discover new favorite materials. The beauty of crafting lies in the endless possibilities-so dive in, try these advanced techniques, and watch your homemade washi tape evolve into a unique staple of your craft collection.
Inspiration: How to Use Washi Tape in Crafts
Crafting isn’t just about the items you create; it’s also about how you use them. Washi tape is one of those magical embellishments that can transform the ordinary into the extraordinary, and the best part? It’s versatile enough for just about any project. Whether you’re sprucing up your planner, enhancing gift wrapping, or creating a unique piece of wall art, incorporating washi tape can add color, texture, and personality.
Think about your everyday items – picture frames, vases, or even furniture – and how a splash of washi tape can change their look. For example, wrapping the edges of a picture frame in a bold patterned tape can create a cohesive art piece that draws the eye. You can also use washi tape to create fun borders in scrapbooks or bullet journals. Simply apply strips of tape alongside your photos, notes, or sketches to add a playful touch.
One popular use is in card-making. You can layer different tapes to create stunning backgrounds or use narrow strips to define sections of your card. Pair washi tape with stamps for added dimension, or cut it into shapes to form unique embellishments. Those creative ideas translate well to party decorations too. Try using washi tape to adorn straws, gift bags, or even as part of table centerpieces, ensuring your next event has a custom, hand-crafted feel.
Finally, don’t overlook practical uses for your homemade washi tape. Labeling is one area where washi tape shines. Use it to label jars, containers, or files in your office. You not only get organized but do it in style. With washi tape, the possibilities are endless – so grab some of your homemade creations and let your imagination run wild!
Eco-Friendly Alternatives for Washi Tape Making
Making eco-friendly washi tape doesn’t just benefit the planet; it often leads to more unique and personalized creations. If you’re interested in sustainable crafting, consider using materials you might already have at home or that are more environmentally friendly. Here’s how to dive into eco-conscious washi tape making.
First, think about your base material. Instead of traditional tape, use paper made from recycled materials or even scrap paper. Old magazine pages, gift wrap, or even newspaper can make vibrant backgrounds. You can glue these onto a thin backing like cardboard to create a sturdy layer for your washi tape. This method not only reduces waste but also gives your tape a distinctive look that store-bought options can’t match.
For your adhesive, try homemade recipes. Basic mixes of flour, water, and sugar create a safe, non-toxic glue that works surprisingly well for crafting. Mix one part flour to two parts water, adding a little sugar to help the adhesive stick. It’s a simple recipe that keeps the environmental footprint minimal. Besides, it’s great for crafting with kids or those sensitive to commercial adhesives.
When it comes to decoration, use natural dyes or water-based paints to color your designs. Avocado pits or peels can create a beautiful pink hue, while turmeric offers bright yellow shades. These natural materials not only enhance the eco-friendliness of your project but can also introduce delightful textures and colors that speak to your creative flair.
Lastly, remember to package and store your washi tape sustainably. Use glass jars or reused containers instead of plastic bags. This practice not only keeps your crafted creations safe but aligns with a holistic eco-friendly crafting philosophy.
By choosing to make washi tape this way, you’re not just making art; you’re contributing to a more sustainable world, one colorful strip at a time!
Comparing Homemade vs. Store-Bought Washi Tape
Homemade washi tape offers a unique charm that store-bought options simply can’t replicate. When you make your own, you have complete control over the materials, designs, and patterns-ensuring your creations are exactly what you envision. Store-bought tape, while convenient, often falls into the trap of being mass-produced and generic. It’s usually made with synthetic materials and adhesives that can be less eco-friendly, and you may find yourself limited by the selections available at your local craft store.
One of the biggest advantages of making your own washi tape lies in customization. You can choose your favorite paper, use leftover materials, and select colors that fit your aesthetic perfectly. Want to use some vintage newspaper or handmade paper? Go for it! You can even incorporate natural dyes to enhance the colors, making your tape not just functional but a work of art. In contrast, commercial options might lack that personal touch and often lead to a one-size-fits-all approach.
In terms of cost, homemade options can be more economical. If you already have supplies like paper and glue, your only investment might be time. On the other hand, store-bought rolls can add up quickly, especially if you’re trying to build a diverse collection. Plus, when you create your tape, you’re also engaging in a fun crafting project, which adds value beyond just the final product.
However, it’s worth noting that store-bought washi tape often has superior adhesion and durability. If you need tape for a specific project where strength and reliability are critical, store-bought might serve you better. But for everyday crafting or decorating, homemade tape provides a creative outlet that’s not just about the final product-it’s about the joy of making something unique. So, whether you choose to dive into the world of homemade washi tape or stick with the options found in shops, each has its own merits that cater to different crafting needs and preferences.
Fun Projects to Try with Your Washi Tape
There’s something uniquely satisfying about transforming your homemade washi tape into incredible projects. Whether you’re a seasoned crafter or just diving into the world of DIY, the possibilities are endless-and fun! You can breathe new life into mundane items or create thoughtful gifts that showcase your creativity.
Personalized Greeting Cards
One of the simplest yet most impactful projects is making personalized greeting cards. Grab some blank cards, and use your washi tape to create vibrant borders, patterns, or even 3D elements. Mix and match different designs for a unique touch, and don’t hesitate to layer the tape for depth! Write a heartfelt message inside, and you’ll have a keepsake that’s perfect for any occasion.
Decorate Everyday Items
Transform your daily essentials into works of art. Use washi tape to customize phone cases, pencil holders, or even light switch covers. Not only does this add a splash of personality to your items, but it also helps in identifying your belongings, especially in shared spaces. You can even spruce up old notebooks or planners by using strips of washi tape along the edges or spines-making organization a little more exciting.
Fun Wall Art
Washi tape isn’t just for small projects; it can beautify your walls too! Create geometric patterns, shapes, or even inspirational quotes by adhering strips of tape directly to the wall. It’s a non-permanent solution, so if you change your mind, you can peel it off with ease, making it perfect for renters or those who love to refresh their decor frequently.
Gift Wrapping
Elevate your gift-giving game by incorporating washi tape into your wrapping. Rather than traditional bows, consider using washi tape to affix small ornaments or tags to your gift. You can also create decorative seals by using it to secure wrapping paper or tissue, adding a custom touch that says, “I put thought into this.”
With homemade washi tape at your fingertips, let your imagination run wild. The joy of creating doesn’t end with just making the tape; it blossoms into delightful projects you can enjoy and share. Whether you choose to celebrate special days, enhance your home, or personalize your crafts, the charm of washi tape is in its versatility and the personal touch you bring to each creation.
User-Generated Ideas: Share Your Washi Tape Creations
Getting creative with washi tape opens up a world of possibilities, and sharing your creations can inspire others to unleash their own artistic flair. Whether you’re crafting for fun or as a part of a larger project, consider showcasing your homemade washi tape in unique ways that will spark the imagination of fellow crafters.
One simple yet impactful way to share your washi tape creations is through social media. Create a hashtag specifically for your projects, like #MyWashiTapeMasterpiece, and encourage others to join in. Post pictures of the items you’ve transformed with your custom tape-think journals adorned with vibrant borders, or chic home decor pieces enhanced with geometric tape designs. The visual appeal of these creations not only highlights your talent but also gives others fresh ideas to try.
Hosting a local crafting event can also provide a platform for sharing ideas and techniques. Invite friends and fellow crafters to bring their own washi tape projects and have an open discussion on methods and inspiration. You could even set up a swap station where participants exchange tape designs or completed projects, further fostering a creative community.
Consider creating “how-to” videos showcasing your favorite projects. Demonstrating techniques like creating unique patterns on envelopes or customizing everyday items with washi tape can resonate well with beginners. Tutorials can simplify your process and attract viewers who are eager to learn, ultimately broadening the reach of your creativity.
Finally, don’t underestimate the power of a dedicated online space, like a blog or craft forum. Writing about your experiences-what worked, what didn’t, and the challenges you faced-provides valuable insights for readers. Sharing personal stories behind your projects can create a deeper connection with your audience, encouraging them to share their own experiences in return.
With each project you create and share, you foster a vibrant community of inspired crafters ready to explore the endless possibilities of washi tape. Whether it’s through social media, local events, or tutorials, your homemade designs become a canvas for collective creativity that empowers everyone to embrace their inner artist.
Faq
Q: What materials do I need to make homemade washi tape?
A: To make homemade washi tape, you’ll need masking tape, decorative paper, scissors, and double-sided tape. For a fun twist, consider using washi paper or scrapbooking paper for unique designs. Make sure your decorative elements are lightweight for the best adherence.
Q: Can I use regular tape for making washi tape?
A: Yes, you can use regular tape, but masking tape works best because it’s easier to remove without leaving residue. It also allows your designs to show through better, giving a more authentic washi tape effect. Check the detailed material guide in the article for specifics!
Q: How do I make designs for my washi tape?
A: You can create designs by drawing on decorative paper or using printed patterns. Consider using stencils or stamps for consistent shapes. For more creative ideas, explore the Creative Design Ideas for Custom Washi Tape section in our main article.
Q: How can I store my homemade washi tape?
A: Store homemade washi tape in a cool, dry place. Using small containers or tape dispensers can help avoid tangling and ensure easy access. The article has great tips on organizing your tape for maximum efficiency!
Q: What is the difference between homemade and store-bought washi tape?
A: Homemade washi tape offers customization and creativity, allowing you to use personal designs. Store-bought options, however, often provide more variety and professional finishes. This comparison can offer insights into making decisions on what to use for your projects!
Q: Are there eco-friendly options for making washi tape?
A: Yes! Consider using recycled paper or fabric for a sustainable approach. You can also use natural adhesives to minimize your environmental impact. Explore the Eco-Friendly Alternatives for Washi Tape Making in the article for more ideas!
Q: What common issues might I face when making homemade washi tape?
A: Some issues include adhesive not sticking properly or designs fading. To troubleshoot, ensure the tape surface is clean and dry before applying. For detailed solutions, check the Troubleshooting Common Washi Tape Issues section in our main article.
Q: Can I make patterned washi tape at home?
A: Absolutely! You can create patterned washi tape by layering prints or using various decorative papers. The article covers techniques for making your designs pop in the Step-by-Step Guide to Making Washi Tape, so don’t miss that for more tips!
To Wrap It Up
Now that you know how to make your own homemade washi tape, it’s time to unleash your creativity! Remember, this simple DIY project not only adds a personal touch to your crafts but also lets you customize your designs. Don’t wait-grab some materials and start creating today! If you’re looking for more tips on enhancing your crafting skills, check out our related guides on creative scrapbooking ideas and unique gift-wrapping techniques.
Still unsure where to begin? Consider subscribing to our newsletter for exclusive DIY tips and inspiration delivered straight to your inbox! And feel free to share your homemade washi tape creations in the comments below; we’d love to see what you come up with! Your journey into the colorful world of washi tape starts now-explore, create, and transform your projects!
Get our latest guides, news, and insights highlighted in your Google Search & AI Overviews.










