Did you know that the tools you use can transform your writing experience? If you’ve ever struggled with uncomfortable pens or bland designs, crafting your own calligraphy pen from wood might just be the solution you need. Not only does a hand-crafted pen offer a personal touch to your writing, but it also enhances your connection to the art of calligraphy. By making your own pen, you can customize it to fit your grip and style, turning every stroke into a satisfying journey.
Whether you’re looking to deepen your calligraphy skills or simply enjoy the process of creating, this guide will walk you through the steps to handcraft a functional and beautiful writing instrument. Get ready to dive into the rewarding world of woodworking and artistry! This is more than just a craft-it’s a way to express yourself uniquely and meaningfully. Let’s get started!
How Calligraphy Has Evolved Over Time
Over the centuries, calligraphy has transformed from a practical means of communication to a highly regarded art form. Originally, its roots can be traced back to ancient civilizations where writing was an essential tool for record-keeping. As technology advanced, so did the tools of the trade. From reed pens used by the Egyptians to quills crafted from bird feathers in the Middle Ages, the materials and methods evolved significantly, reflecting cultural shifts and artistic movements.
In the Renaissance, calligraphy saw a surge in popularity, with scholars and artists applying their skills to create ornate letters that conveyed beauty and sophistication. This period birthed distinct styles like Italic and Copperplate, which are still celebrated today. The invention of the printing press democratized written text, yet it was this very revolution that led to a newfound appreciation for the handcrafted nature of calligraphy; individuals sought to reclaim the personal touch that mass production lacked.
Today, calligraphy embraces a blend of traditional techniques and modern creativity. Digital tools coalesce with authentic, handmade methods as artists experiment with various media. Whether it’s creating fonts from personal handwriting or crafting bespoke calligraphy pens from wood, the evolution continues. This journey not only celebrates the historical significance of written art but also highlights the contemporary calligrapher’s role in shaping how we express thoughts, emotions, and artistry through letters.
The craft invites enthusiasts to reconnect with a tactile experience, whether it’s through hand-making tools or honing their style. As you embark on your journey to create a handcrafted calligraphy pen from wood, remember that you’re part of this ongoing legacy, blending past techniques with your unique flair.
Tools You Need for Wood Calligraphy Pen
To create a beautifully handcrafted calligraphy pen from wood, you’ll need a specific set of tools that make the process smooth and enjoyable. First off, you can’t get too far without a good quality woodworking knife or carving tool. These will allow you to shape your wood accurately and achieve the fine details necessary for a calligraphy pen. A chiseling tool is also essential for finer work, helping you to refine your pen’s shape and create a comfortable grip.
Alongside these cutting tools, having a reliable sandpaper in various grits is crucial. Start with a coarser grit to shape the wood and progress to finer grits for a smooth finish; your hands (and fingers) will thank you later! Don’t forget to include a drill for creating the ink channel, as well as a ruler and pencil for precise measurements before you cut. To maintain control during the crafting process, a clamp can help secure your workspace, ensuring stability while you work.
Here’s a quick rundown of the basic tools to gather before you embark on crafting your pen:
- Woodworking Knife/Carving Tool
- Chiseling Tool
- Sandpaper (various grits)
- Drill
- Ruler
- Pencil
- Clamp
Gathering these tools not only sets the stage for a successful crafting session but also enhances your overall pen-making experience. Each tool contributes to the artistry of your pen, allowing you to express your unique style and foster a deeper connection with the craft of calligraphy.
Choosing the Right Type of Wood
for your handcrafted calligraphy pen can significantly influence both the appearance and functionality of your final product. Each type of wood brings its own unique character, grain, and sturdiness that can enhance your writing experience. For starters, maple is a solid choice. It’s not only dense but also provides a beautiful fine grain, making it a popular option among pen makers. Maple pens have a lovely smooth finish, which is essential for writing fluidly.
If you’re looking for something softer and easier to carve, consider basswood. This lightweight wood is perfect for beginners as it’s easy to shape and typically more forgiving with tools. It’s essential, however, to remember that softer woods can wear down more quickly than harder varieties. For those who desire a rich color and a striking finish, walnut and cherry are excellent premium choices. They offer stunning visuals with rich brown hues that deepen over time, adding character to your pen.
Factors to Consider
When choosing wood, think about the weight and balance of the pen. Heavier woods like oak might provide stability but can tire your hand over extended writing sessions. Conversely, lighter specimens might feel less substantial but can be more comfortable for lengthy use. Additionally, consider the availability of the wood. Sourcing local, sustainable wood not only supports your community but can add a personal touch to your project.
Lastly, try to choose wood that has minimal knots and defects. These imperfections can compromise the integrity of your pen and make crafting more challenging. By taking the time to select the right wood, you set the foundation for a calligraphy pen that’s not just a tool but a personal masterpiece that you’ll cherish for years to come.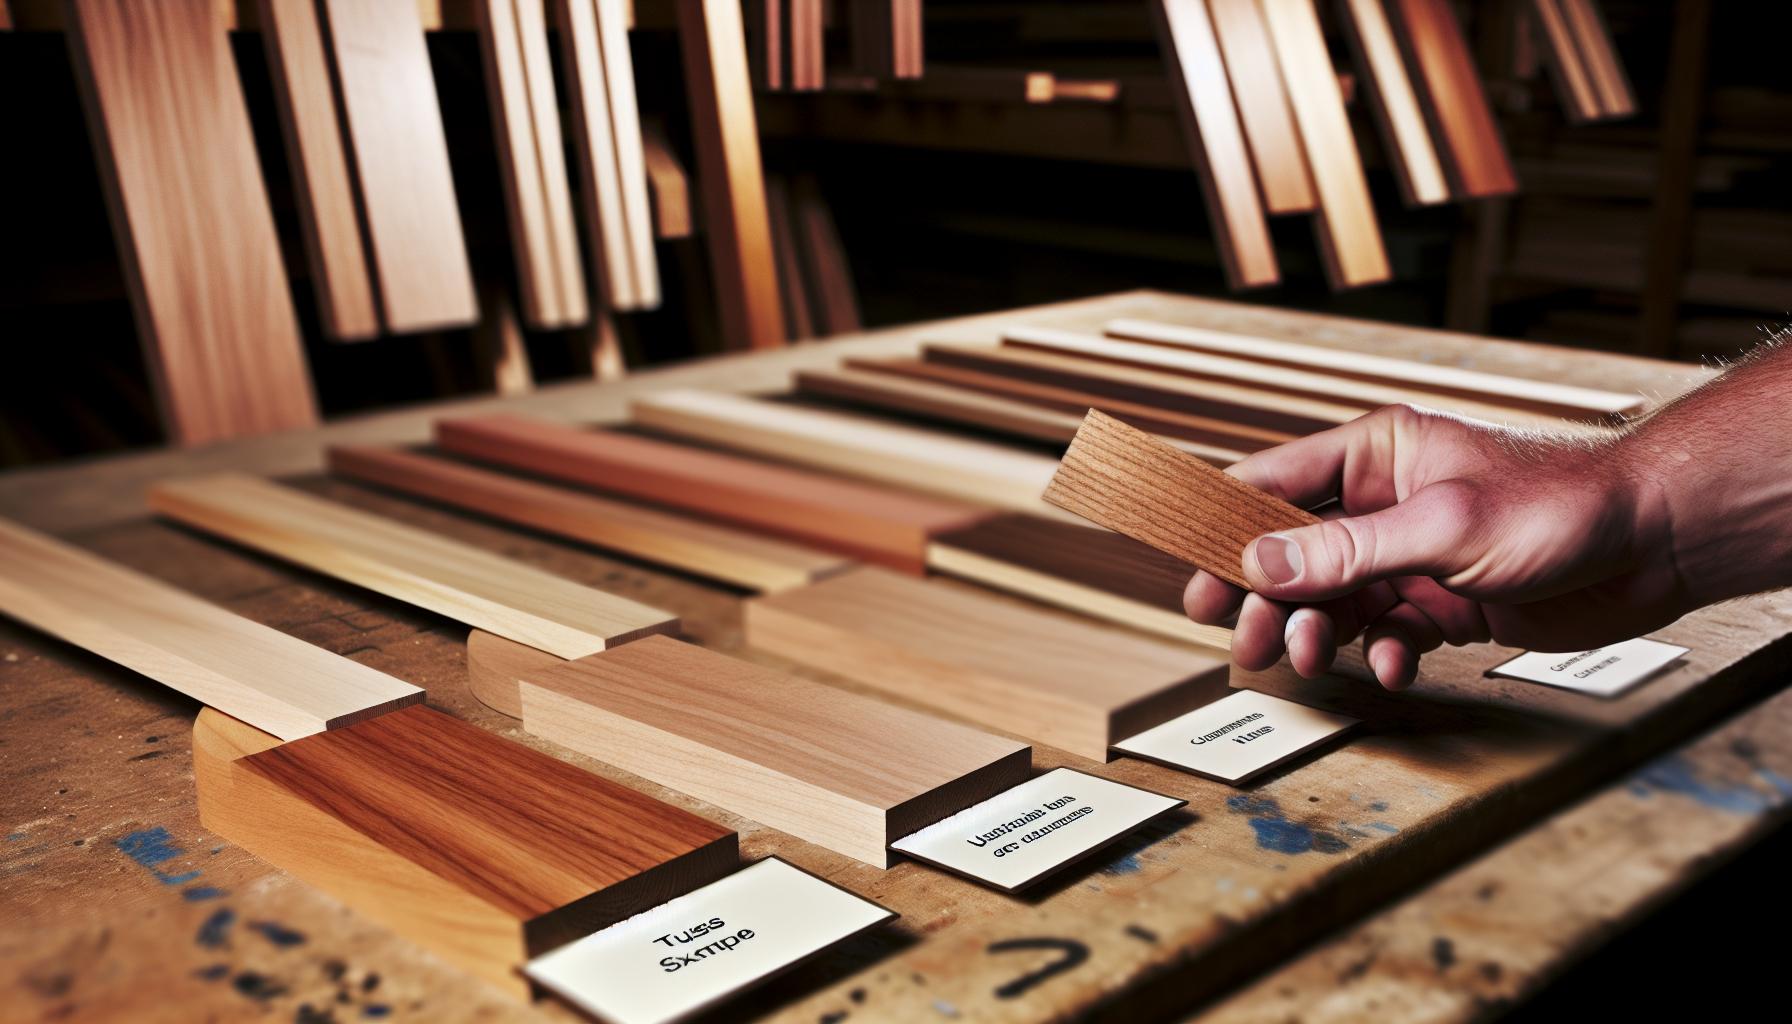
Step-by-Step Guide to Crafting Your Pen
Crafting your own calligraphy pen from wood is a rewarding process, allowing you to create a personal tool that perfectly fits your writing style. It’s not just about utility; it’s about expressing your creativity and forging a connection with your art. To get started, gather your materials and tools: a suitable piece of wood, carving tools, sandpaper, and a drill to accommodate your nib.
Begin by selecting a piece of wood that you’ve chosen based on the characteristics that suit your needs-whether it be the density for stability or the grain for aesthetics. Cut your wood to about 6 to 8 inches in length, a standard size for pens. Next, outline the shape of your pen with a pencil. Think about a comfortable grip; a slight taper towards the tip often feels more natural in the hand.
Once you have your shape, use your carving tools to carefully carve out the outline you’ve drawn. This is where your design starts to take form. It’s important to take your time and ensure that you’re shaping both the body and the nib holder area evenly. Once the rough shape is achieved, switch to sandpaper, gradually increasing the grit to smooth out the surface. This step not only enhances the appearance but also improves your writing comfort.
Finally, drill a hole at the tip of your pen to hold the nib securely in place. After inserting the nib, finish by applying a protective coat of sealant or oil to enhance the wood’s appearance and durability. With this step, your handcrafted calligraphy pen is complete and ready to bring your handwritten works to life, blending functionality with your unique style. Enjoy the satisfaction of creating something truly personal, and let your creativity flourish as you put your new pen to paper.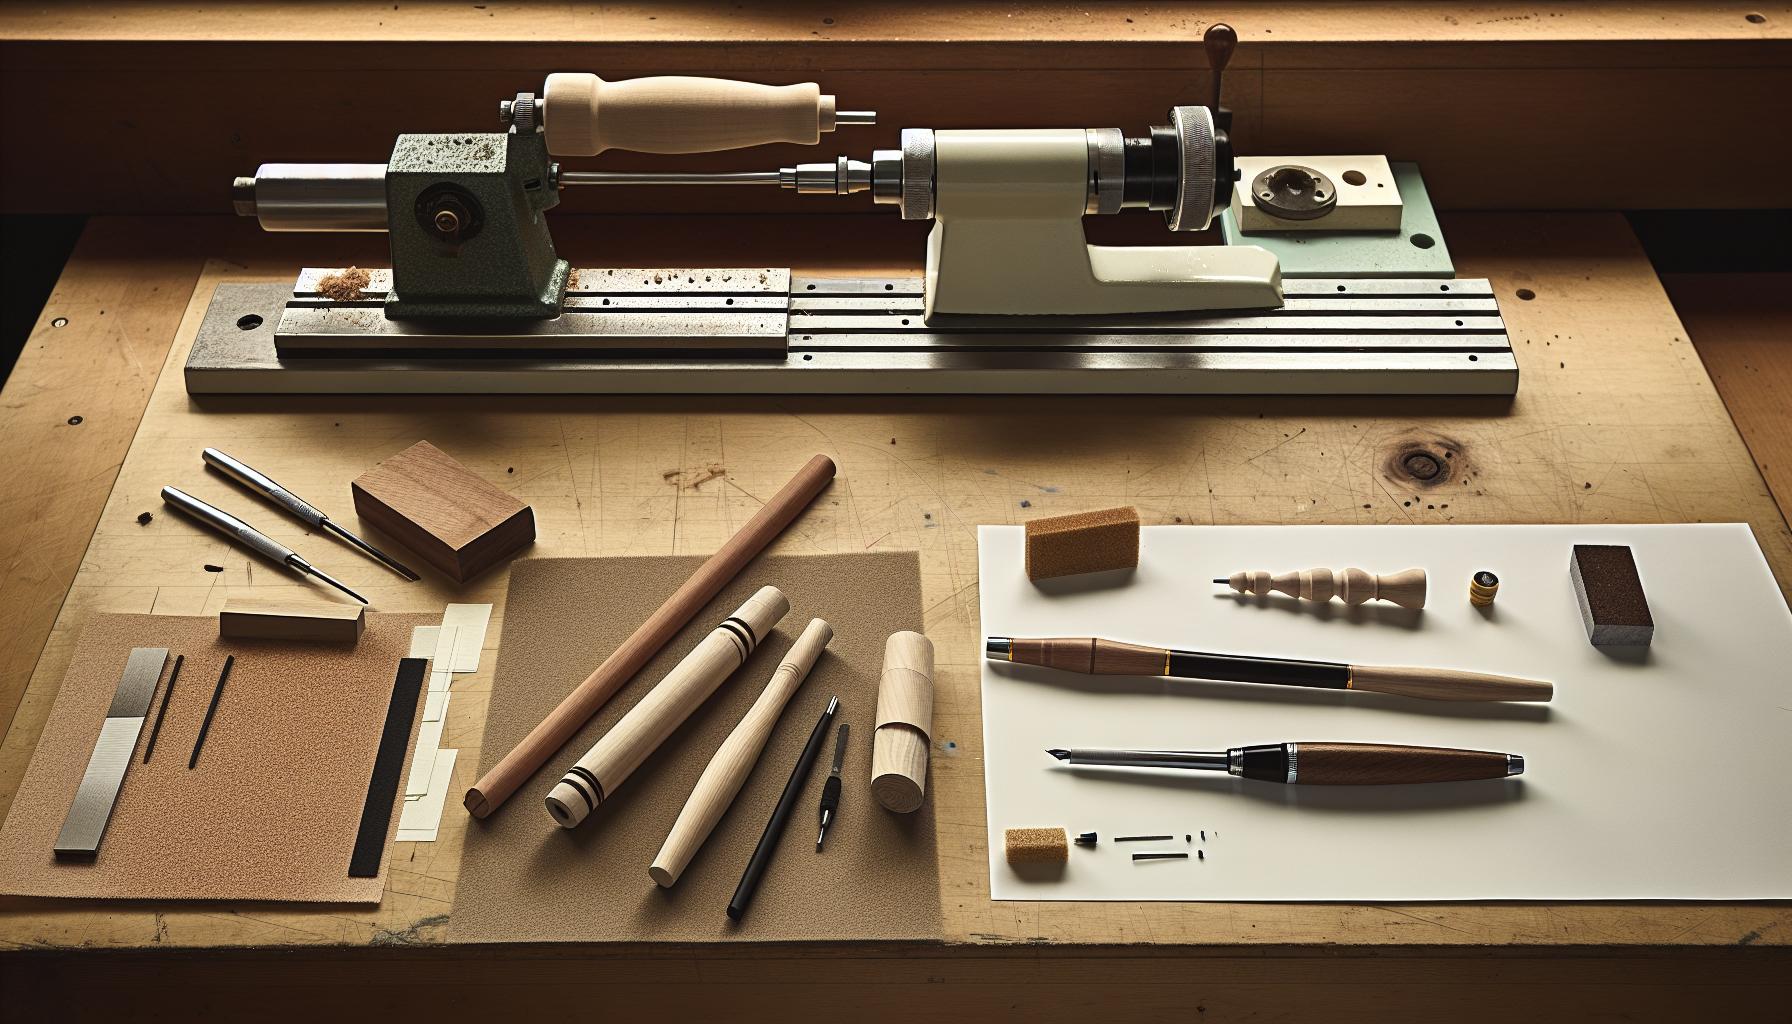
Essential Techniques for Woodworking Mastery
Crafting a wooden calligraphy pen is more than just an artistic endeavor; it’s an exercise in precision and technique. Mastering woodworking can transform a simple project into a piece of art that reflects your personal style. The right techniques can enhance your craftsmanship and ensure that your pen is both functional and beautiful.
First and foremost, practice your grip and control. Holding your carving tools correctly is vital for achieving clean cuts and shapes. Start with softer woods like pine or basswood, which are easier to carve. As your confidence grows, gradually move on to denser woods such as maple or walnut. These materials will reward your patience with finer details and a stunning finish. Don’t forget about the importance of tool maintenance; a sharp chisel or knife makes all the difference. Regularly honing your tools will lead to smoother cuts and less frustration while working.
Next, embrace the process of sanding. This step isn’t just about aesthetics; it’s crucial for comfort and usability. Start with a rougher grit sandpaper to remove any tool marks, then progress to finer grits to achieve a soft, inviting surface. Pay special attention to areas where your fingers will grip the pen-these should feel smooth and ergonomic. Applying a finish, like oil or wax, not only protects the wood but also brings out its natural beauty, enhancing the grain and color.
Lastly, don’t shy away from mistakes. Every misstep in your woodworking journey can be a learning experience. Keep a log of what works and what doesn’t, and soon you’ll find your unique style emerging. Whether it’s the curvature of the pen or the choice of nib, your personalized adjustments will make it a one-of-a-kind instrument. Embrace your creativity and remember, the essence of calligraphy is the balance between art and technique. Happy crafting!
Customizing Your Calligraphy Pen: Tips and Tricks
Creating your own calligraphy pen from wood is not just about functionality; it’s a canvas for your creative expression. Every detail you customize can enhance not only how the pen looks but also how it feels in your hand. Start by choosing a shape that fits your personal style. Whether it’s sleek and modern or traditional and ornate, your pen should be a reflection of you.
To personalize your pen, consider adding unique elements like decorative carvings or personalized engravings. Use a wood burner or carving tools to etch your initials, a meaningful quote, or even intricate patterns onto the body of the pen. This not only makes your pen one-of-a-kind but also adds sentimental value. Additionally, think about the finish; a richly stained wood can amplify visual interest, while a natural oil finish can highlight the wood’s grain.
Another crucial aspect of personalization is the nib selection. Different nibs can vastly change the writing experience. You might prefer a flexible nib for fluid, artistic strokes or a stiffer nib for precise lines. Experimenting with various styles can help you discover what aligns best with your writing technique. Remember to ensure that the nib fits comfortably in your crafted holder; this is where functionality meets art.
Don’t forget to tailor the weight and balance of your pen. If you want a lighter feel for extended writing sessions, use a lighter wood or hollow out sections of your pen to reduce weight. Conversely, consider adding small weights if you prefer a more substantial feel. This kind of customization can transform your pen into a tool that feels just right in your hand, enhancing your calligraphy experience significantly. Embrace the personal journey of crafting your pen, and let it inspire your artistic pursuits.
Exploring Different Nibs for Your Pen
Choosing the right nib for your handcrafted calligraphy pen is arguably one of the most crucial steps in ensuring your writing experience is both enjoyable and effective. The nib doesn’t just affect the aesthetics of your strokes; it influences how smoothly the ink flows, the level of control you have, and ultimately, the style of your calligraphy. With countless options available, understanding the differences between them is essential for any calligraphy enthusiast.
Different nibs suit different styles of writing. Flexible nibs, often made from materials that allow for some bending, are perfect for flourishing, creating thick and thin lines that add character and fluidity to your work. These are fantastic for scripts such as Copperplate or Spencerian where contrast is key. On the other hand, if you’re after precision, stiffer nibs are your best bet. They excel in producing consistent line widths and are a go-to for modern calligraphy styles where uniformity plays an important role.
Another aspect to consider is nib size. Choosing a fine, medium, or broad nib can drastically alter your writing style. Fine nibs are great for detailed work or small lettering, while broad nibs allow for bold strokes and larger letters. It’s often a good idea to experiment with a few different sizes to find what feels right when paired with your wood pen.
Lastly, don’t overlook the material of the nib. Stainless steel nibs are durable and often more affordable, whereas gold nibs provide a luxurious feel and a smoother writing experience. Some calligraphers prefer the latter for their rich ink flow and the ability to create varying line thicknesses with less pressure. Ultimately, the right nib can elevate your calligraphy, transforming a simple writing tool into an extension of your artistic expression. Try various combinations to see what truly ignites your creativity!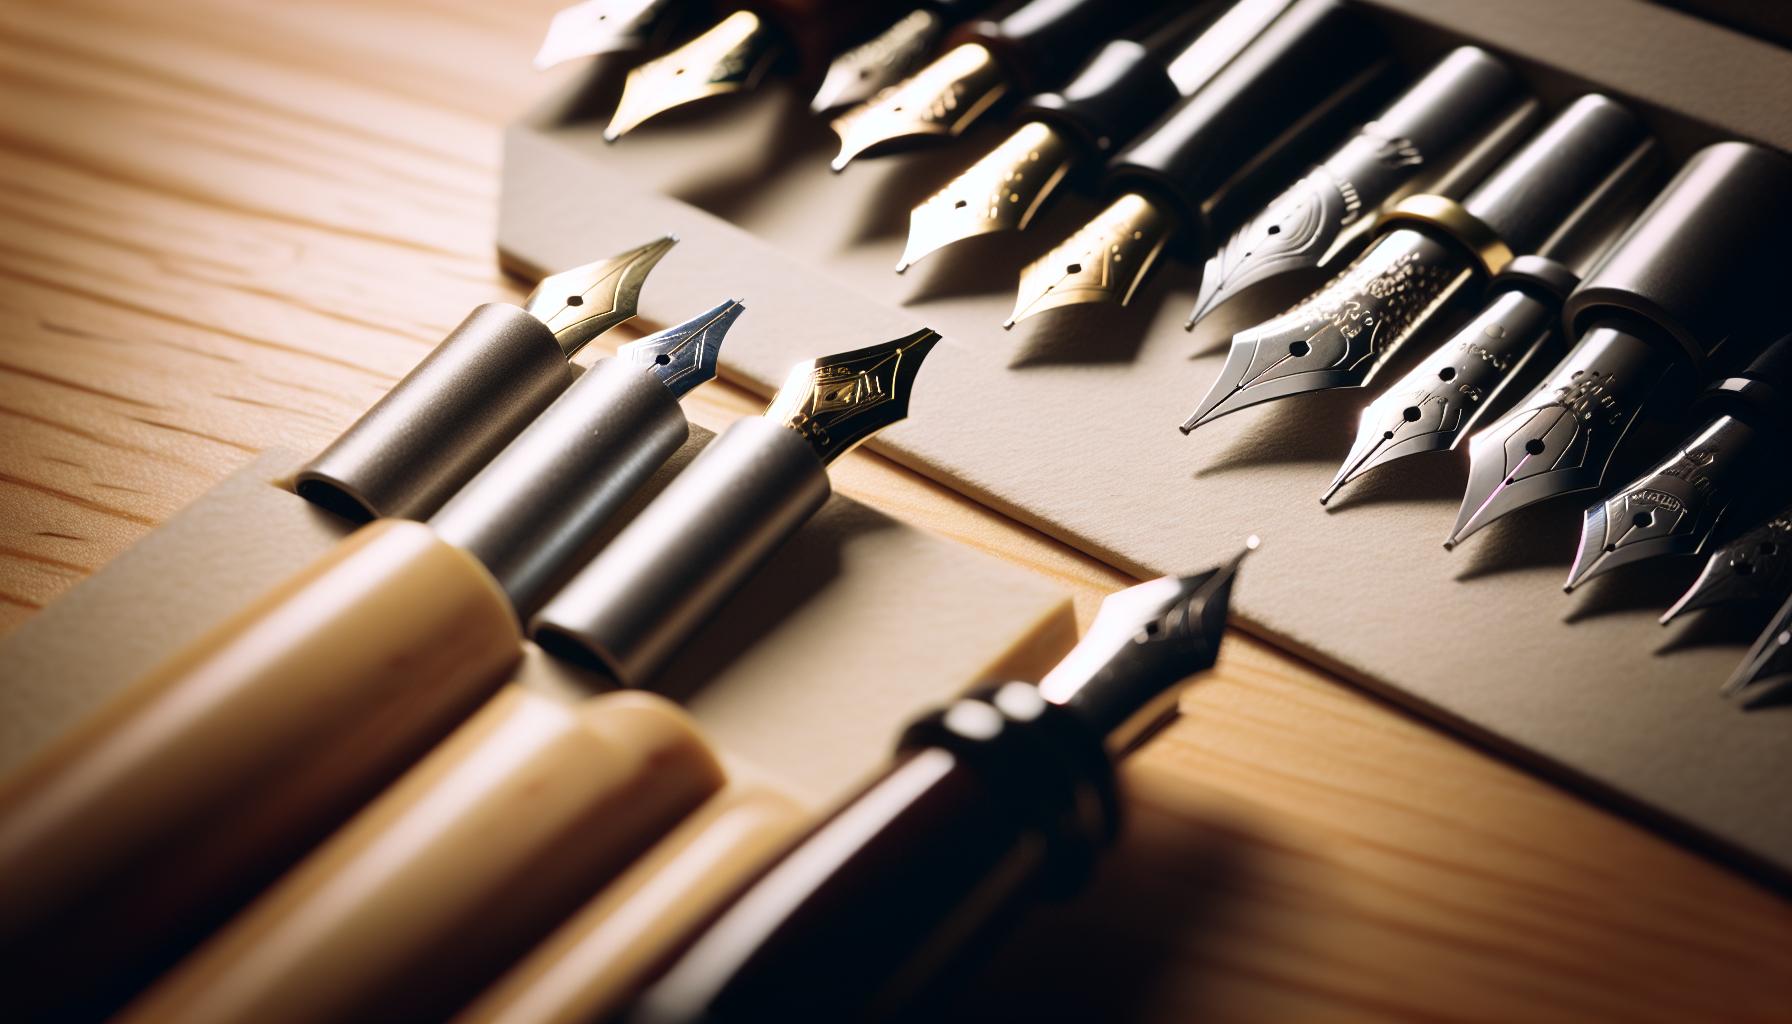
Maintenance Tips for Your Handcrafted Pen
Keeping your handcrafted calligraphy pen in top shape is key to ensuring it lasts and performs flawlessly. Just like any precious tool, your pen needs a little care and attention. Regular maintenance not only enhances your writing experience but also preserves the beauty of your creation.
To start, always clean your pen after each use. A simple rinse under warm water will do wonders, especially if you’ve used ink that can dry and clog the nib. Use a soft cloth to wipe down the wooden body, which will help prevent wear and tear. If you’re working with more stubborn inks, consider soaking the nib in warm water for a few minutes to loosen any residue before cleaning it gently with a cotton swab.
Storage is also crucial. Store your pen upright in a holder to prevent any warping or bending of the nib over time. If you know you won’t use it for a while, it’s wise to keep it in a protective case or wrap it in a soft cloth. This helps avoid accidental drops or scratches that can ruin the delicate craftsmanship.
Lastly, consider applying a light coat of natural oil, like walnut or mineral oil, to the wooden sections periodically. This enriches the wood, enhances its appearance, and adds a layer of protection against moisture and dirt. Just don’t overdo it-a little goes a long way! Following these straightforward tips will keep your custom-made pen not just functional, but a cherished tool in your calligraphy practice for years to come.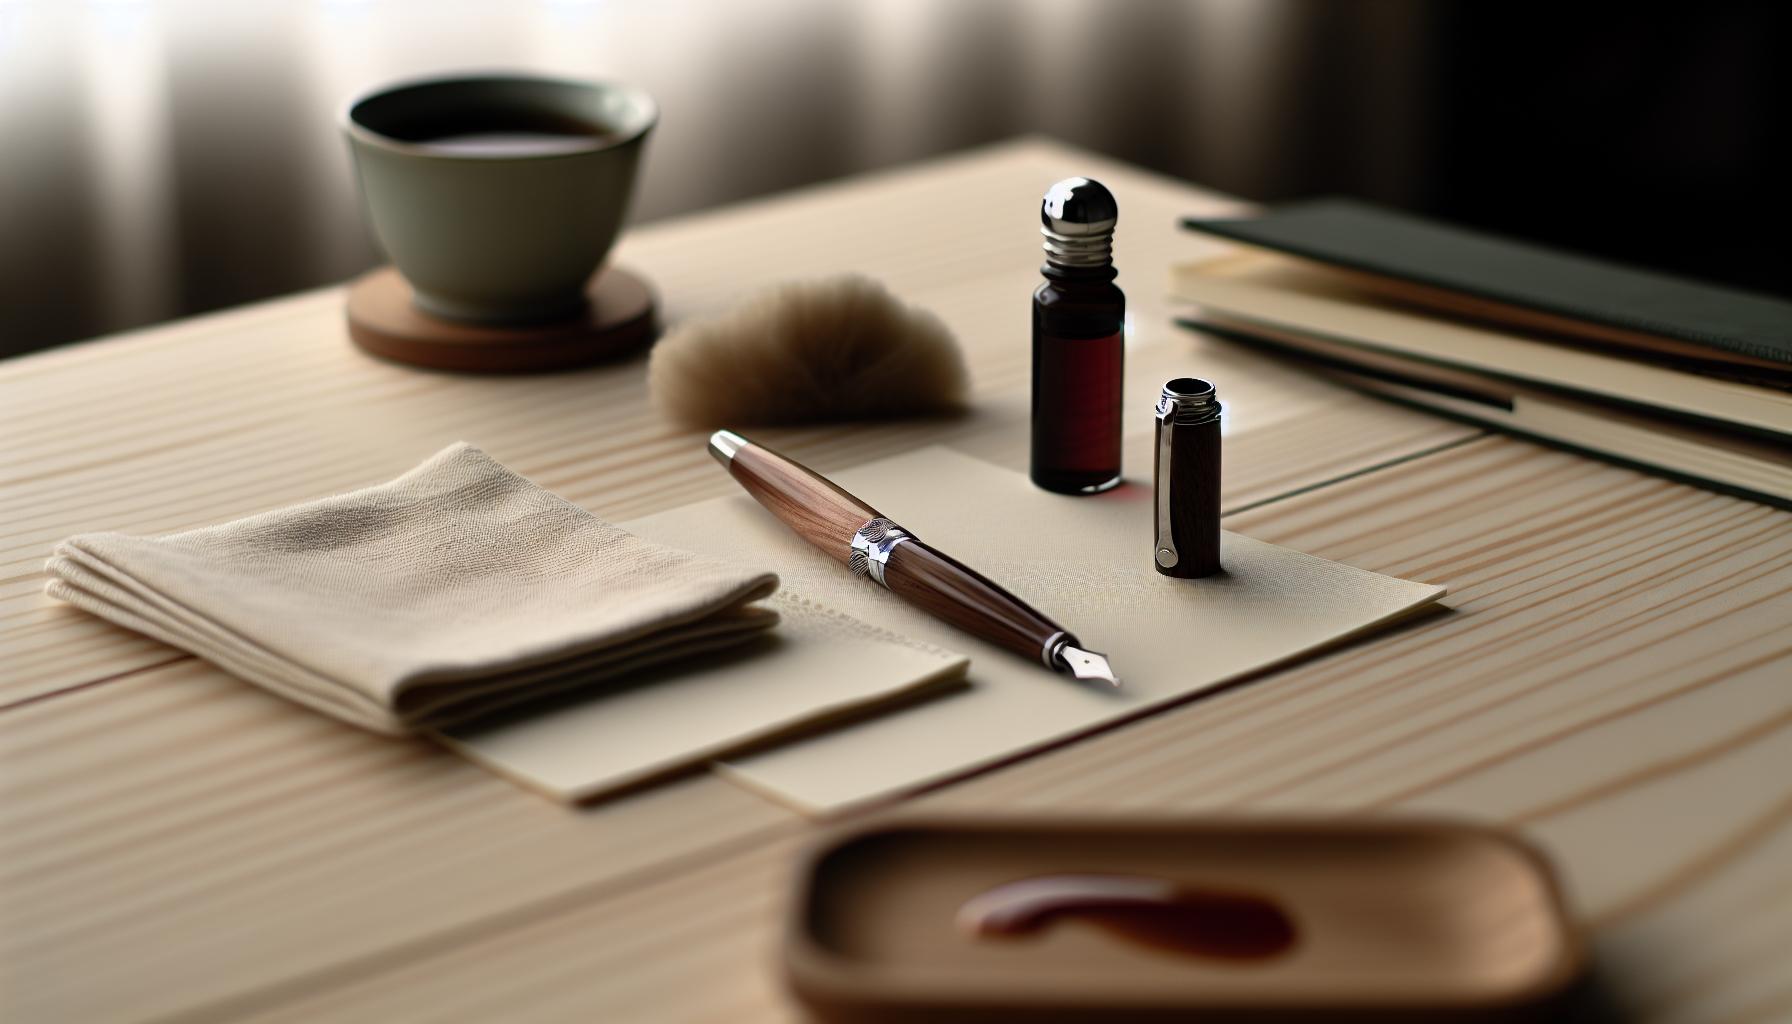
Creating Unique Designs and Personalization Ideas
When it comes to crafting your own calligraphy pen, the possibilities for unique designs and personalization are boundless. Your pen isn’t just a tool; it’s a personal expression of your style and creativity. Start by considering the types of wood you’re using. Different woods have varied grain patterns and colors that can dictate the look of your pen. For instance, a pen made from rich mahogany will have a very different aesthetic compared to one made from lighter maple. Emphasizing the natural beauty of the wood can transform a simple pen into a stunning piece of art.
To truly make your pen stand out, think about incorporating decorative elements. Engraving your name or a meaningful quote onto the barrel can add a personal touch that reflects your personality. You could also explore painting or staining the wood; consider using techniques like ombré for a gradient effect or stenciling designs that resonate with you. Additionally, adding metal or resin accents could elevate your pen’s design, creating a striking contrast against the wood.
Next, consider the functionality of your pen. You might want to create interchangeable nibs for different writing styles, which allows you to customize your pen for various calligraphy techniques. Experimenting with various nib shapes and sizes can also change the way your handwriting looks, helping you find the perfect match for your artistic voice.
Finally, don’t shy away from experimenting with textures. Sanding your pen down to different levels of smoothness will affect not just the appearance but also the tactile experience. A beautifully smooth finish can feel luxurious in the hand, while a slightly textured grip can provide better control. By considering these factors, you can transform your handcrafted calligraphy pen into a truly unique and personalized tool that enhances both your writing experience and your creative expression.
Incorporating Calligraphy into Your Art Practice
Integrating calligraphy into your art practice can be as transformative as crafting your own wooden pen. The act of writing beautifully is not just a skill; it’s an art form that invites personal expression and creativity. Calligraphy goes beyond mere letters; it adds a visual rhythm that can enhance your overall artistic portfolio. Whether you’re making signs, invitations, or simply creating art for the joy of it, combining calligraphy with your other practices opens up a myriad of creative possibilities.
Start by using your handmade calligraphy pen to explore various mediums. It’s not just about the paper-you can use canvas, fabric, or even wood. Experimenting will lead you to find unique textures and outcomes that you might not have expected. For instance, writing on textured paper can create interesting contrasts that enhance the piece, turning simple artistry into something that captures attention. Bring color into the mix: watercolor background washes can give life to your letters, allowing the ink to stand out vibrantly against soft hues.
Consider pairing calligraphy with other artistic disciplines. For example, if you’re into illustration, integrating hand-lettering with your drawings can create synergies that captivate audiences. Think about a botanical illustration adorned with elegant, swirling script that names the flowers included in the artwork. This not only showcases your calligraphy skills but merges two art forms into a cohesive piece that tells a story.
Lastly, don’t underestimate the power of practice and experimentation. Set aside time to create personalized pieces that are just for you, without the pressure of perfection. Allow yourself to explore different styles and techniques-try varying your pressure and speed to see how it affects your strokes. The beauty of incorporating calligraphy into your art is that it encourages growth and invites others to see the world through your unique lens. Remember, every dip of your pen onto the wood offers an opportunity to create something not just beautiful, but deeply personal.
Inspiring Examples of Handcrafted Calligraphy Pens
Creating your own handcrafted calligraphy pen isn’t just an exercise in craftsmanship; it’s a profound way to connect with your art. Each pen tells a story, revealing the personality of its maker. Here are some inspiring examples that highlight what you can achieve with a little creativity and woodworking skill.
One compelling avenue is using exotic woods like mahogany, walnut, or cherry. These woods not only provide stunning aesthetics but also offer a rich feel in the hand. Imagine carving a pen from curly maple, where the swirling grain creates a unique pattern that enhances the visual interest of your strokes. The tactile difference can add depth to your writing experience, making each dip into ink feel purposeful and luxurious.
Don’t hesitate to explore different shapes and finishes. A straightforward cylindrical pen can be transformed with subtle curves or carved designs that fit your grip perfectly. Consider implementing natural finishes like beeswax or mineral oil, which highlight the wood’s beauty while protecting it. You could even experiment with mixed media-combining wood with acrylic or metal accents for a modern twist. This not only makes your pen one-of-a-kind but also elevates its function, making it easier and more comfortable to use.
On the practical side, incorporating interchangeable nibs can dramatically enhance versatility. Imagine a base pen crafted from elegant ebony that allows you to swap between fine and broad nibs effortlessly. This feature can inspire new calligraphy styles and applications, from elegant invitations to expressive art pieces. Experimenting with nib type can also push your creative boundaries, encouraging the integration of various techniques within your work.
Lastly, don’t overlook the power of personalization. Adding a monogram or a unique inscription to the barrel can make your pen a significant piece, reflecting your journey as an artist. Whether you’re gifting it or keeping it for yourself, this small touch can carry a big emotional weight. Each time you use your handcrafted pen, you’re reminded of your capabilities and your commitment to your craft.
In crafting your calligraphy pen, you’re not just making a tool; you’re creating a piece of art that embodies your style, enhances your writing experience, and amplifies your creative expression.
Faq
Q: What materials do I need to make a wooden calligraphy pen?
A: To craft a wooden calligraphy pen, you’ll need high-quality wood (like oak or maple), a sharp knife or chisel, sandpaper for smoothing, and a nib holder compatible with your chosen nibs. Gather a drill for creating the nib insert and additional decorative tools for personalization.
Q: How long does it take to make a wooden calligraphy pen?
A: Making a wooden calligraphy pen can take anywhere from 1 to 3 hours, depending on your woodworking skills and the complexity of your design. Allow extra time for any decorative elements or finishing touches to ensure a polished look.
Q: Can I use any wood type for my calligraphy pen?
A: While you can experiment with various woods, softer woods like pine may not provide the durability needed for a pen. Hardwoods like maple, cherry, or walnut are ideal for their strength and appearance, ensuring a long-lasting writing instrument.
Q: How do I maintain my handcrafted wooden calligraphy pen?
A: To maintain your handcrafted pen, regularly clean the nib and the wood with a soft cloth, and store it horizontally to prevent warping. Occasionally apply a food-safe wood wax for protection and to enhance the appearance, preserving its natural beauty.
Q: What nibs can I use with my wooden calligraphy pen?
A: You can use various nib types, but ensure they fit the holder you designed. Popular options include pointed nibs for delicate script, broad nibs for flourishing, and felt-tipped nibs for more modern calligraphy styles. It’s best to select based on your writing style.
Q: How can I personalize my wooden calligraphy pen?
A: Personalize your pen by adding initials, decorative carvings, or unique wood stains. You can also experiment with different finishes like oil or wax for a custom look that reflects your personality. This makes your pen not just a tool, but a special keepsake.
Q: What are the benefits of making my own calligraphy pen?
A: Creating your own calligraphy pen offers unique benefits: you can customize its size and shape for comfort, select the perfect wood for aesthetic appeal, and develop a deeper connection to your craft. Plus, it’s a fulfilling project that enhances your calligraphy skills.
Q: Where can I learn more about calligraphy techniques?
A: To improve your calligraphy techniques, check out resources like online courses, instructional books, and local workshops. Engaging with the calligraphy community through forums or social media can also provide valuable tips and inspiration for your practice.
In Summary
Congratulations on crafting your very own wooden calligraphy pen! Remember, the satisfaction of handcrafting something unique can truly elevate your writing experience. If you’re eager to explore more about calligraphy, check out our guide on How to Create Your First Font or dive into the features of customizing your penmanship tools in our article on Calligraphr Features.
Don’t hesitate to share your creation with us in the comments – we’d love to see how yours turned out! And if you’re looking for more tips and tricks, consider signing up for our newsletter to stay updated. Your journey into the art of calligraphy is just beginning, so keep exploring, keep creating, and let your unique style shine!