

Holding a calligraphy pen correctly is crucial for creating beautiful letters with ease and confidence. Did you know that a proper grip can significantly enhance your control and reduce fatigue while writing? Many beginners struggle with this seemingly simple task, leading to frustration and inconsistency in their work. By mastering the right grip, you’ll immediately feel empowered to express your creativity and develop your own unique style.
In this guide, we’ll break down everything you need to know about holding a calligraphy pen effectively. Whether you’re just starting or revisiting the basics, understanding how to grip your pen will transform your journey into the elegant world of calligraphy. So, let’s dive in and unlock the secrets to a perfect grip-your artistry awaits!
The Essential Anatomy of a Calligraphy Pen
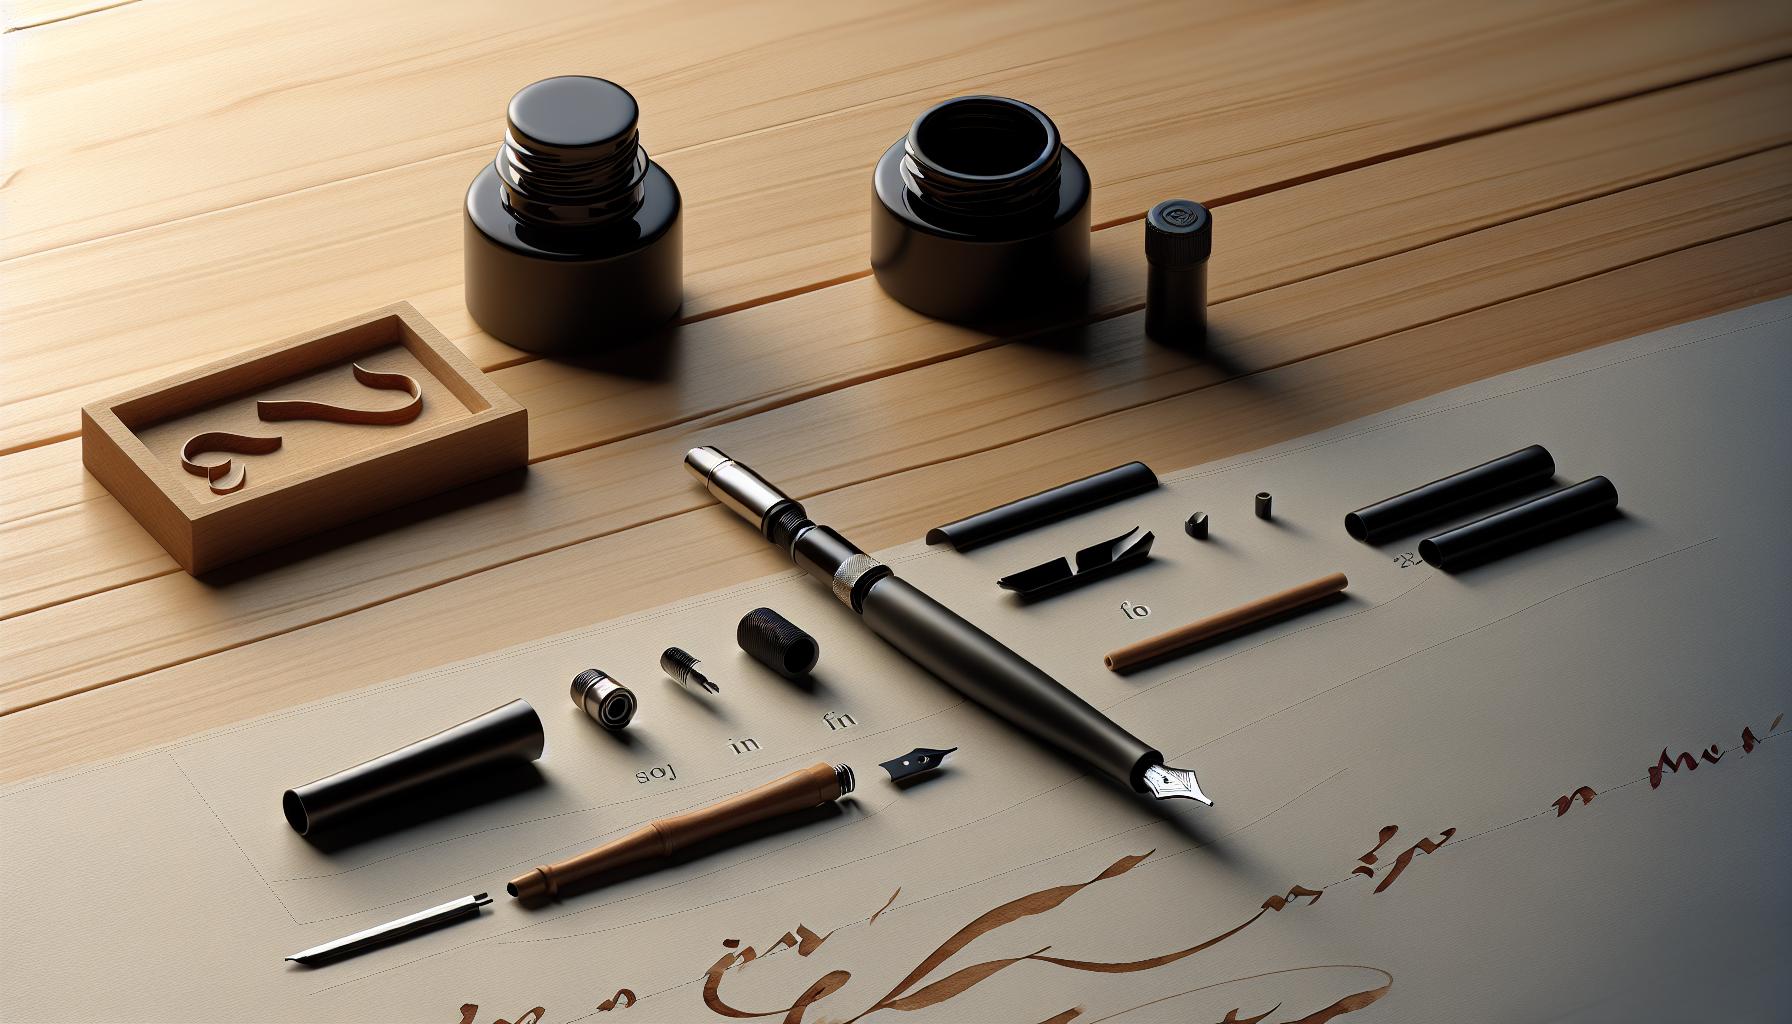
The anatomy of a calligraphy pen is more intricate than you might think, and understanding its components can dramatically enhance your writing experience. A calligraphy pen typically consists of several key parts: the nib, the barrel, the grip, and sometimes a feed system. Each of these elements plays a crucial role in how ink flows and how comfortable the pen feels in your hand.
The nib is arguably the most important part; it’s the tapered metal point that touches the paper. Nibs come in various sizes and styles, each producing different line thicknesses, from fine to broad strokes. Experimenting with various nibs can help you discover which ones suit your personal style best. The barrel is the main body of the pen, which can be made from materials like plastic, metal, or wood, impacting the overall weight and balance. A heavier pen might provide a different feeling compared to a lighter one, impacting how you control your strokes.
Comfort is key when holding a calligraphy pen. The grip, where your fingers meet the pen, can be designed for ergonomics or simple functionality. A textured grip can prevent slipping, while a smooth one allows for effortless movement. It’s crucial to find a pen that feels right in your hand, enabling you to focus on your writing instead of adjusting your grip constantly. Understanding the anatomy of your pen can transform your calligraphy from a chore into a joy, making it easier to create beautiful lettering with each stroke.
- Nib: The part that actually writes, comes in various sizes.
- Barrel: The main body; affects weight and balance.
- Grip: Where you hold the pen; impacts comfort and control.
- Feed: (if applicable) Delivers ink to the nib, crucial for flow.
Understanding Different Grip Styles for Beginners
When you’re diving into calligraphy, your grip is everything. It’s not just about how you hold the pen; it directly influences your fluidity, control, and ultimately, the beauty of your lettering. There are various grip styles to explore, and each brings a unique approach to your writing experience. Many beginners stick to a standard grip, but understanding different styles can set you apart and enhance your technique significantly.
The most common grip is the tripod grip, where your thumb, index, and middle fingers hold the pen. This grip offers stability and control, making it perfect for beginners. However, don’t be afraid to experiment. Some calligraphers prefer a longer hold, gripping further up the barrel to encourage smoother, longer strokes-which can be beneficial for flourishing or dramatic lettering styles. Others might adopt a relaxed grip, holding the pen loosely to allow for more flexibility in their strokes.
To find your ideal grip style, an easy exercise is to try writing with different grips-note which feels more comfortable for you. Use your non-writing hand to support your paper and adjust its position as you write. This is crucial, as shifting the paper can lead to various angles and styles in your writing. Be mindful of your wrist and finger positions; fatigue can quickly settle in if you’re not using a grip that supports your hand’s natural movements.
Remember, the right grip will not only shape your letters but also dictate your overall writing experience. So, take the time to discover what works best for you. Your calligraphy journey is as much about personal expression as it is about technique. Embrace your unique style and let it flourish with each stroke you make.
How to Position Your Hand for Comfort

To create a comfortable writing experience in calligraphy, it’s essential to focus on how you position your hand. A well-placed hand not only enhances your control over the pen but also mitigates fatigue, enabling you to write for longer periods without discomfort.
Start by ensuring your wrist is relaxed and elevated above the writing surface. Avoid pressing your writing hand against the desk; instead, let your arm extend freely. This elevation supports fluid, sweeping motions-a key aspect of beautiful calligraphy. Use your non-dominant hand to hold the paper, allowing you to shift it as needed. This technique gives you a better angle on the page and encourages a relaxed posture.
Your fingers should rest comfortably on the pen, using a grip that feels natural. Experiment with positioning: many beginners benefit from a tripod grip, where the thumb, index, and middle fingers provide stability. However, don’t hesitate to explore different grips or even hold the pen further up for longer strokes. The goal is to avoid tension in your fingers and wrist.
Ultimately, achieving a comfortable hand position is about finding what works for you. Regular practice will help you notice when tension builds and adjust accordingly. Keep your strokes light and smooth; this not only enhances the aesthetics of your writing but makes the entire calligraphic process much more enjoyable. Embrace this learning curve, and you’ll find your own rhythm, resulting in beautiful-and effortless-lettering.
The Importance of Pressure and Angle
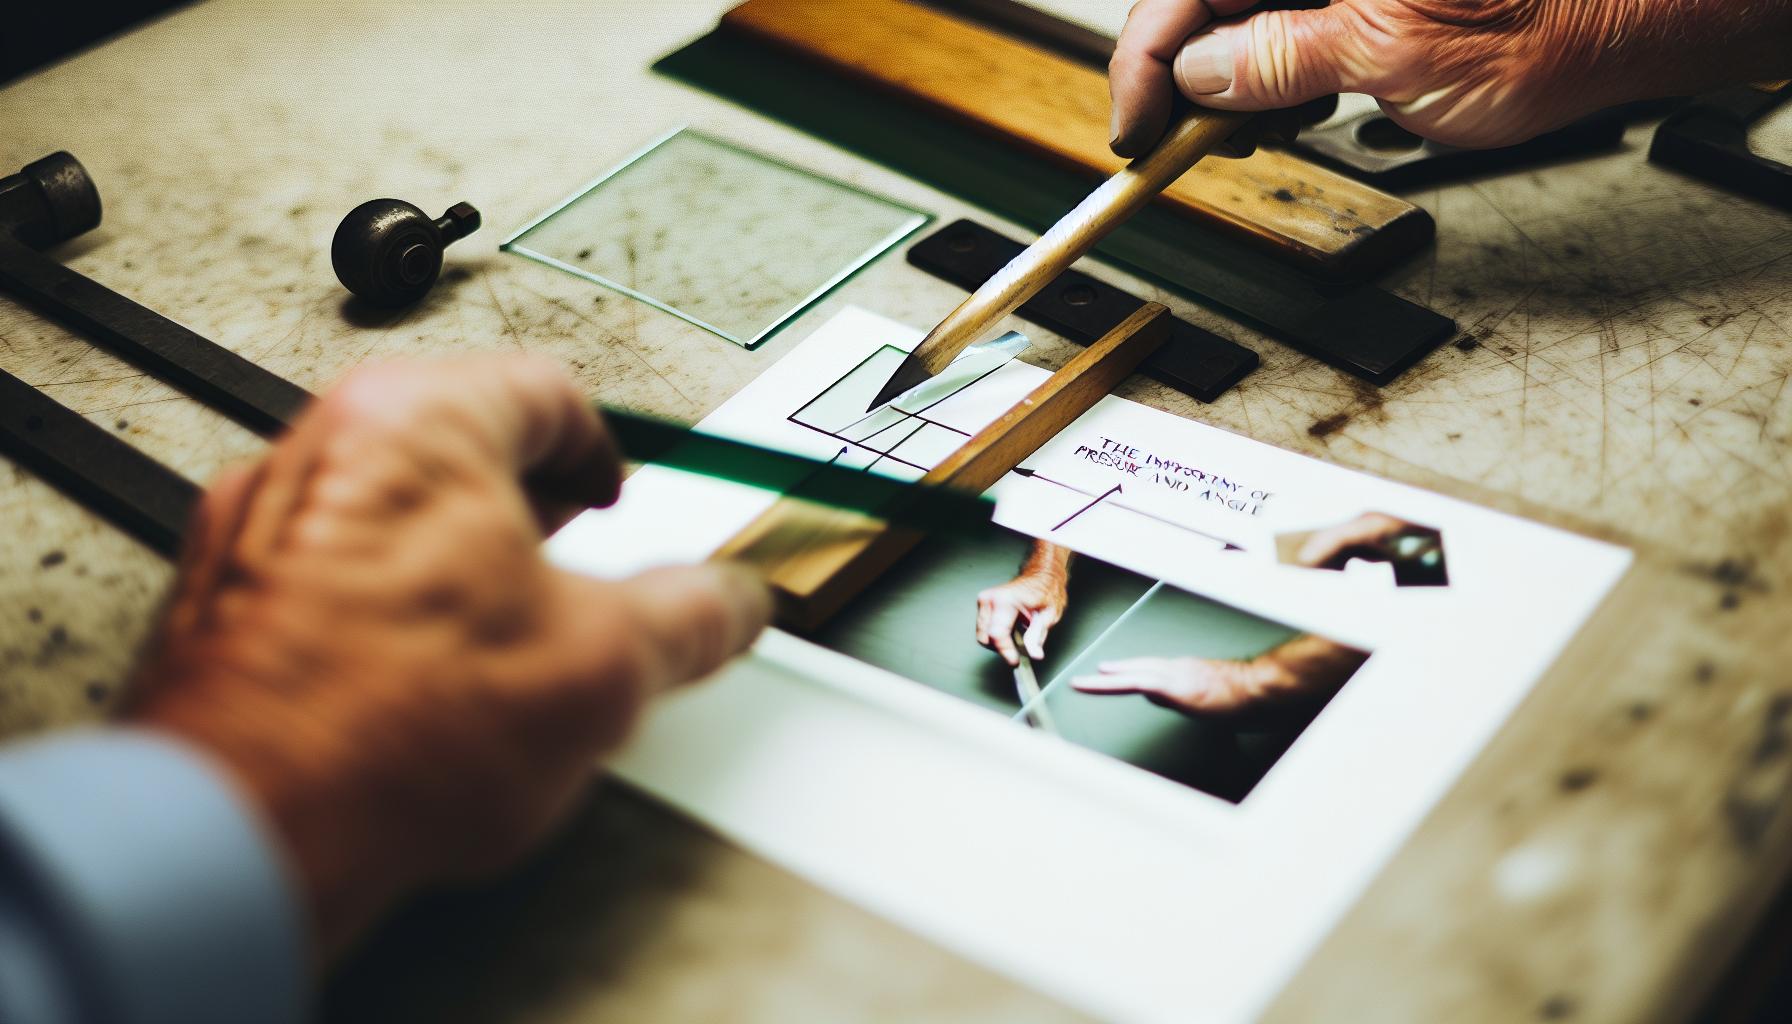
To master calligraphy, understanding how pressure and angle work in synergy is key. These two factors directly influence the quality of your strokes and the overall appearance of your lettering. Applying the right pressure lets you create the elegant thick and thin lines that define beautiful calligraphy. If you press too hard, you risk damaging the nib, leading to frayed edges and inconsistent lines. Conversely, too little pressure results in faint strokes that lack character and presence.
When it comes to angle, maintaining a consistent position is crucial. Holding the pen at a specific angle-usually around 30 to 45 degrees-allows your nib to interact optimally with the paper, producing the clean lines essential for effective letter formation. This angle helps in achieving smooth transitions between thick and thin strokes, vital for styles such as copperplate or modern calligraphy. Practicing these angles and pressures will help you develop a feel for what works best for you as you hone your skills.
Timing your pressure changes as you move through each stroke can make a monumental difference. For instance, during an upward stroke, you should apply less pressure to maintain a thin line. As you transition to a downward stroke, increase the pressure to create the signature thick line. This dynamic approach will help your writing come alive, enhancing both artistry and readability.
Ultimately, achieving finesse in pressure and angle takes practice, so don’t rush it. Keep experimenting, paying attention to the feedback your pen gives you as you write. With time, you’ll find a rhythm that not only feels comfortable but also produces stunning results in your calligraphy journey.
Common Mistakes to Avoid When Holding a Pen
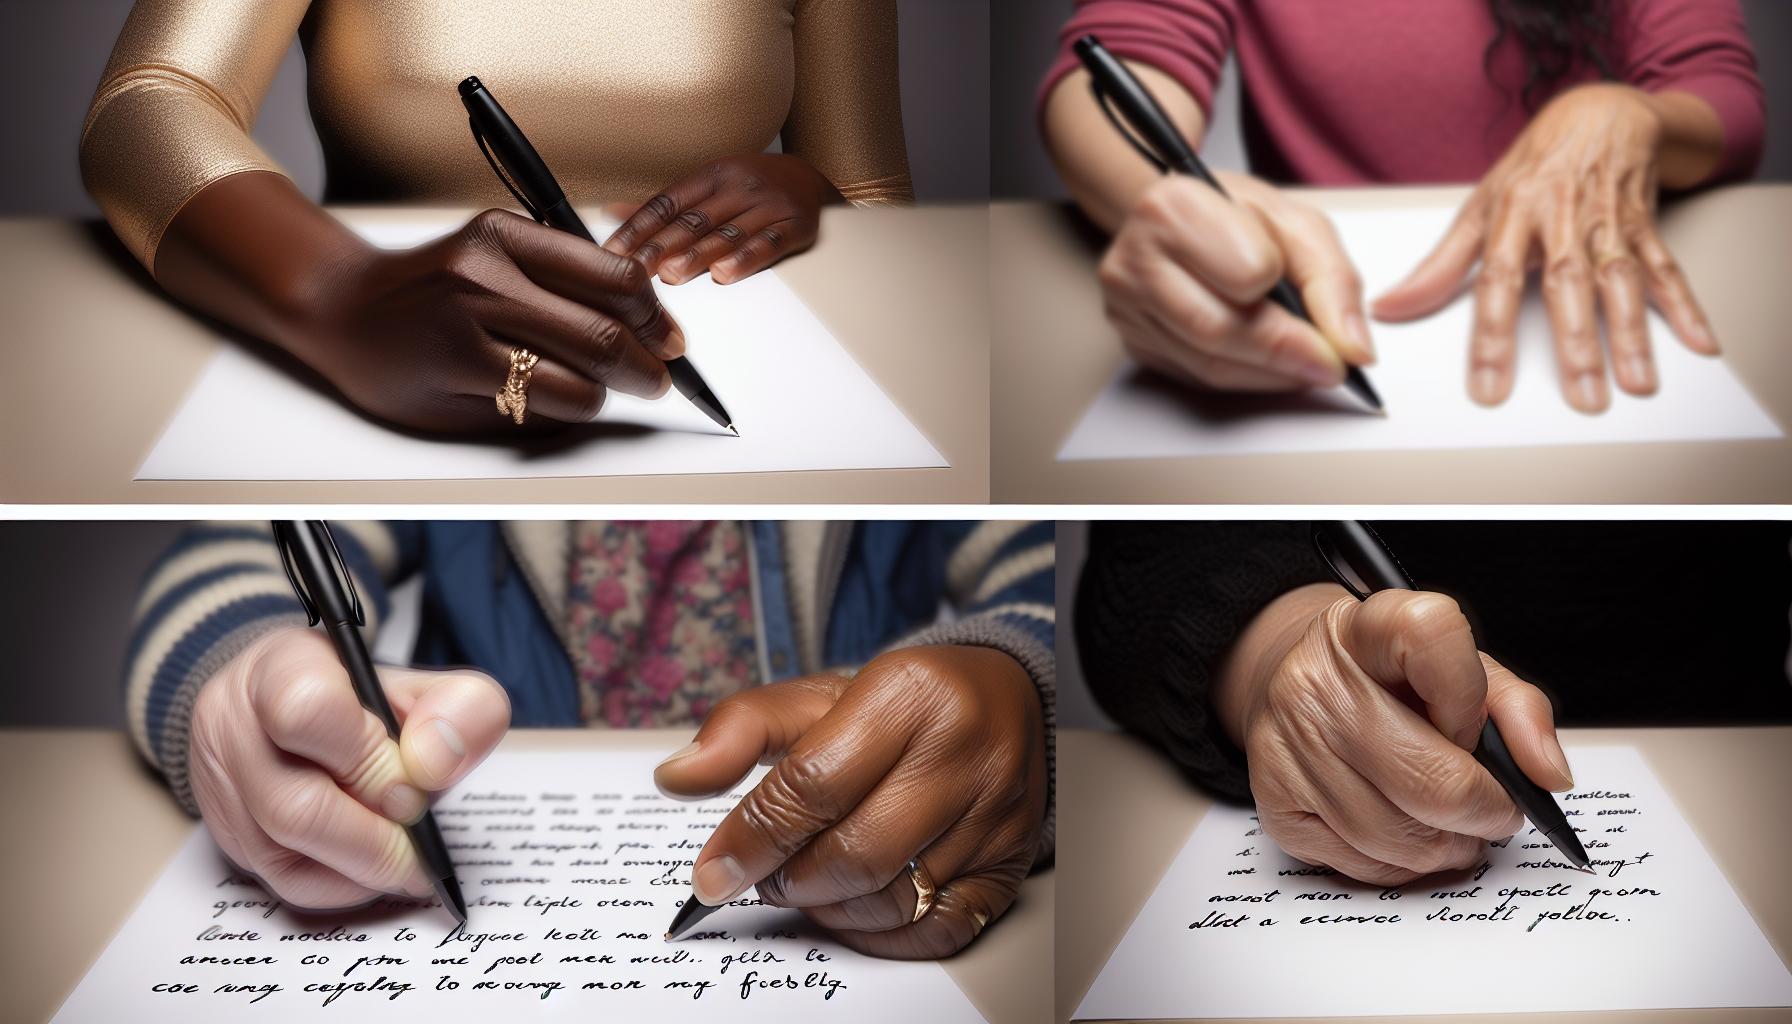
Holding a pen correctly can make or break your calligraphy practice. Many beginners fall into the same traps, hampering their progress without even realizing it. A few common mistakes can lead to frustration, awkward lettering, and even physical discomfort. For instance, gripping the pen too tightly can create tension in your hand, leading to fatigue and shaky lines. Instead, aim for a relaxed grip-think controlled but loose. Imagine holding a fragile object: you want enough pressure to support it but not enough to crush it.
Another frequent error is neglecting the pen’s angle. Beginners often hold the pen vertically, which not only affects the flow of the ink but also increases the risk of fraying the nib. Aim to maintain a 30 to 45-degree angle. This not only helps the nib gliding smoothly over the paper but also enhances your overall stroke quality. Experiment with this angle; you might find it surprisingly comfortable and rewarding.
Lastly, don’t underestimate the importance of your writing surface. Holding the pen correctly is essential, but if you’re hunched over a flat desk or gripping your wrist unnaturally, your results will suffer. Position your paper at an angle that feels natural, and let your non-writing hand anchor it down while your writing hand hovers lightly above. This promotes fluid movement and helps you avoid awkward wrist positions that can sap your stamina.
By focusing on these common pitfalls-tight grips, poor angles, and uncomfortable writing surfaces-you can develop a more effective pen-holding technique and set a strong foundation for your calligraphy journey. Remember, practice makes perfect, and observing your form is just as crucial as mastering your strokes.
Practicing Your Grip: Exercises for Improvement
To truly improve your calligraphy, you need to focus on your grip. A relaxed and controlled grip can drastically enhance your writing experience, eliminating discomfort and improving your strokes. Here are some practical exercises to help you achieve that ideal hold.
Start with the light grip exercise: Pick up your pen and hold it lightly between your thumb and index finger. Imagine you’re holding a fragile flower; too much pressure could damage it. Keep your other fingers relaxed and resting lightly. Practice writing simple lines or shapes with this light hold, gradually increasing the length of time you write to build muscle memory. Aim for controlled, smooth strokes without the strain that comes from gripping too tightly.
Next, try the wiggle test. Hold your pen as you normally would, then wiggle it gently side to side. If it feels too static or tense, adjust your grip until you achieve a more fluid motion. Go through this process multiple times, each time reducing tension and refining your grip. This simple act raises your awareness of how you’re holding the pen and encourages more natural movement.
Finally, incorporate the three-finger grip: Place the pen between your thumb and index finger as before, but add your middle finger beneath the pen for support. This allows for better control and stability. Practice writing letters and phrases while maintaining this support, allowing your pinky to rest comfortably on the paper for balance.
These exercises aren’t just about penmanship; they’re about forging a connection with your tools and enhancing comfort. Regular practice will lead to improvement in your grip as well as your overall calligraphy technique. Remember, a relaxed hand leads to better flow, clearer lines, and a more enjoyable creative process. So, grab your pen and start practicing; you’ll feel the difference in no time!
Choosing the Right Pen for Your Grip Style
Choosing the right pen can make a world of difference in your calligraphy journey. It’s not just about having the fanciest tools; it’s about finding a pen that complements your grip style. Beginners often overlook the importance of matching their grip with the right type of pen, which can lead to unnecessary frustration and discomfort.
When considering your pen, think about how you naturally hold it. If you have a light grip, pens with a comfortable, lightweight body are ideal. For those who tend to grip harder, a slightly heavier pen can help you maintain control without overexerting your hand. Look for pens that have a shape that feels good in your hand-ergonomics matters! Pens with cushioned grips allow for extended use without fatigue, making them excellent choices for long practice sessions.
Different nib types also influence your writing experience. Flexible nibs can be forgiving for beginners, providing a range of line thicknesses without requiring immense pressure. If you’re more accustomed to classic writing styles, a firm nib might suit you better, giving you the precision needed for detailed work. Don’t hesitate to experiment with different pens and nibs to discover what feels right. It’s part of the learning experience, and each style can teach you something new.
Lastly, consider the ink flow. Some pens have a consistent ink flow that allows for smoother writing, reducing the chances of skipping and ensuring clean strokes. Take time to try out various combinations of grips, pen weights, and nib types; over time, you’ll find the perfect match that leads to a more enjoyable calligraphy experience. Happy writing!
Recommended Paper and Tools for Beginners
Getting started with calligraphy can be a thrilling journey, but choosing the right paper and tools is crucial for beginners. The quality of your materials directly affects your writing experience and the results you achieve. A smooth, high-quality paper can make all the difference, allowing your pen to glide effortlessly while preventing ink bleeds and unsightly smudges.
When selecting paper, look for options designed specifically for calligraphy or heavy ink applications. Papers with a weight of at least 90 gsm are ideal, as they can absorb ink without warping. Smooth or lightly textured papers, like Bristol or marker paper, offer a great surface for beginners, ensuring crisp lines and maintaining the integrity of your pen strokes. Try to avoid standard printer paper, as it often lacks the quality needed for beautiful inkwork.
In addition to paper, having the right tools is essential. A good pen is your primary instrument, so consider whether you want a dip pen, a brush pen, or a fountain pen. Each type has its unique grip and stroke style, making it important to choose one that feels comfortable in your hand. Brush pens, for example, allow for dynamic line variations with a simple flick of your wrist, while dip pens offer precise control with different nibs, which can vary in width and flexibility.
Other essential tools include a lightbox for tracing and practicing, and a ruler or straightedge for guiding your lines. Keep a good set of practice sheets ready too, as repetition is key in mastering stroke techniques. Don’t forget to invest in a fast-drying, smudge-proof ink to complement your pen, enhancing your calligraphy without the mess. With the right paper and tools, you’re setting yourself up for success from the start-so gear up and let your creativity flow!
How Your Grip Affects Letter Formation
Your grip on the pen is more than just a matter of comfort; it’s a determining factor in how your letters take shape. When you’re starting with calligraphy, the way you hold your pen can greatly influence not only the strokes you create but also the overall flow and style of your writing. A relaxed grip allows for greater ease and fluidity, while a tight grip can lead to shaky lines and inconsistent lettering.
One crucial aspect is the angle at which you hold the pen. Aim for about a 45-degree tilt. This angle helps in executing those beautiful upstrokes and downstrokes characteristic of calligraphy. If you hold the pen vertically, you’re likely to create harsh lines that lack the finesse calligraphy demands. Instead, with the right angle combined with a loose grip, you allow the brush or nib to glide smoothly across the paper, enhancing both control and artistic expression.
Furthermore, your grip should allow for movement from your elbow and shoulder, rather than just your wrist. This technique promotes longer, sweeping strokes that are essential in creating the elegant curves and flowing lines that define calligraphy. If you’re using your wrist too much, your writing may become cramped or stilted. Focus on maintaining a dynamic hold where your fingers cradle the pen comfortably but don’t exert too much pressure. This not only affects the width of your letters but also helps reduce fatigue over longer practice sessions.
Ultimately, mastering your grip is about finding a balance. If you experiment with different positions-try adjusting where your fingers rest on the pen or how tightly you hold it-you’ll soon discover what feels right for you. Remember, every calligrapher develops their unique style, and the grip that works perfectly for someone else might not suit you. So, take your time to explore and practice, allowing your grip to evolve as you develop your skills in this beautiful art form.
Tips from Experienced Calligraphers
When it comes to mastering calligraphy, experienced artists often emphasize the importance of finding your personal grip and style. Many seasoned calligraphers recommend experimenting with different holds. Don’t hesitate to adjust your grip until it feels natural. A vital tip is to keep your grip relaxed; a tight hold can stifle your movement and flow. Aim for a balance where your fingers cradle the pen without clamping down too hard. This not only aids in producing smoother strokes but also minimizes fatigue during longer writing sessions.
Another practical piece of advice is to utilize your whole arm. Instead of relying solely on your wrist for movement, allow your elbow and shoulder to guide your pen strokes. This technique fosters fluidity, resulting in beautiful, cascading lines that are hallmarks of great calligraphy. For beginners, focusing on this larger range of motion can significantly improve overall letter ratios and style consistency.
To build your confidence and skill, many calligraphers suggest engaging in regular practice sessions focused specifically on grip. Simple drills like drawing lines and loops can help solidify your control while allowing you to discover what feels most comfortable. As you practice, pay attention to how changes in grip affect the appearance of your letters; this awareness can lead to quick improvement.
Lastly, don’t overlook the importance of choosing the right pen for your grip style. Different pens can lend themselves better to certain grips, so explore a range of options. Whether you prefer a fine-tipped nib or a broader brush, the right tool can make a world of difference. Happy writing!
Resources for Further Calligraphy Learning
Looking for resources to elevate your calligraphy skills? You’re in luck! There’s a wealth of materials out there that can guide you from novice to pro. Whether you thrive on visual learning or prefer the written word, you’ll find something that resonates with your style.
Start by watching online tutorials. Platforms like YouTube host countless channels focused on calligraphy. One great resource is Crossroads Calligraphy, where you can find videos demonstrating proper grip techniques and calligraphy basics. These visual aids are especially helpful for beginners, allowing you to see each motion in action. Check out their channel here to explore numerous instructional videos.
Join online communities and forums. Sites like Reddit have specialized groups where you can ask questions, share your progress, and learn from those further along in their journey. The r/Handwriting subreddit is a fantastic place to find tips, tricks, and encouragement from fellow calligraphers. Engaging with a community can provide invaluable feedback and inspiration.
Consider investing in books that offer detailed lessons on techniques, history, and different styles of calligraphy. Titles like “The Art of Calligraphy” by David Harris give a comprehensive overview of materials and methods, helping you understand the nuances of your craft. Local bookstores or libraries often carry these and other resources. You can also explore blog posts from expert calligraphers, detailing best practices and common pitfalls-these are great for quick tips and motivation.
Finally, don’t underestimate the power of practice sheets. Many websites offer free downloadable practice sheets for various styles. Regularly using these sheets can dramatically improve your grip and control. Set a routine where you dedicate time to practice specific drills, focusing on comfort and technique.
By combining these resources, you’re set to sharpen your calligraphy skills and enjoy the creative process. Happy lettering!
Q&A
Q: How do I hold a calligraphy pen properly?
A: To hold a calligraphy pen properly, use a light grip, as if you’re holding it loosely enough for someone to pull it away. Position the pen at a 45-degree angle to the paper and rest it on your thumb and index finger, with your middle finger supporting the pen from underneath. This helps reduce hand fatigue and improves control.
Q: Why is my grip causing pain while writing?
A: A painful grip often results from holding the pen too tightly. Ensure you’re using a relaxed grip, as a tight hold can restrict blood flow and lead to discomfort. Regular practice can ease muscle tension and promote a lighter touch, improving your calligraphy experience.
Q: What types of grips are best for beginners in calligraphy?
A: Beginners should start with the triangular grip, which involves using three fingers: the thumb, index, and middle finger. This grip offers stability and control. Alternatively, the pencil grip can also be effective; with it, the pen rests between the fingers and can be adjusted for comfort.
Q: How can I practice my pen grip effectively?
A: To practice your grip, start with simple exercises like drawing light lines and circles. Focus on holding the pen lightly and increasing your writing time gradually. It’s useful to use smooth, high-quality paper to see your progress and adjust your grip as needed.
Q: What angle should I hold my calligraphy pen?
A: The ideal angle for holding a calligraphy pen is typically around 45 degrees to the paper. This allows for better ink flow and control while creating the strokes. Experiment within a range to find what feels most comfortable for you.
Q: Are there specific pens recommended for beginners?
A: Yes! Beginner-friendly pens include those with flexible nibs or felt-tip markers. These help you get a feel for different pressures without the complexity of more advanced nibs. Pens like the Lamy Joy are great options for getting started.
Q: How does my grip affect letter formation?
A: Your grip directly influences letter formation. A tight grip can lead to inconsistent strokes and jagged lines, while a relaxed grip promotes smoother, more fluid letters. Focus on maintaining a light hold to achieve better results in calligraphy.
Q: When should I adjust my grip while learning?
A: Adjust your grip when you notice discomfort or when your letters begin to lose shape. It’s important to maintain a comfortable position to avoid strain. Experimenting with grip adjustments during practice can help find what works best for different styles and letters.
In Retrospect
Now that you know how to hold a calligraphy pen correctly, it’s time to put those tips into practice! Remember, mastering the grip isn’t just about comfort-it’s about enhancing your writing style and unleashing your creativity. So grab your favorite calligraphy pen and get started on your journey. If you’re looking for more inspiration, check out our guide on “Choosing the Right Calligraphy Pen” or dive into “Basic Calligraphy Strokes for Beginners” to build your skills further.
Don’t hesitate to share your experiences in the comments below or ask any questions you may have; we’re here to help! And if you enjoyed this lesson, subscribe to our newsletter for more tips and exclusive offers on calligraphy supplies. Your next masterpiece is just a stroke away-let’s create something beautiful together!
Get our latest guides, news, and insights highlighted in your Google Search & AI Overviews.










