

Have you ever felt that your school supplies just lack personality? Decorating your binder with washi tape is a fun and easy way to transform a plain binder into a unique expression of your style. Not only does it add a splash of color, but it also helps you stay organized with a creative twist. Whether you want to make a statement in class or add a personal touch that reflects your interests, this guide will show you simple steps to customize your binder. Let’s dive in and unleash your creativity-your school style is just a tape roll away!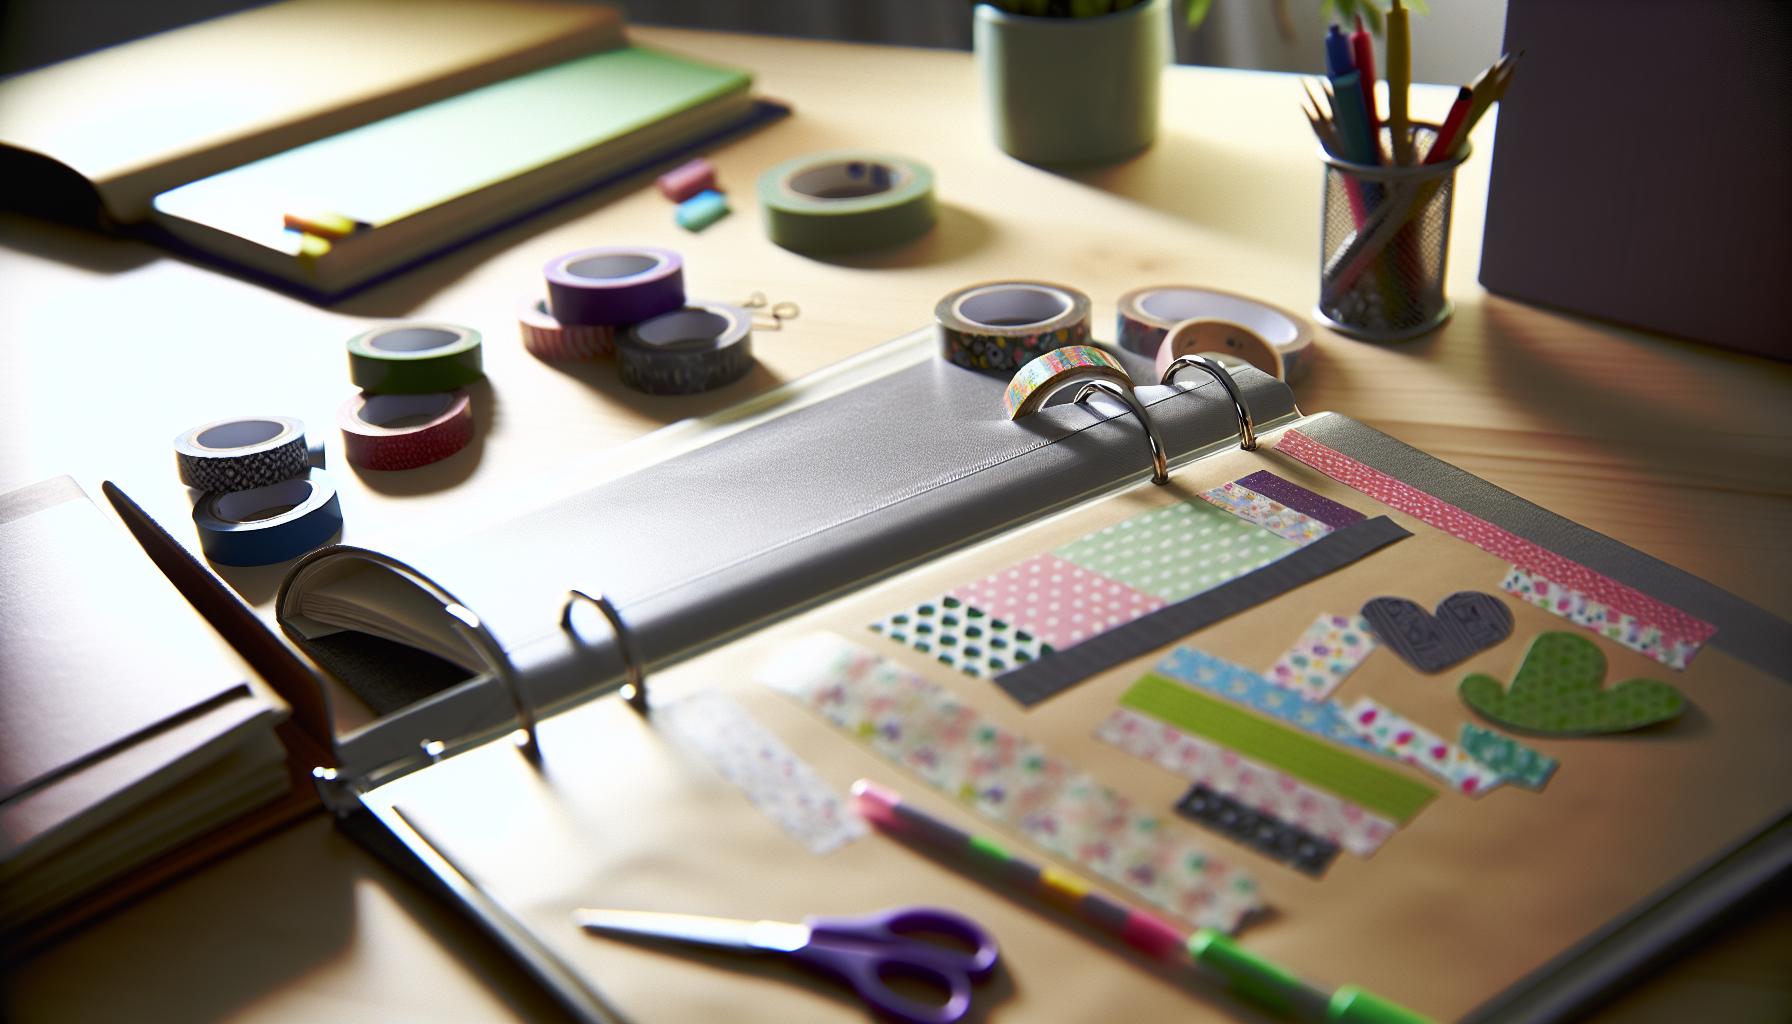
Choosing the Right Washi Tape for Your Binder Style
When it comes to enhancing your binder’s style with washi tape, the right selection can make all the difference. Not all washi tapes are created equal, and the choices you make can reflect your personality and serve your functional needs. Start by considering the theme you want to achieve-whether it’s cute, minimalistic, colorful, or sophisticated. For example, if you’re aiming for a soft, pastel aesthetic, look for tapes in light colors and delicate patterns. Alternatively, if you want to make a bold statement, opt for bright colors and graphic designs.
Don’t forget about texture! Washi tape comes in various finishes, from glossy to matte, and even metallic. Each finish conveys a different vibe. You might pair a shiny gold tape with a solid color binder for a chic contrast, or use a textured, fabric-like washi for a cozy feel. Remember to think about the width of the tape too; wider tapes can create impactful borders, while thinner tapes are perfect for intricate designs and layering.
Lastly, consider the practicality of your washi tape choices. Some tapes are more durable and sticky than others, which is critical for items that will be frequently handled. If your binder is a daily accessory, selecting high-quality tape will ensure that your design stays intact throughout the semester. Mixing and matching various tapes allows you to create a unique look, but it’s essential to choose complementary colors and patterns to maintain a cohesive style. With the right washi tape in hand, you’ll transform your binder into a personal canvas that highlights your individual flair.
Essential Tools for Decorating Your Binder
To really amp up your binder decorating game, having the right tools on hand is essential. It’s all about making the process smooth and enjoyable. You don’t want to get halfway through a design and realize you’re missing a crucial item. Here’s a list of tools you’ll want to gather to ensure your washi tape masterpiece turns out just right.
- Washi Tape: Of course, this is the star of the show. Choose a variety of patterns, widths, and colors to give you flexibility in your designs.
- Scissors or Craft Knife: Use sharp scissors for clean cuts. A craft knife can provide more precision for intricate designs.
- Ruler: A ruler helps ensure straight lines and even spacing, especially when you want to create borders or geometric patterns.
- Bone Folder or Credit Card: For smoothing out your tape and eliminating air bubbles, a bone folder or even a credit card works wonders.
- Stickers and Embellishments: Enhance your designs with complementary stickers or embellishments that align with your washi tape themes.
- Notebook or Planner: Keep track of your ideas and sketches for designs. It’s also handy to jot down what tape combinations you’ve enjoyed.
- Extra Adhesive (if needed): Some washi tapes may need a bit more stickiness, especially if they’re not as tacky. A glue stick or double-sided tape can help.
Before diving into your project, remember to clear a space where you can spread out all your tools and supplies. A well-organized workspace can boost your creativity and keep distractions at bay. Keep in mind that using the right tools not only enhances your efficiency but also helps you achieve a polished finish you’ll be proud to show off!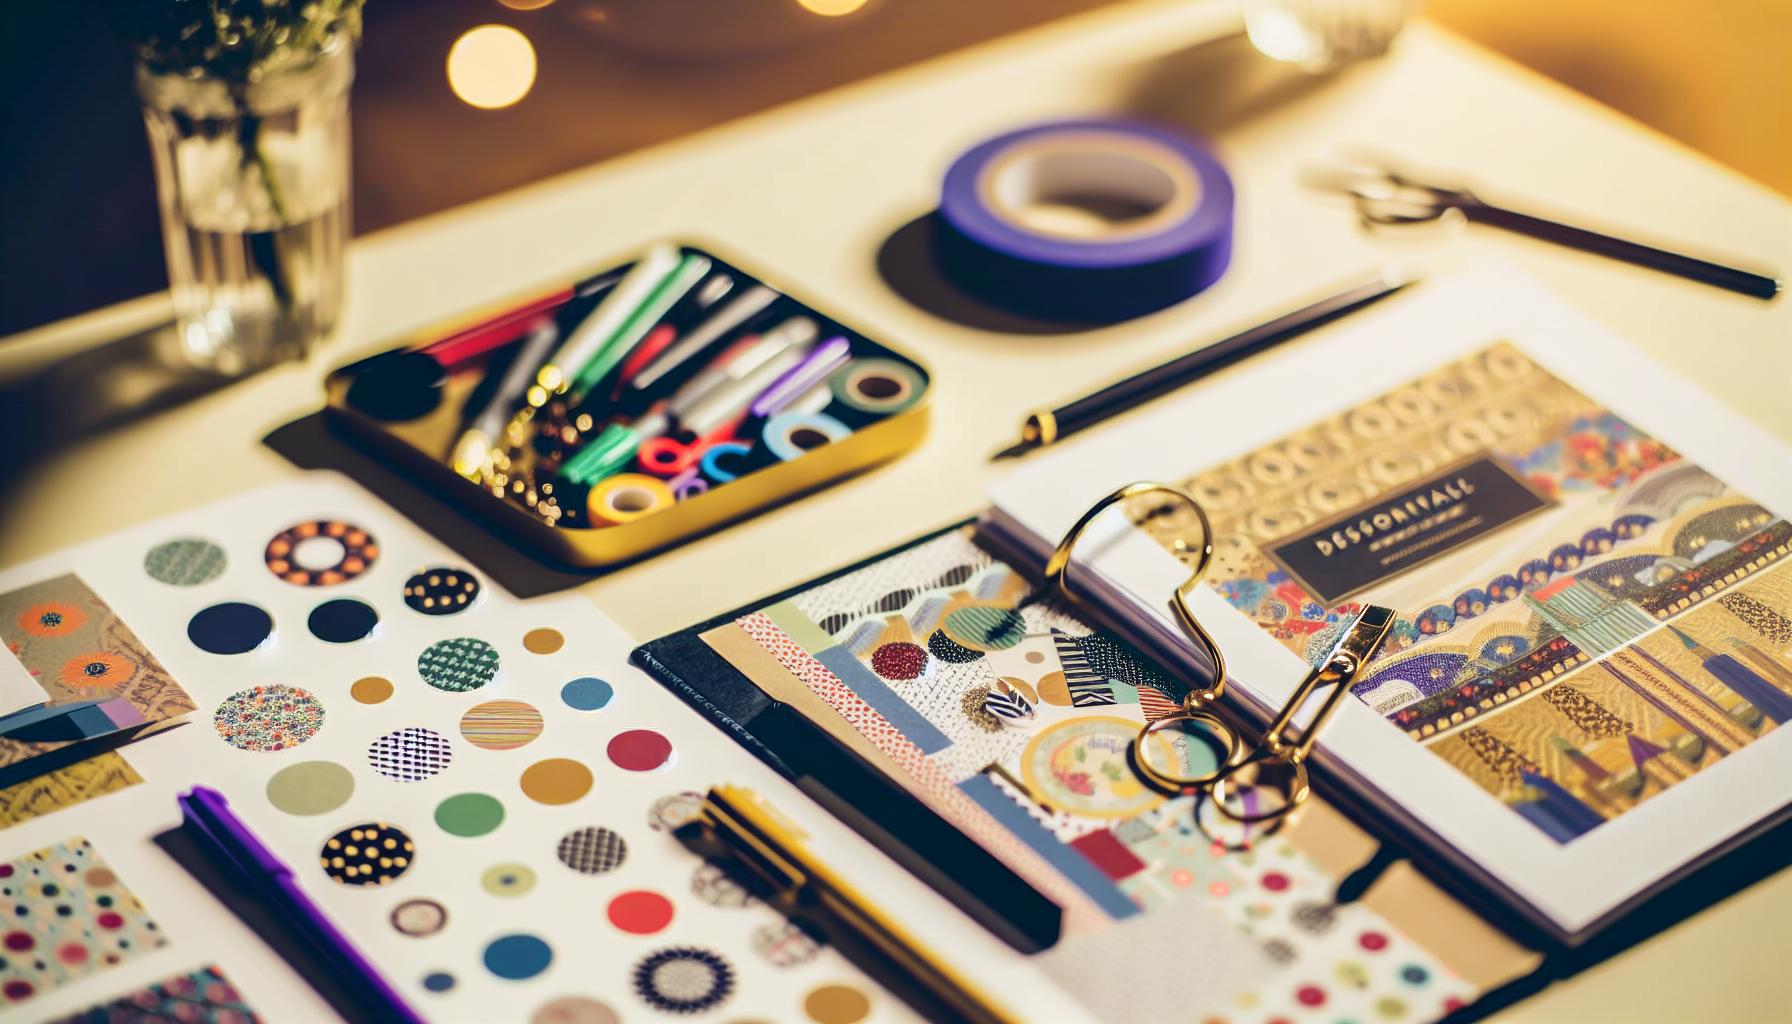
Step-by-Step Guide to Decorating with Washi Tape
When it comes to decorating your binder with washi tape, the process can be as enjoyable as the finished product. First, pick a theme or color palette that resonates with you. Whether it’s vibrant florals for spring or a minimalist monochrome look, having a clear direction sets the tone for your design. A fun tip: sometimes, the most unexpected combinations can create the most visually appealing outcomes.
Start by measuring the areas where you want to apply the washi tape. Use your ruler to ensure precision, especially if you plan on creating straight lines or geometric shapes. Cut lengths of tape that fit your design, but always have a bit extra-this will allow you to reposition or adjust as needed. Once you have your strips ready, peel back the tape gently and position it where desired, using your bone folder or credit card to smooth out any air bubbles for a flawless finish.
Don’t hesitate to layer different tapes! Using various widths and patterns can add depth and interest to your binder. You might start with a wide tape as a base and then add narrower strips on top to create dynamic, playful designs. Think about alternating between patterns and solid colors to break up the visual space. Lastly, to give your binder a polished look, add stickers or embellishments that complement your washi tape choices. This extra step can really bring your project to life.
As you work, keep checking your design from different angles and adjust as needed. If something doesn’t feel right, peel it off and try again. That’s the beauty of washi tape-it’s forgiving! Once you’re satisfied, take a step back and admire your unique creation. You’ve not only personalized your binder but also made it a reflection of your style and creativity.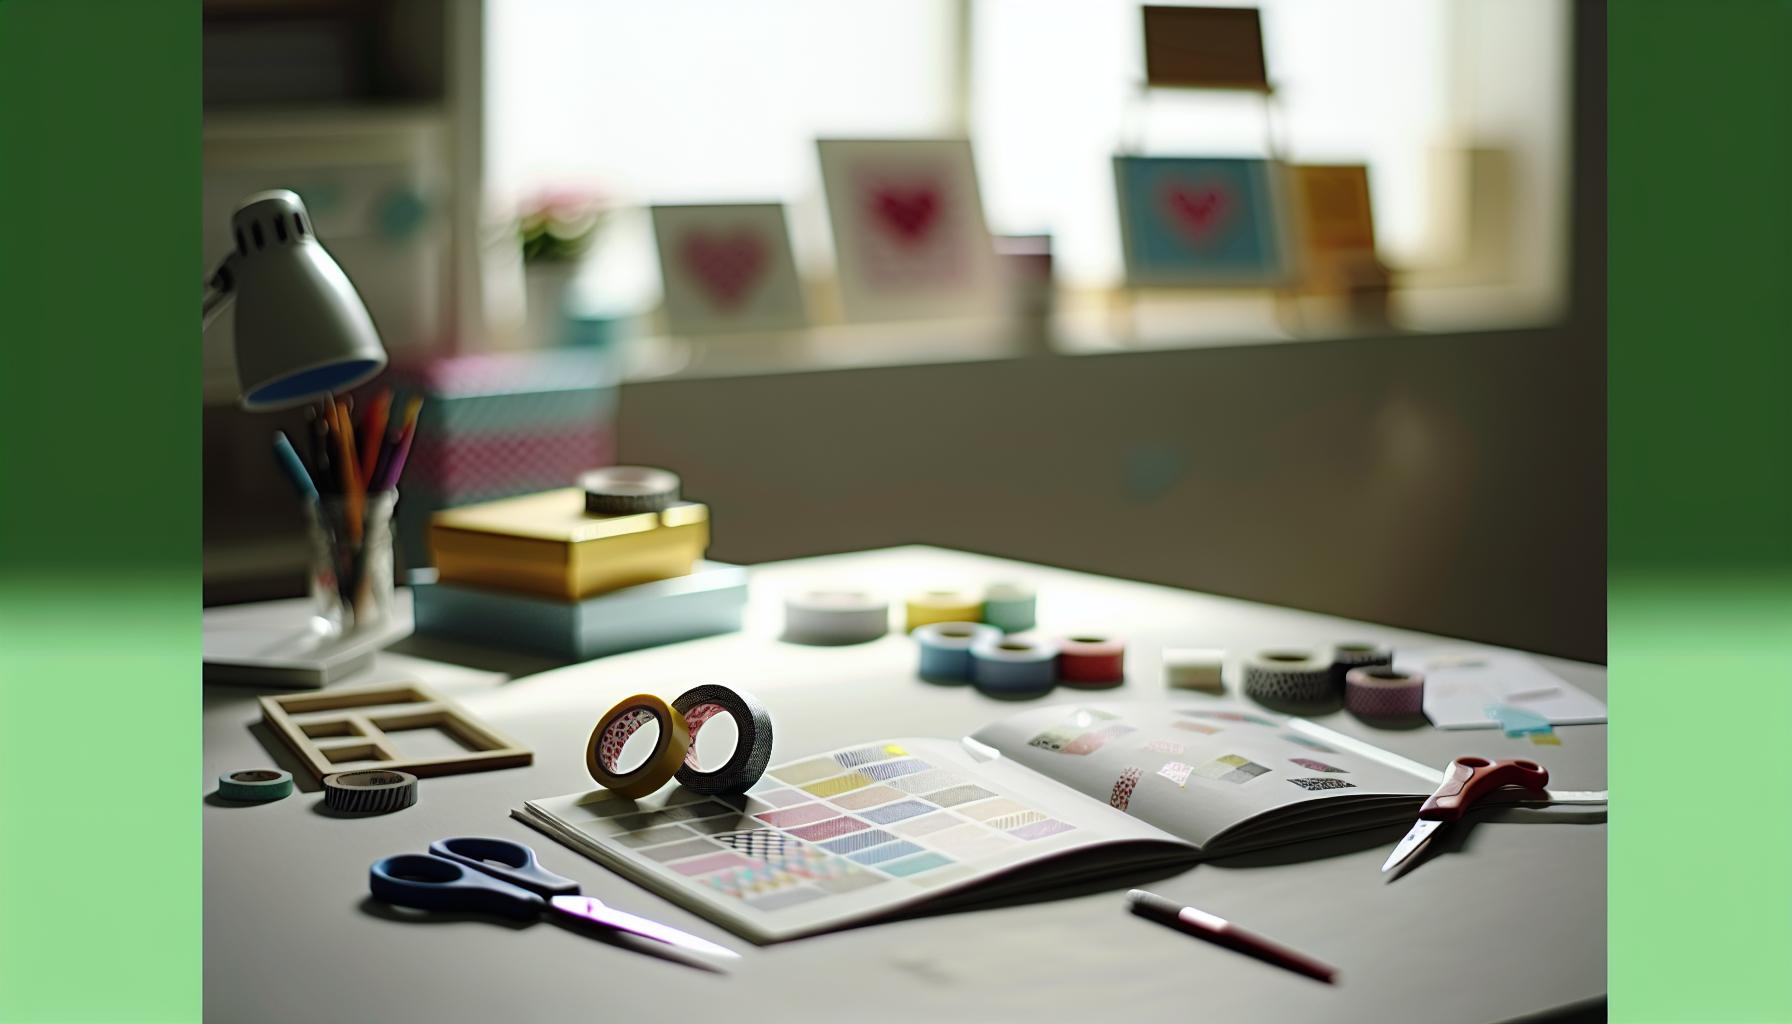
Creative Techniques to Use Washi Tape
When diving into the world of washi tape, creativity knows no bounds. This decorative tape isn’t just for scrapbooking and journaling; it can elevate your binder game to a whole new level. To maximize the impact of washi tape on your binder, consider these techniques that will help you express your personal style while ensuring functionality.
One powerful technique is layering. Don’t shy away from mixing different widths and patterns. Start with a broader tape as your base and then add thinner tapes on top. This not only creates visual interest but also allows you to play with colors and textures. For instance, try using a bold floral tape as a foundation, then overlay it with thin metallic or solid-colored strips. Experimenting with various arrangements can lead to stunning results that reflect your unique taste.
Another fun method is creating borders. Use washi tape to frame sections of your binder, such as the edges of a cover or specific dividers. Cutting the tape at angles can add a sleek design, making even simple titles or sections stand out. This technique is perfect for organizing notes or projects while keeping everything visually appealing. Pair your borders with contrasting colors or patterns to draw attention to specific areas, or use a single color for a more subtle but polished look.
Additionally, think about thematic embellishments. You can incorporate stickers, cutouts, or printed designs along with your washi tape for enhanced creativity. For example, choose a seasonal theme-like autumn leaves or winter snowflakes-and combine washi tape with small illustrations or photographs that complement your chosen aesthetic. This approach not only adds depth but also creates a cohesive narrative in your binder, making it more enjoyable to use.
Finally, don’t forget the power of text and labels. Use washi tape as a backdrop for handwritten notes or printed labels. You can create catchy titles for sections, highlight important reminders, or even jot down quotes that inspire you. Combining washi with your own handwriting adds a personal touch that can make your binder not just functional but also a work of art.
These creative techniques are just the beginning. Allow your imagination to lead the way, and remember-washi tape is meant to be fun! Enjoy the process of decorating your binder, knowing that every layer adds a touch of personality to your school supplies.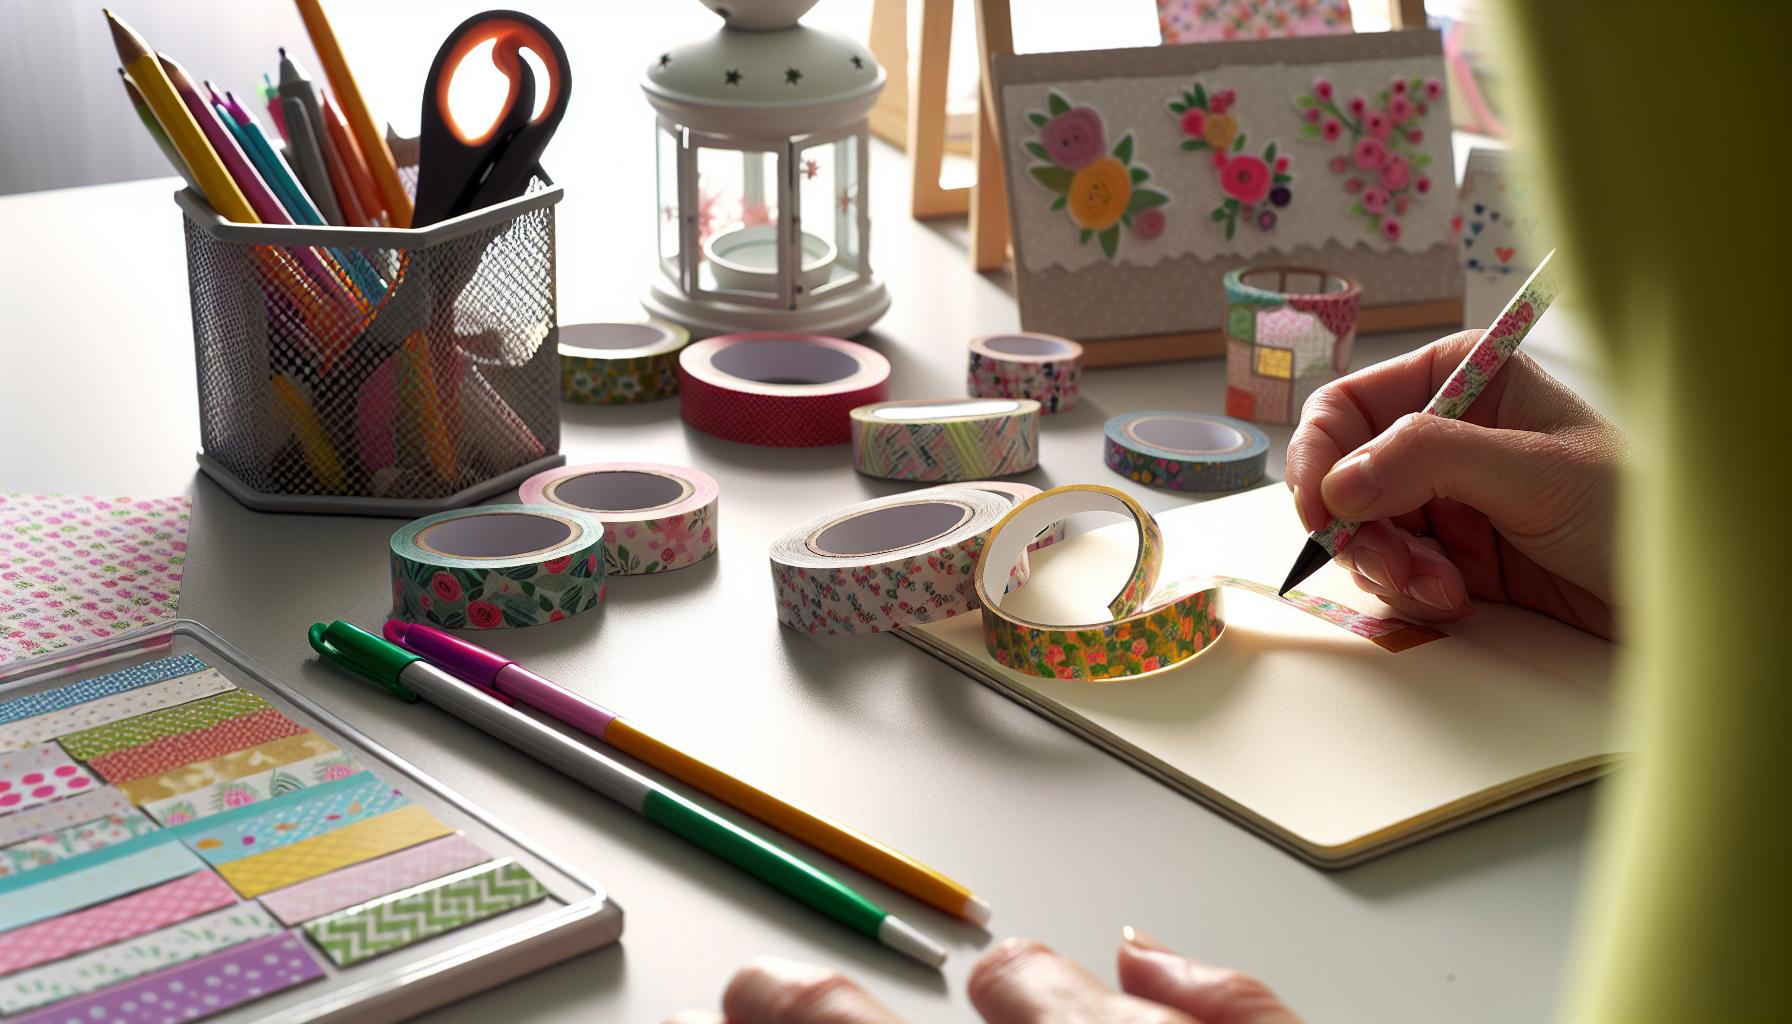
Personalizing Your Binder: Tips and Tricks
Personalizing your binder can turn a simple organizational tool into a reflection of your unique style. Washi tape is a superb medium for this transformation, offering endless possibilities for creativity. Start by choosing a color palette that resonates with you. Consider your favorite colors, patterns, or themes-be it floral, geometric, or even a mix of seasonal designs-to create a cohesive look. Having a clear vision will guide your decorating process and make it even more enjoyable.
Mix and Match
Don’t hesitate to mix different types of washi tape! Layering various patterns and widths can elevate your design. Try using a bold tape as a border and overlaying it with thinner stripes or complementary designs. This layering technique not only adds depth but also personalizes each section. Make sure to test combinations before committing, as some styles might surprise you in their compatibility.
Incorporate Your Interests
Your binder should tell your story. Incorporate elements that reflect your hobbies or interests. For instance, if you love travel, add washi tape that features maps or landmarks. Include small photos or cutouts of places you want to visit or have visited, aligning them with your tape designs. This not only personalizes your binder but also creates a motivational space to inspire your goals.
Functional Flair
Remember that personalization doesn’t just mean aesthetics; it should also serve a functional purpose. Use washi tape to create labels for different sections of your binder. This not only organizes your materials but adds a creative touch that makes finding materials easier. You can even write inspiring quotes on tape and stick them inside your binder as reminders of your aspirations.
By infusing your personality into your binder, you create not just a functional tool but a source of inspiration and creativity that accompanies you throughout your school year. Embrace the process! Enjoy trying new designs and arrangements-your binder is a blank canvas waiting for your touch.
Incorporating Washi Tape into School Supplies
Washi tape isn’t just for your binder-it’s a versatile tool that can elevate your entire school supplies game. Imagine having matching washi tape designs on your notebooks, planners, and even pencil cases. Incorporating washi tape creatively into your school supplies can make your study experience more organized and enjoyable. With a bit of imagination, you can transform ordinary items into personalized pieces that reflect your style.
Start by brainstorming where you can add a touch of washi tape. Notebooks can be enhanced with colorful borders or fun patterns that signify different subjects. For planners, use washi tape to denote important dates or to create a color-coded system for assignments. You can also label sections within your notebook, using washi tape to add a visual cue that makes finding notes quicker and easier.
Another fantastic way to use washi tape is on your pencil case. Decorate the zipper with a vibrant tape or create a patchwork effect along the sides. This not only customizes the pencil case but also makes it easier to spot in a crowded backpack. You could even make labels for each item inside, using washi tape to identify pens, highlighters, and other supplies.
Lastly, don’t shy away from using washi tape for more temporary decorations. If you have a whiteboard or corkboard in your study area, you can frame important reminders and to-do lists with washi tape. This transforms mundane lists into something visually appealing. As your classes change or new projects arise, you can easily update the design without the hassle of permanent markers or sticky notes. By integrating washi tape into multiple elements of your school supplies, you create a cohesive theme that not only keeps you organized but also makes studying a more vibrant experience.
Maintaining and Refreshing Your Decorated Binder
Transforming your binder with washi tape is just the beginning; maintaining that vibrant look is equally important to keep it fresh throughout the school year. Over time, you might find that some of your designs lose their appeal or become battered from daily use. Here’s how to keep your decorated binder looking fabulous while incorporating some delightful updates.
First, check for wear and tear. If certain areas of your washi tape start to peel up or fray, it’s time for a quick refresh. Carefully lift the edges and either reposition your tape or replace it entirely. This not only keeps your binder looking pristine but also gives you the chance to switch up patterns that you may be tired of. Embrace the opportunity to experiment with new colors or designs that inspire you!
Another great way to maintain your binder’s aesthetic is by rotating your themes with the seasons or school terms. This could mean using warmer tones in the fall and cooler shades in the spring. You could also choose thematic tapes for different classes or events. For example, if you have an art project approaching, try out some washi tape with colorful splashes or painterly designs. This approach keeps your binder not just stylish but also relevant to your activities.
To further enhance your creativity, consider adding small decorative elements regularly. Stickers, photographs, or even pressed flowers can create a dynamic collage effect when paired with washi tape. Just ensure these additions don’t interfere with the functionality of your binder or cover important information. By keeping things fresh and adaptable, your binder can become a personalized reflection of your ongoing journey through the school year.
Lastly, don’t forget to have fun with it! The maintenance of your decorated binder should be a creative outlet rather than a chore. Challenge yourself to combine washi tapes in unexpected ways or engage your friends in decorating sessions. Sharing ideas and techniques can reinvigorate your decorating process and inspire new designs that keep your style unique. Remember, your binder is a canvas-let your personality shine through every update!
Inspiration: Unique Binder Designs from Students
Every student loves a binder that stands out, and washi tape is the perfect way to express individual style. Students are taking creativity to new heights, designing unique binders that reflect their personalities and interests. Take inspiration from their brilliant designs and get ready to transform your own binder!
One popular design trend is the themed binder. Whether it’s a favorite movie, book series, or a cherished hobby, students often decorate their binders to showcase their passions. For example, a Harry Potter-themed binder might feature house colors combined with gold foil washi tape to create a magical effect. Others have gone for a more minimalist approach, using monochromatic washi tape patterns like stripes or polka dots paired with a solid color binder for a sleek look.
Another creative route is incorporating photo collages. Many students take personal photos, ticket stubs, or memorable quotes and combine them with washi tape to create an eye-catching visual narrative on the front or inside covers. Using decorative washi tape to frame these elements can make them pop even more. Plus, it’s a great conversation starter!
Seasonal themes are also incredibly popular. Students change their binder’s look with the seasons, opting for warm colors and cozy patterns in fall and vibrant floral designs in spring. You might see binders adorned with washi tape that reflects the same colors as the current season’s decorations, integrating nature into their school supplies. It’s not just fun; it’s a great way to keep things fresh and relevant to their lives.
Lastly, don’t overlook the fun of interactive elements. Some students integrate sticky notes or small pockets made from washi tape, creating binders that not only look good but are functional. This clever approach keeps important notes or reminders at hand and adds a unique tactile element to their designs.
Remember, your binder is not just a storage system-it’s a canvas for self-expression. Dive into these ideas, and let your creativity flow; transforming your binder with washi tape can be both a fun project and a personal statement!
Washi Tape Storage Solutions for Students
When it comes to washi tape, organization is key. Without a solid storage solution, your beautiful collection of decorative tapes can quickly become a tangled mess, making it frustrating to find what you need when inspiration strikes. The good news is there are plenty of creative ways to keep your washi tape organized and accessible, especially for students constantly on the go.
One simple yet effective method is using a tape dispenser. These come in various designs, allowing you to select one that complements your style. A clear or colorful dispenser keeps your washi tape rolls visible and easy to grab when you’re ready to decorate your binder. Plus, it adds a fun flair to your workspace. Alternatively, if you’re DIY-savvy, consider repurposing an old jar or container. Just add a few layers of tape on a non-stick surface to keep the rolls from rolling around. You can even label jars to categorize them by color or theme, making selection easier.
For those with limited space, vertical storage solutions are a game changer. Utilize a corkboard or pegboard by attaching clips or hooks to hold individual washi tape rolls. This not only saves counter space but also makes your washi tape a part of your room’s decor. If you prefer a mobile solution, a small craft caddy or a portable organizer can help keep all your supplies, including washi tape, neatly together. Choose a model with multiple compartments to keep everything in its place.
Lastly, don’t forget the power of creativity in your storage! You can transform an old fishing tackle box or an organizer meant for hardware into a washi tape haven. Use the compartments to keep different colors and patterns separated, ready for when you want to unleash your creativity on your binders or any other craft project. Whatever method you choose, just remember that a little organization goes a long way in maximizing your creative potential!
Sustainable and Budget-Friendly Washi Tape Options
Looking for ways to jazz up your binder without draining your wallet? You’re in luck! There are plenty of sustainable and budget-friendly options for washi tape that can elevate your school style while being kind to the planet and your purse.
One of the best places to start is by shopping at local thrift stores or dollar shops. You can often find rolls of washi tape at a fraction of the regular price. Don’t overlook seasonal clearance sections; after holidays, decorated tape can be scoring treats for your next project! Additionally, keep an eye out for craft fairs or small local shops where artisans sell handmade tape. These options not only support local businesses, but you might also stumble upon unique patterns that won’t be found in mainstream stores.
If you’re feeling creative, consider making your own washi tape! All you need is some masking tape or painter’s tape and your favorite decorative elements, like markers, stamps, or even scrapbooking supplies. Just cover the tape with your designs, and voilà-you’ve got customized washi tape ready for your binder. This DIY approach is fantastic for ensuring no two rolls are alike, allowing for personalization that reflects your style.
When it comes to brands, look for eco-friendly companies that produce washi tape made from recycled materials or natural fibers. Some brands focus on sustainable practices, often offering discounts for bulk purchases or subscriptions, making it easier for students to stock up on their favorite designs without breaking the bank.
By exploring these options, you can enjoy the decorative power of washi tape while staying within your budget and making a positive impact on the environment. Go ahead, get creative, and transform your binder into a personalized masterpiece!
Common Mistakes to Avoid When Decorating
When decorating a binder with washi tape, it’s common to get a bit too carried away with creativity. A vibrant explosion of color may seem appealing initially, but one of the biggest mistakes is overloading your binder with too many patterns and styles. Too much can be visually overwhelming and defeat the purpose of organization. Instead, aim for a balanced design where a few complementary patterns shine. Choose one or two primary designs and mix in some simpler ones for accent.
Another frequent misstep is applying washi tape without proper planning. It’s easy to go in with enthusiasm but having a layout in mind can save you from regret later. Before you start sticking, lay out the tape on the binder without peeling off the backing to see how different designs interact. This simple step can prevent clashes and ensures a cohesive look.
Don’t forget about the functionality of your binder, either. While it might be fun to layer pieces of tape all over, remember that you need access to the binder’s functionalities. For example, avoid covering the spine where labels usually reside, and don’t obstruct pockets or rings that open. After all, your stylish binder needs to be practical too.
Lastly, another common blunder is neglecting to consider the durability of your materials. Not all washi tape is created equal. Some tapes might not adhere well or could peel off too easily, especially when used on surfaces that get frequent handling. Opt for high-quality washi tape that’s known for its adhesion properties and durability to ensure your hard work lasts through the semester. With these tips in mind, you’ll be well on your way to creating a binder that’s not only eye-catching but also functional!
Sharing Your Creative Binders on Social Media
Sharing your beautifully decorated binder on social media can be a delightful way to showcase your creativity and connect with fellow students who share your interests. Platforms like Instagram, Pinterest, and TikTok are perfect for sharing vibrant visuals, and they can help inspire others while offering a space for you to receive feedback. To make your posts stand out, focus on capturing eye-catching angles and well-lit photos. Natural light usually works best, so consider snapping your shots during the day near a window.
When you post, take a moment to explain your design choices. What inspired your color palette? Did you incorporate any unique techniques? Share your thought process and tips in the caption-others will appreciate the insights and might even replicate your ideas. Use relevant hashtags like #WashiTape, #BinderDecor, and #BackToSchool to reach a wider audience. This increases the chances of your work being noticed by people looking for inspiration or utilizing similar supplies.
Engaging with others is just as important as sharing your own creations. Take the time to comment on, like, and share other students’ posts. This builds community and can lead to collaborations or challenges. You can also create a specific hashtag for your school or friend group to compile everyone’s designs in one place. Consider even holding a friendly competition with a prize for the most creative binder, encouraging more interaction and motivation to share designs.
Lastly, don’t shy away from using stories or live videos to discuss your process in real-time. Show behind-the-scenes clips of your decorating sessions or even host a Q&A where followers can ask for decorating tips. This approach not only adds a personal touch but also helps you connect on a deeper level with your audience, making your social media presence more engaging and relatable.
FAQ
Q: How do I choose the best washi tape for my binder decoration?
A: To choose the best washi tape, consider your personal style and the colors that match your school supplies. Look for patterns and designs that resonate with your personality. Mix and match different tapes to create unique layers and effects on your binder. Check out our section on Choosing the Right Washi Tape for Your Binder Style for more tips.
Q: What basic tools do I need to decorate my binder with washi tape?
A: Essential tools include a pair of scissors, a ruler, and a craft knife for clean edges. Having a craft mat can protect your workspace, and don’t forget double-sided tape for added security. Explore the Essential Tools for Decorating Your Binder section for detailed suggestions.
Q: Can I use washi tape on other school supplies?
A: Absolutely! Washi tape is versatile and can be used on notebooks, folders, and even pencil cases. Personalizing various items helps create a cohesive look for your school supplies. For more ideas, check our chapter on Incorporating Washi Tape into School Supplies.
Q: What are some common mistakes to avoid when using washi tape?
A: A common mistake is applying the tape too quickly without planning your design. Avoid using too much tape at once to prevent a cluttered look. It’s also essential not to stretch the tape, as this can cause it to curl up. Learn more in our Common Mistakes to Avoid When Decorating section.
Q: How can I maintain my decorated binder’s appearance?
A: To maintain your binder, keep it away from moisture and direct sunlight. If the tape starts to fray or peel, you can refresh it easily with more tape or a protective layer of clear tape over the top. Refer to Maintaining and Refreshing Your Decorated Binder for ongoing care tips.
Q: What creative techniques can I use to enhance my binder with washi tape?
A: Try layering different patterns, creating borders, or even making shapes and designs with the tape. You can also combine washi tape with other materials like stickers for added flair. Our section on Creative Techniques to Use Washi Tape offers more inspirational ideas.
Q: Is washi tape a budget-friendly option for decorating school supplies?
A: Yes, washi tape is affordable and widely available. You can often find it at craft stores or online. It’s a cost-effective way to personalize your supplies without breaking the bank. Check our section on Sustainable and Budget-Friendly Washi Tape Options for more insights.
Q: How can I share my decorated binder ideas with others?
A: Sharing your creations on social media platforms like Instagram or Pinterest can inspire others. Use hashtags related to washi tape and binder decoration to reach a wider audience. Explore our section on Sharing Your Creative Binders on Social Media for more strategies to showcase your work.
Key Takeaways
Now that you’ve mastered the art of decorating a binder with washi tape, it’s time to take your creativity to the next level! Remember, a personalized binder not only looks fantastic but also keeps you organized and motivated throughout the school year. Don’t wait-grab your favorite washi tapes and start transforming your binders today!
If you enjoyed this project, check out our guides on “10 Creative Ways to Use Washi Tape” and “Top 5 DIY School Supplies” for more fun ideas. Have any tips or questions? We’d love to hear from you in the comments below. Also, consider signing up for our newsletter for exclusive DIY hacks and inspiration straight to your inbox. Keep decorating, keep exploring, and let’s make this your best school year yet!
Get our latest guides, news, and insights highlighted in your Google Search & AI Overviews.










