Washi tape is a favorite among crafters and decorators, but getting it to stick just right can sometimes be a challenge. Did you know that this versatile tape has moderate adhesion properties, making it ideal for many smooth surfaces but not always a sure bet for every project? Understanding how to maximize its stickiness can transform your creative endeavors. Whether you’re aiming for a flawless finish on your art project or simply want to add a pop of color to your gifts, knowing the secrets behind washi tape adhesion can help you achieve your goals. In this ultimate guide, we’ll explore tips and tricks to enhance its cling, ensuring your designs stay put without damage. Dive in to discover how you can expertly harness the power of washi tape for your next masterpiece!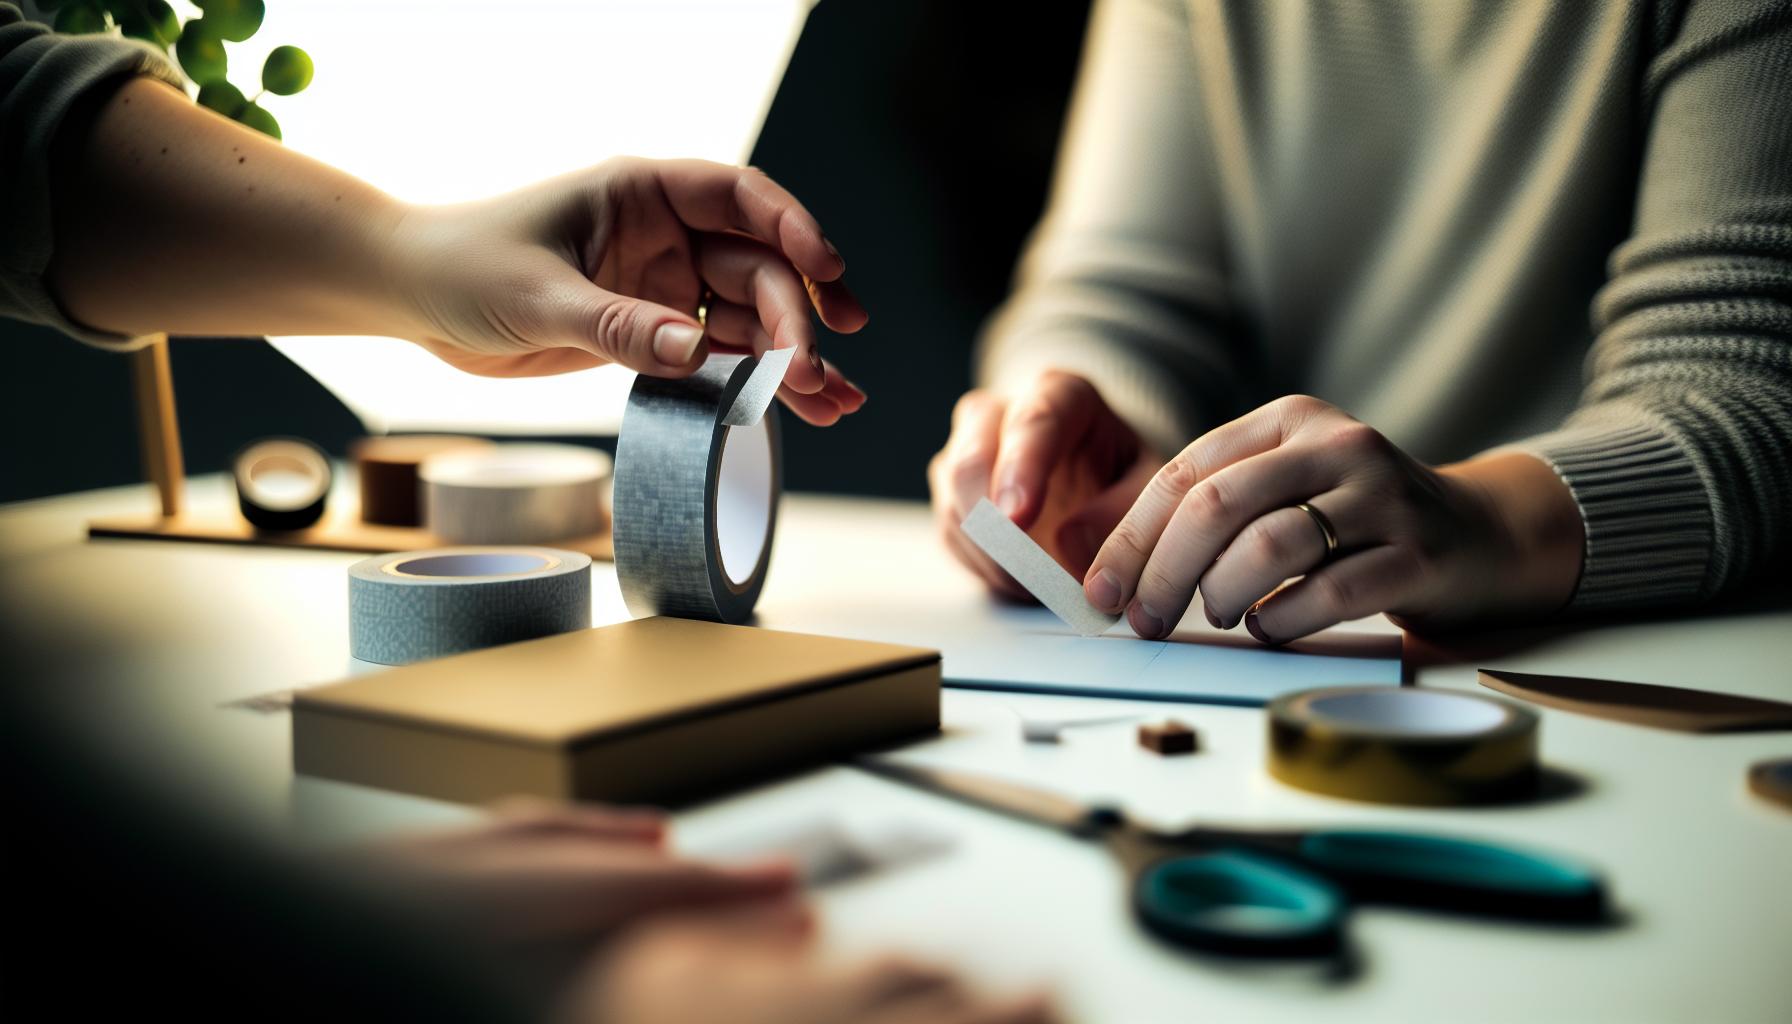
Choosing the Right Washi Tape for Your Project
When it comes to washi tape, not all options are created equal, and choosing the right one can make or break your project. If you’re eyeing a tape for a specific craft-be it decorating journals, wrapping gifts, or creating wall art-you’ll want to consider several key factors to ensure you get an adhesive that holds up to your needs.
First, think about the adhesion strength. Many artists and crafters mistakenly assume that all washi tape will stick the same way, but this isn’t the case. Some washi tapes offer moderate adhesion suitable for light applications on smooth surfaces, while others are designed for stronger adherence. Before purchasing, check if the tape is labeled for specific uses or has reviews indicating its suitability for the project at hand.
Next, consider the design and size of the tape. Washi tapes come in an array of colors, patterns, and widths. If you require fine detailing, opt for narrower tapes; for bold statements, go for wider options. Always match the aesthetic of the tape with the overall theme of your project.
Lastly, consult the material composition. Some washi tapes are made from natural fibers, which can provide a unique texture and finish. This may be beneficial for specific artistic expressions-like scrapbooking or mixed media-where texture plays a crucial role. Knowing exactly what you need from your washi tape will set the foundation for effective crafting and ensure your projects shine as intended.
Embrace these considerations, and you’ll find the perfect washi tape that elevates your creative endeavors!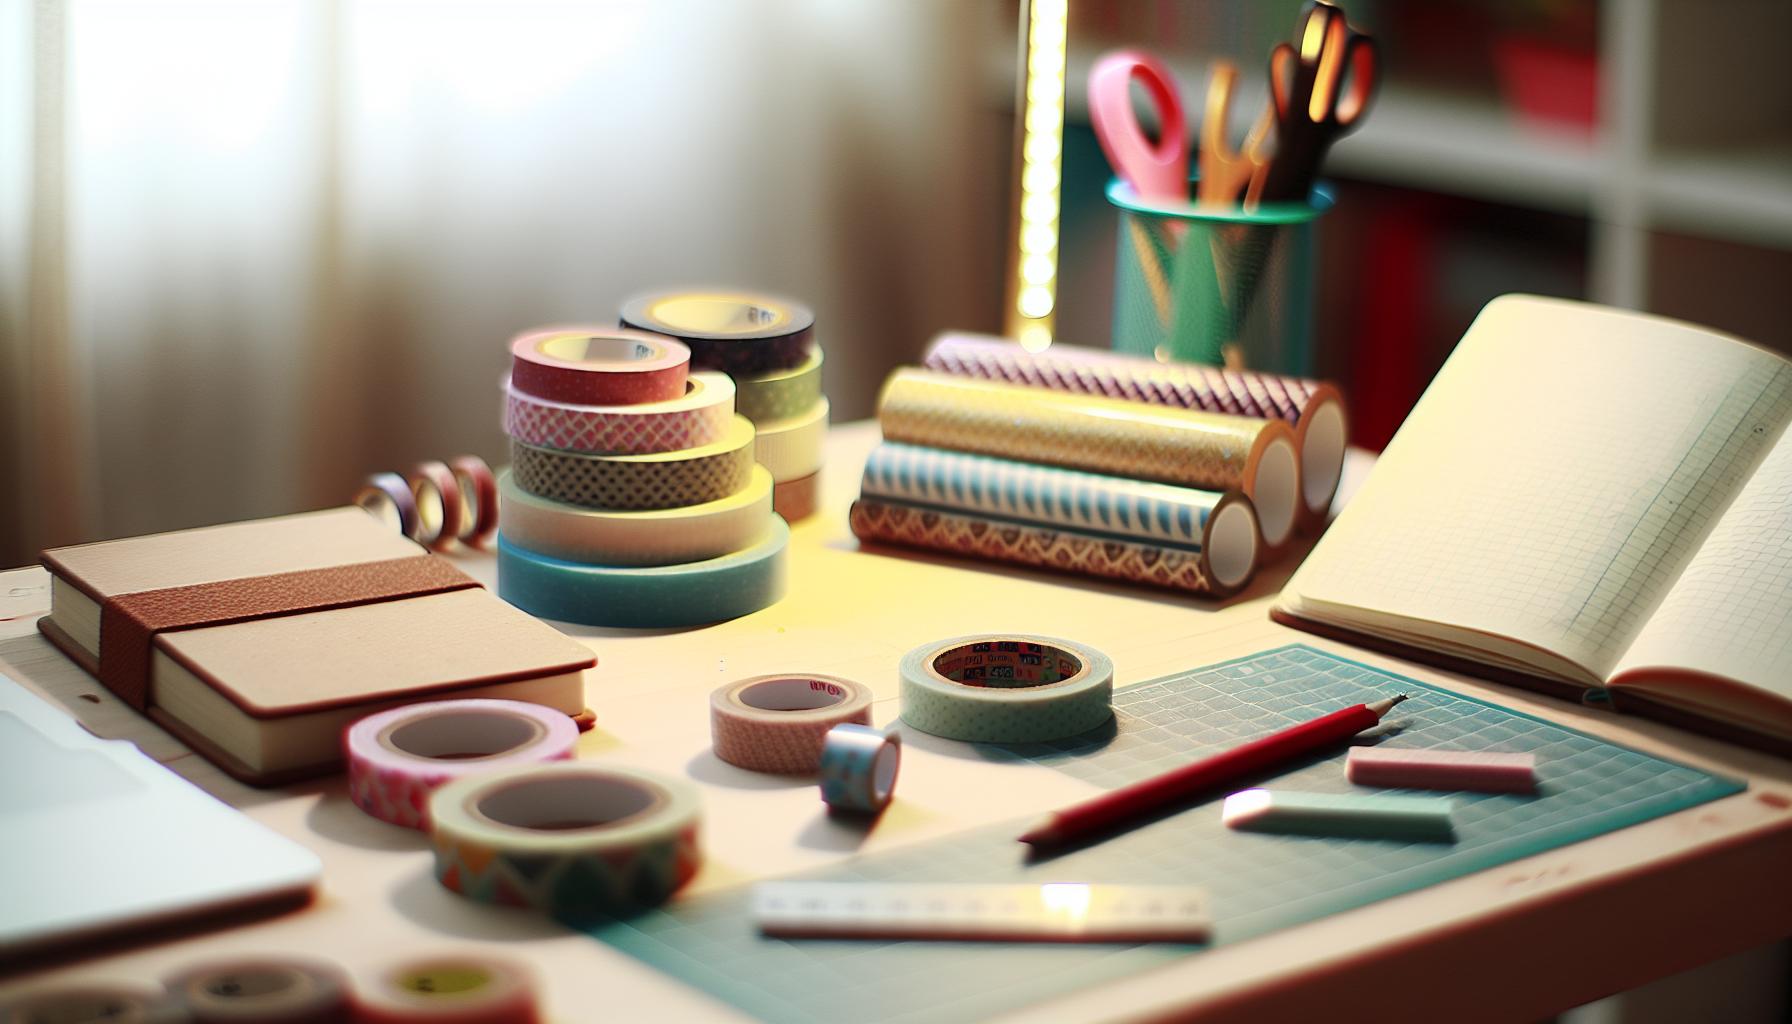
Understanding Washi Tape Adhesive Types
Understanding the different types of adhesive used in washi tape can dramatically improve your crafting experience. Not all adhesives are created equal, and knowing which type to choose can make a significant difference in how well your projects hold up over time. Generally, washi tape features a low-tack adhesive, which means it’s designed to be easily removable without leaving residue. However, not all washi tape adheres the same way. Some have more aggressive adhesives, while others are better for delicate surfaces.
When selecting washi tape, be mindful of the adhesion strength you need. For instance, if you’re planning to use it on a textured surface or for something that will be handled frequently, look for tapes with higher adhesion strength. These types provide a more reliable stick that can withstand the wear and tear of daily use. On the other hand, if you’re using the tape for temporary decor or areas where you want to avoid damage, you might opt for a gentler adhesive.
- Permanent Adhesive: This type offers a strong bond and is best for projects that need to last. Consider it if you’re wrapping gifts or making art that shouldn’t be easily removed.
- Removable Adhesive: Ideal for temporary applications, like decorating walls. You can peel it off cleanly without damaging the surface underneath.
- Ultra-Removable Adhesive: This is designed for very delicate surfaces, perfect for items like photos or thin paper without causing tears.
Ultimately, it’s about finding the right balance between your project’s requirements and the tape’s adhesive properties. Be sure to read product descriptions and reviews to ensure you’re choosing the best tape for your specific needs. With the right adhesive in hand, you’ll be set for creating long-lasting, beautiful projects!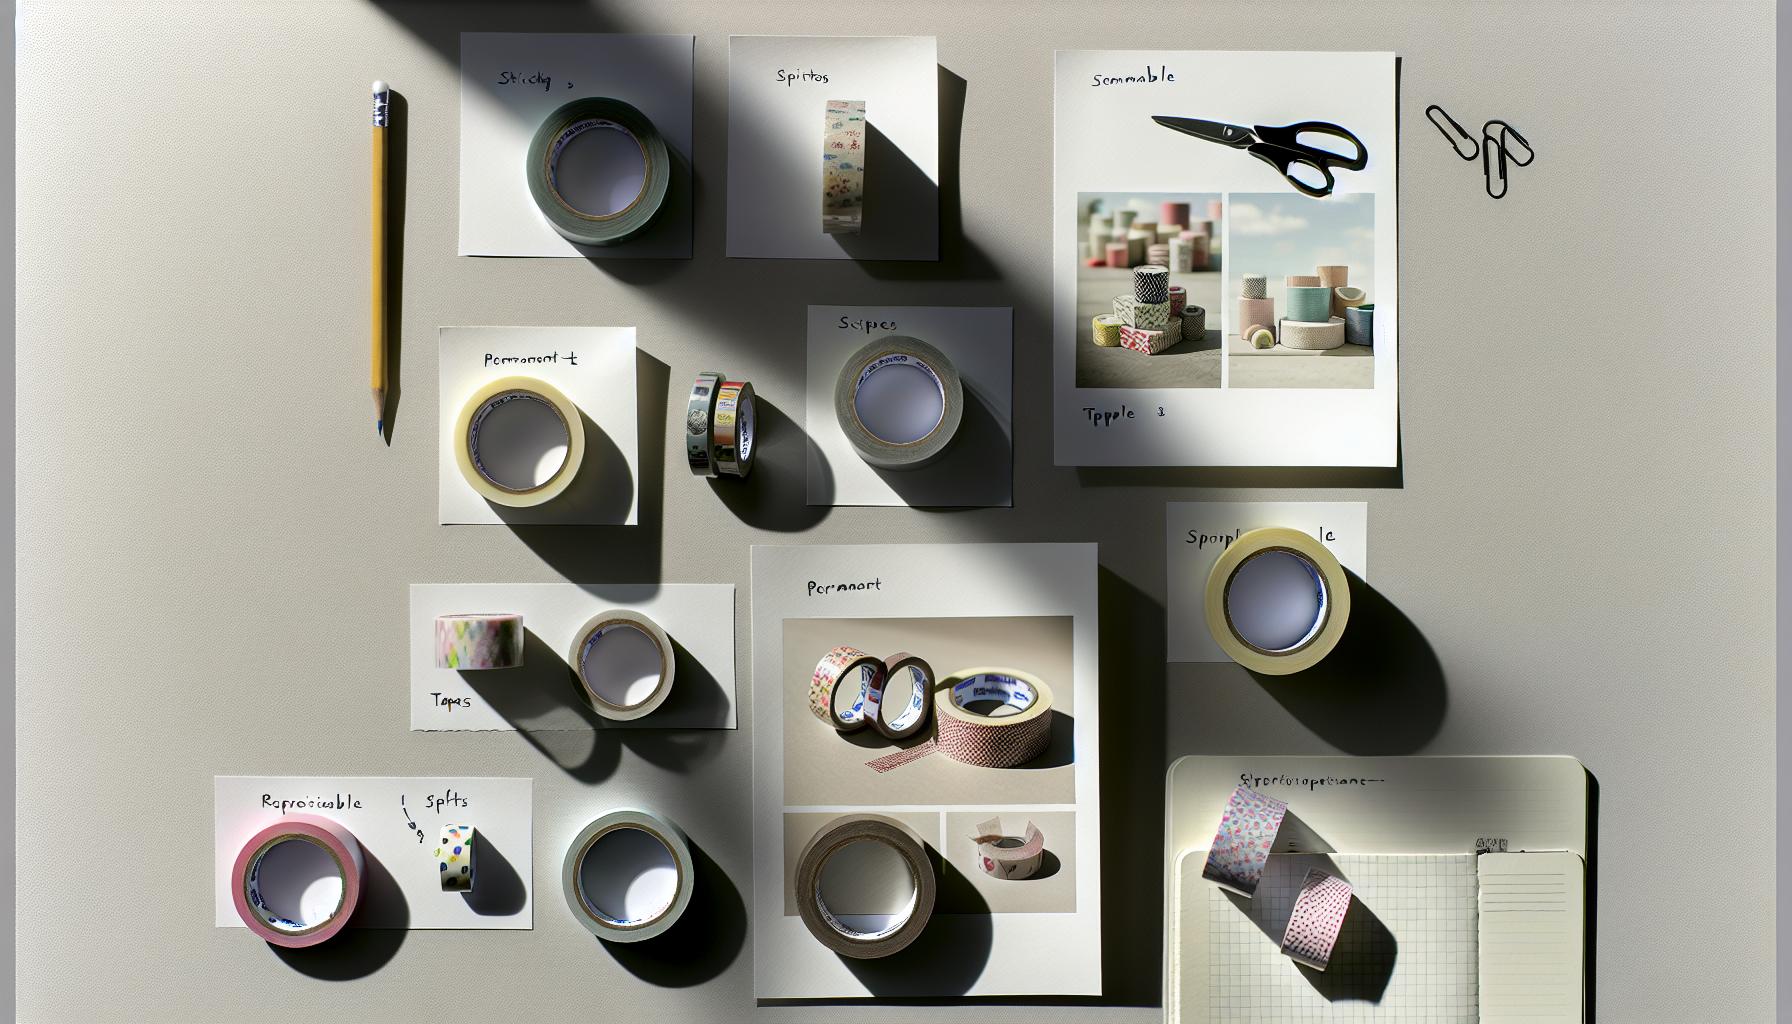
Common Mistakes When Using Washi Tape
Using washi tape can be a fun and creative way to enhance your projects, but there are some common pitfalls that can hinder its effectiveness. First and foremost, one of the biggest mistakes is failing to prepare the surface properly before applying the tape. Washi tape adheres best to clean, smooth surfaces. If the area has dust, grease, or any residue, the adhesive won’t bond effectively, leading to peeling or curling edges. Always give your surfaces a quick wipe-down to ensure a good stick.
Another misstep is assuming all washi tapes are created equal. Different tapes have different adhesive strengths, and choosing the wrong one for your project can lead to frustration. For instance, if you’re using washi tape on a textured wall, you’ll want one with a stronger adhesive. Conversely, if you’re working on delicate materials or surfaces that can be damaged, opt for a tape designed for easy removal. Not paying attention to these details can result in redoing your work or, worse, damaging your project altogether.
Additionally, many crafters overlook the importance of proper storage. Washed tape can lose its stickiness if stored in humid or excessively warm environments. Always store your washi tape in a cool, dry place, preferably in a flat position. If you find your tape has lost its adhesive over time, there are ways to revive it by lightly pressing the adhesive with a tape roller or gently warming it up with your fingers to restore some stickiness.
Ultimately, understanding these common mistakes can make all the difference in your crafting experience. By preparing your surfaces, selecting the right tape, and storing it properly, you can ensure a hassle-free application that enhances your creative endeavors.
How to Prepare Surfaces for Better Adhesion
To make washi tape stick effectively, surface preparation is critical. It’s surprising how many crafters overlook this simple yet vital step! Properly prepping your surfaces can dramatically improve adhesion, leading to cleaner, longer-lasting applications. Let’s dive into how to get those surfaces ready for the magic of washi tape.
Start by ensuring the surface is clean and smooth. Dust, grease, or any residue can compromise the adhesive quality. Give surfaces a good wipe-down with a gentle cleanser or a damp cloth to remove any contaminants. If you’re using washi tape on painted walls or furniture, check that the paint is not flaking and is in good condition. For non-porous materials like glass or metal, a bit of rubbing alcohol can help eliminate any oils that could hinder adhesion.
If you’re working on a porous or textured surface, you might need to adjust your approach. Washi tape can struggle on uneven grounds, so consider using a primer or painting the surface first for a smoother finish. Another helpful tip is to use a smoother layer-like a piece of cardstock or smooth paper-before applying the tape if you’re decorating something rough.
Finally, let’s talk about temperature and humid conditions. Adhesion works best in moderate temperatures. Extreme heat or humidity can weaken the tape’s grip. If you’re working in a hot, humid environment, find a cooler spot to apply your washi tape, or wait for a better day to ensure that your creations stick just right! By taking a little time to prepare your surfaces properly, you’ll set the stage for a successful and enjoyable crafting experience with washi tape.
Tips for Storing Washi Tape for Optimal Stickiness
When it comes to keeping your washi tape in top condition, proper storage is key. Did you know that improper storage can affect the adhesive quality of your tape? With a little attention, you can ensure your washi tape stays sticky and ready for use whenever inspiration strikes.
To start, keep your washi tape in a cool, dry place. High humidity and extreme temperature fluctuations can degrade the adhesive. Opt for a drawer or shelf that’s away from heat sources like radiators or direct sunlight. It’s also wise to avoid damp areas, such as basements or bathrooms, which can lead to mold or mildew on your tape.
Next, consider how you organize your rolls. Using storage containers or racks has multiple benefits. You’ll not only keep your collection visible but also save space. Consider a tiered organizer or a lazy Susan for smaller rolls. If you keep your washi tape in a box, line the rolls up so that you can see the labels easily-this way, you won’t have to dig through to find the perfect one. For extra protection, opt for clear containers which allow you to see what you have at a glance and prevent dust accumulation.
Use labels or tags on your storage to easily identify each roll. If you have various sizes or types, categorize them accordingly- by color, pattern, or function. Not only does this approach improve organization, but it also adds a little touch of creativity to your craft area.
Ultimately, make it a habit to check your tape regularly. Look for any signs of drying out or damage, and if you notice anything off, consider using those rolls for projects that don’t require a perfect stick. By following these storage tips, your washi tape will remain vibrant and sticky, ready for all your creative projects!
The Science Behind Washed Tape Stickiness
Washi tape’s adhesive power comes down to the balance of materials and the technology behind it. At its core, the stickiness is due to a combination of safe, repositionable adhesives often made from acrylic or rubber-based formulas. These give washi tape its signature quality: it sticks well enough to stay in place but can be peeled off without damaging the surface underneath. This versatility is what makes washi tape a favorite among crafters.
When selecting washi tape for your project, it’s essential to consider the adhesive type, as different brands and types possess varying levels of stickiness. Some tapes are designed for temporary use, meaning they may pull off easily without leaving residue, while others are formulated to stick more robustly, even in challenging situations. For example, if you’re using washi tape for scrapbooking, you might prefer a tape with a medium to strong adhesion to ensure it withstands time and handling.
The surface you apply your tape to also plays a vital role in how well it sticks. Smooth surfaces like cardstock or plastic work best, while rough or textured surfaces may cause the tape to lift. This is due to the way the adhesive interacts with the surface’s microstructure. Ultimately, understanding these nuances can help you choose just the right tape for your creative endeavors.
If your washi tape seems to lose its stickiness over time, there are a few tricks to revive it. First, try warming it slightly with a hairdryer to soften the adhesive before reapplying. If that doesn’t work, a gentle rub with a glue stick can provide a bit of extra grip. Awareness of these properties and techniques can turn you into a washi tape pro, capable of tackling any project with confidence.
How to Revive Stale Washi Tape Adhesive
If you’ve ever found yourself struggling with washi tape that just won’t stick like it used to, you’re not alone. Over time, tapes can lose their adhesive quality, often sitting in drawers waiting for their moment to shine. Thankfully, reviving stale washi tape is simpler than you might think. With a few clever techniques, you can breathe new life into your rolls and get back to crafting without frustration.
One effective method is to warm the adhesive. Using a hairdryer on a low setting, gently warm the tape for a few seconds. This process softens the adhesive, making it more pliable and sticky when you reapply it. Be cautious not to overheat; you just want to warm it, not melt it! This trick is especially useful when you’re about to use the tape on a project that requires longevity.
Another handy tip is to enhance the adhesion with another adhesive. If the tape still doesn’t hold after warming it, try using a glue stick. Just run the glue stick over the surface where you plan to stick the washi tape, press down the tape, and voila! You’ve added a bit of extra grip that can make all the difference. This method is particularly effective for those using washi tape on textured surfaces or in crafting items that you know will see a lot of handling.
Lastly, remember to store your tape properly to prolong its life. Keep rolls in a cool, dry place, away from direct sunlight and humidity. Exposure to heat or moisture can degrade the adhesive over time. When you treat your washi tape with care, not only do you enhance its longevity, but you also ensure that it remains a go-to tool for all your creative projects.
By integrating these simple hacks, you can easily revive old tape and maximize your crafting experiences. Whether by warming it, applying additional adhesive, or ensuring proper storage, you’ll find that even stale washi can be fun and functional once more.
Advanced Techniques for Stronger Adhesion
Sometimes, even the most beautiful washi tape can let you down when it comes to sticking. But don’t sweat it! There are several advanced techniques to ensure your tape adheres like a dream. Start by selecting the right washi tape for your specific project. Some brands offer tapes with stronger adhesives for high-traffic applications, making them ideal for scrapbooks, cards, or any crafts that will be handled often.
Another game-changer is surface preparation. Before applying your washi tape, clean the surface thoroughly. Dust, grease, or moisture can affect adhesion. Use a soft cloth with a mild cleanser, and allow the surface to dry completely. Once it’s clean, lightly sand glossy or shiny surfaces to create a better grip for the tape. This simple step can significantly enhance how well your washi tape sticks.
If you’re ready to take things to the next level, consider using double-sided tape as an underlayment. Place a strip of double-sided tape where you want your washi tape to go. Then, press down your washi tape firmly onto this sticky surface. You’ll get that extra hold while still enjoying the decorative flair of washi tape. This technique is particularly effective for projects that need a long-lasting bond or involve weight, like wrapping gifts or creating wall art.
Lastly, don’t underestimate the power of heat if your tape starts to peel or if you’re working with thicker textures. A brief blast from a hairdryer can warm up the adhesive, making it more tacky. Just be careful not to overdo it-you want the tape to become pliable, not melted. With these techniques in your back pocket, you’ll transform your washi tape application into a strong, reliable commitment. Happy crafting!
Creative Uses for Washi Tape Beyond Crafting
Washi tape isn’t just for crafting; it can be a game-changer in everyday life too. This versatile tape, with its vibrant colors and playful patterns, can add flair to functional items around your home or workspace. Let’s dive into some creative ways to utilize washi tape beyond the traditional crafts.
One of the most practical uses is in organization. You can label containers, drawers, or even electronic cords with washi tape. Just write on the tape with a permanent marker, stick it on the item, and voilà! You’ve created a beautiful, functional label that’s easy to replace when you need to switch things up. You can even use different colors of tape to categorize items visually, making it not only practical but also aesthetically pleasing.
Washi tape also shines in home decor. Use it to create temporary wall art or accents. Simply stick the tape directly onto the wall in geometric designs, shapes, or even write short phrases. This is a fantastic option for renters who can’t paint or nail anything into the walls. Another creative touch? Frame photos or artwork with washi tape instead of traditional frames. It adds a playful edge and can be changed out whenever you like without damaging the pictures.
Need to jazz up your regular office supplies? Wrap washi tape around pens, notebooks, or your phone charger. This not only personalizes your gear but also makes it easy to identify your belongings in a shared space. You could even create custom bookmarks or gift tags by cutting the tape to your desired lengths – charming, colorful, and super easy to make!
Lastly, consider using washi tape for temporary decoration during events or parties. Adorn table edges with colorful strips of tape or use it to create fun banners. Since it’s easy to remove, you won’t have to worry about damaging surfaces when the festivities are over. Harnessing the unique qualities of washi tape in these unexpected ways can bring your space to life and introduce a personal touch that’s sure to impress!
Troubleshooting: Why Your Washi Tape Won’t Stick
If you’ve ever found yourself frustrated because your washi tape just won’t stick, you’re not alone. Many crafty folks encounter this issue, and it often boils down to a few common culprits. Understanding why your tape fails to adhere can help you troubleshoot and improve your projects, so let’s dive in.
First off, the surface you’re applying washi tape to matters significantly. Washi tape is designed for smooth, clean surfaces like paper, plastic, or metal. If you’re trying to stick it to a rough surface, like textured wallpaper or some types of fabric, it’s likely going to struggle. To enhance adhesion, make sure to prepare the surface properly by cleaning it. A quick wipe down with rubbing alcohol can remove dust and oils that might hinder the tape’s performance.
Another often-overlooked factor is the age of your washi tape. Over time, the adhesive can lose its stickiness, especially if it’s been exposed to air or humidity. If your tape feels stale, try reviving it using a few drops of water or a gentle heat source, like a hair dryer, to warm the adhesive slightly. This can make it tackier and more effective again.
Lastly, consider environmental conditions. High humidity or extreme temperatures can affect washi tape’s performance. If you’re in a particularly wet or hot environment, it might be worth trying to work in a more controlled setting. Also, store your tape in a cool, dry place when not in use to maintain its stickiness.
In summary, troubleshooting washi tape sticking issues involves checking your surfaces, keeping your tape in good condition, and being mindful of your working environment. With these tips, you’ll be ready to conquer your washi tape projects without a hitch!
Comparing Washi Tape with Other Adhesive Options
When it comes to sticking things together in your crafting and DIY projects, washi tape offers a unique blend of aesthetics and functionality, but it’s not the only option out there. In fact, comparing washi tape to other adhesive solutions can help you determine when it’s the best choice and when you might want to reach for something different. Here’s a closer look at how washi tape stacks up against other adhesive materials, their strengths, and potential limitations.
Washi Tape vs. Glue
Washi tape is a fun, decorative alternative to glue, especially when you need a temporary solution. While glue can provide a permanent bond, it often leads to messiness and takes time to dry. Washi tape, on the other hand, is repositionable-perfect for projects where you might want to make adjustments. However, if you’re looking for strong adhesion, particularly on heavier materials or in areas exposed to moisture, a reliable glue or adhesive might be the better choice.
Washi Tape vs. Double-Sided Tape
Double-sided tape excels in applications where invisibility matters. It’s great for sticking two surfaces together without showing any tape. While it can provide strong adhesion, it lacks the decorative flair of washi tape. If aesthetics are as important as functionality-like for scrapbooking or decorating gifts-washi tape wins hands down. On the flip side, for mounting photos or urgent repairs where appearance doesn’t matter, double-sided tape could be the optimal choice.
Washi Tape vs. Adhesive Dots and Glue Dots
Adhesive dots offer precision and strength for attaching small objects without the mess of wet glue. They’re ideal for embellishments like buttons, sequins, or other delicate items. In contrast, washi tape is versatile for larger areas and can act as a design element in your projects. If you’re layering or creating borders, washi tape will provide not just a hold but an aesthetic boost. For projects requiring finesse and detail, consider using adhesive dots while incorporating washi tape for decoration.
Considerations
When choosing the right adhesive, consider the specific needs of your project. For instance:
- If you want a decorative element, go with washi tape.
- For permanent adhesion under stress, opt for glue.
- For a subtle bond, double-sided tape is the way to go.
- For craft precision, think about adhesive dots.
Ultimately, the choice between washi tape and other adhesive options often comes down to your project’s requirements. Understanding these factors will help you make the best decision and realize your creative vision effectively.
Eco-Friendly Washi Tape: Benefits and Concerns
When it comes to choosing washi tape, many crafters are increasingly considering eco-friendly options. Not only does sustainable washi tape usually feature natural materials like rice paper, but it also boasts biodegradable properties. Using eco-friendly tape means your projects can look good while being kinder to the environment. Imagine finishing up a beautiful piece of art or a card and knowing that even the materials you used won’t contribute to landfill problems long-term.
However, it’s essential to be aware that not all washi tape is created equal in terms of eco-consciousness. Some brands specifically market their washi tape as biodegradable, meaning it can break down in a composting environment within a specific time frame, like polyethylene-based tapes that can take longer to decompose. When selecting a tape for your project, look for labels indicating sustainability, such as “compostable” or “biodegradable” to ensure that you’re making a truly eco-friendly choice.
If you’re committed to being environmentally conscious, consider these tips:
- Research Brands: Look for companies specializing in eco-friendly products. Brands like those mentioned in sources [1] or [3] offer biodegradable options.
- Evaluate Packaging: Eco-friendly washi tape often comes in minimal, plastic-free packaging, which is a plus for reducing waste.
- Consider Longevity: Opt for washi tapes that are durable and designed to last, reducing the need for replacements and waste over time.
Being mindful of your choices adds an extra layer of satisfaction to your creative projects. Each roll of eco-friendly washi tape chosen not only enhances your crafting experience but also creates a positive environmental impact. Whether you’re decorating journals, scrapbooking, or gift-wrapping, aligning your craft supplies with your values can transform simple tasks into a more meaningful and responsible practice.
Faq
Q: Why is my washi tape not sticking well?
A: If your washi tape isn’t sticking, it may be due to a dirty or textured surface. Ensure the area is clean and smooth. You can also revive the adhesive by lightly rubbing a damp cloth over the tape or using a slight adhesive boost like all-purpose glue [1].
Q: How can I make washi tape sticky again?
A: To restore the stickiness of washi tape, try using a layer of all-purpose glue or double-sided tape. You can also store washi tape in a cool, dry place to prevent it from drying out [1].
Q: What surfaces work best for washi tape application?
A: Washi tape adheres best to clean, smooth surfaces like paper, plastic, and glass. Avoid rough surfaces or those with dust and dirt as they hinder adhesion. To optimize sticking, look at the “Preparing Surfaces” section in our article.
Q: Is washi tape waterproof?
A: Washi tape is generally not waterproof. While some types may withstand moisture, they can still peel away when wet. For waterproof needs, consider using vinyl tape or a sealant over your washi designs.
Q: Can I use washi tape outdoors?
A: While washi tape can be used outdoors in dry conditions, it isn’t designed for long-term outdoor use due to its adhesive properties and susceptibility to water. For outdoor projects, explore more durable tape options or coatings.
Q: How do I prevent washi tape from curling?
A: To prevent curling, store washi tape rolled up in a cool spot and avoid stretching it during application. When using, apply it firmly, smoothing out any bubbles. Check our “Storage Tips” section for more insights on maintaining stickiness.
Q: What are some creative uses for washi tape?
A: Beyond crafting, washi tape is great for organizing cables, labeling containers, decorating phone cases, or creating custom bookmarks. For more creative ideas, dive into our “Creative Uses” section.
Q: How does washi tape compare to masking tape?
A: Washi tape offers moderate adhesion and is perfect for decorative purposes, while masking tape provides stronger hold for more demanding tasks. For a deeper comparison, refer to our “Comparing Washi Tape with Other Adhesive Options” section.
Closing Remarks
Now that you’re equipped with the ultimate adhesion tips for washi tape, it’s time to unleash your creativity! Remember, achieving that perfect stick can transform your projects, from journal decorating to crafting stunning gifts. If you’ve got any lingering questions or want to share your successes, drop a comment below. We love hearing from you!
Don’t forget to check out our guides on Crafting with Washi Tape and Creative Journaling Ideas for even more inspiration. Joining our newsletter will keep you updated on the latest tips and tricks, ensuring you never miss a beat in the crafting world.
Your washi tape adventures start now! Dive in, experiment, and let your imagination soar. Trust us, once you master the stick, the possibilities are endless!