If you’ve ever admired beautiful handwriting or dreamed of mastering calligraphy, understanding the tools behind it is essential. The right calligraphy pen can elevate your writing, making it not just a skill but an art form. But with so many options available, how do you choose the right one?
In “What Is the Name of the Calligraphy Pen: Terms You Should Know,” we’ll dive into the terminology surrounding these essential tools. Knowing the difference between a fountain pen, brush pen, and dip pen can enhance your calligraphy journey and help you achieve the precise look you desire. Whether you’re a beginner eager to learn or someone looking to refine your technique, this guide will equip you with the knowledge you need. Let’s explore the world of calligraphy pens and uncover the secrets to stunning lettering!
Understanding Calligraphy Pen Types and Their Uses
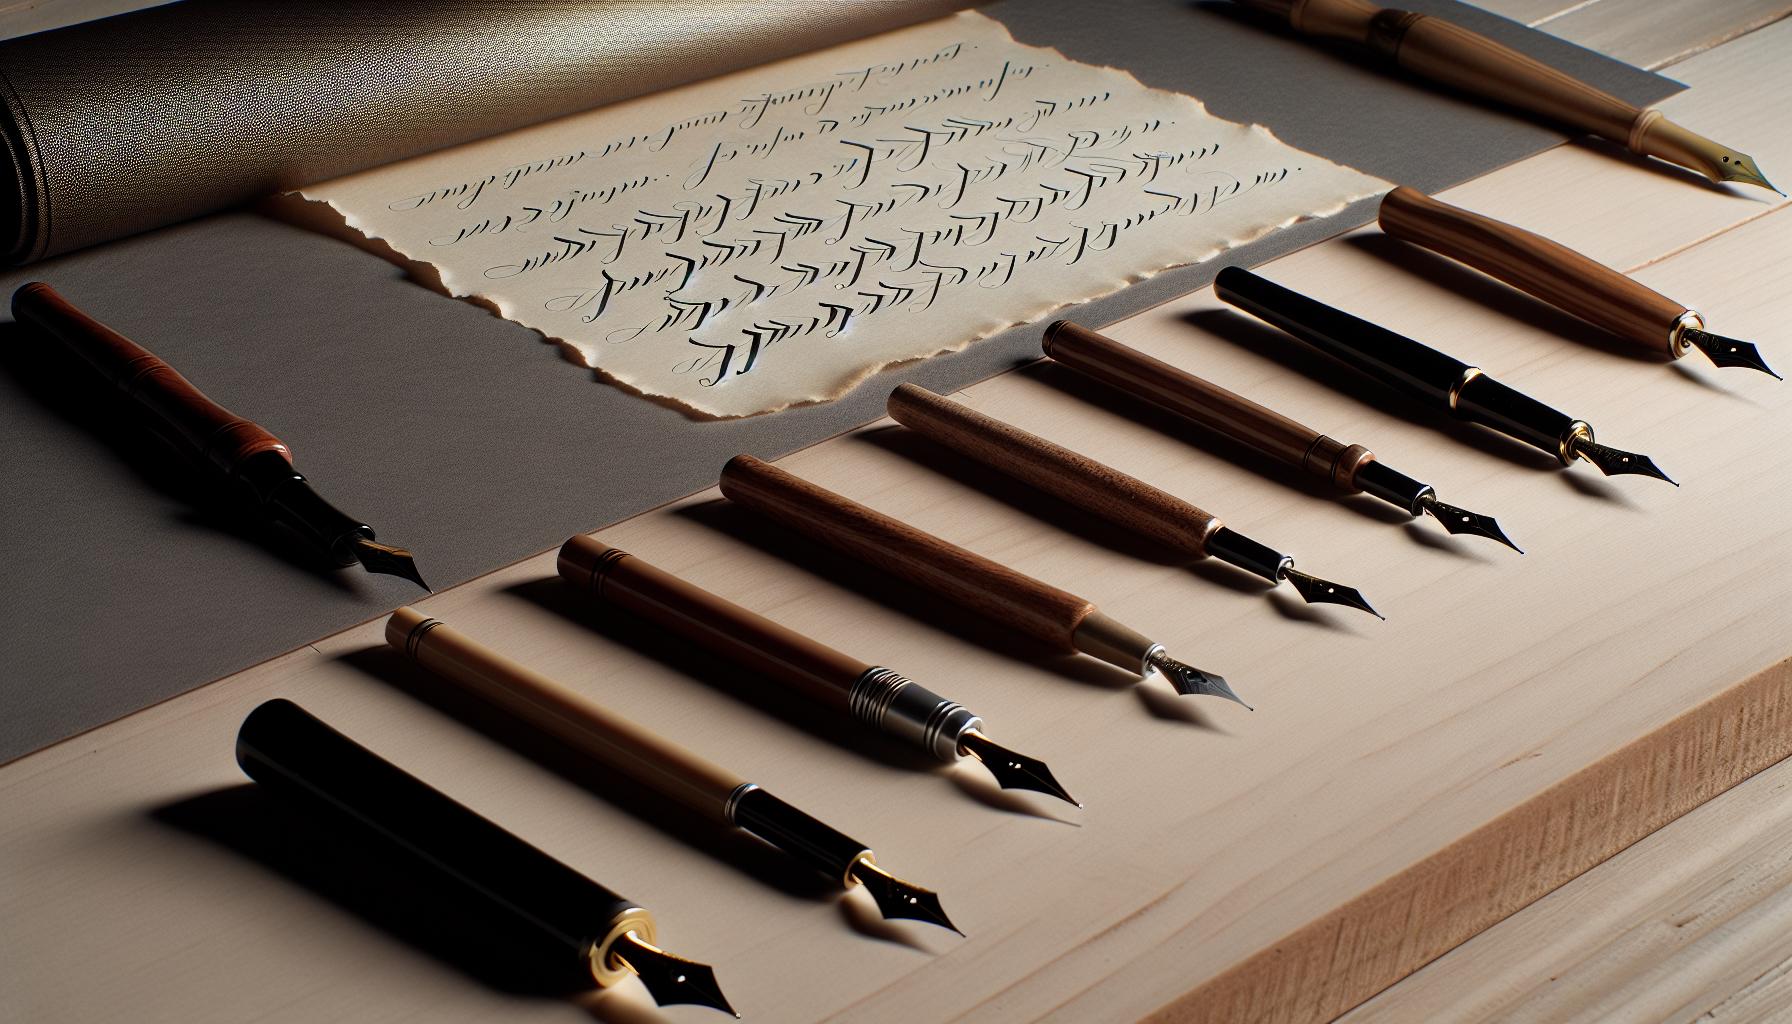
When diving into the world of calligraphy, understanding the different types of pens available can transform your experience. Calligraphy pens come in various forms-each with its unique feel and application, making it easy to find one that resonates with your personal style. Broad-tipped markers, fountain pens, and dip pens are some of the primary options. Each type brings a distinct personality to your writing.
Dip pens are perhaps the most traditional calligraphy tool. These pens use a nib that you dip into ink, allowing for exquisite line variation depending on the angle and pressure applied. Many professional calligraphers favor dip pens because they can use a range of nibs for different effects. With a dip pen, you have the freedom to experiment with different inks, creating beautiful scripts and flourishes.
Fountain pens, on the other hand, combine convenience with elegance. These pens possess an ink reservoir, making them an excellent choice for longer writing sessions. With a variety of nib sizes available, fountain pens can produce everything from fine lines to bold strokes. They are particularly suitable for those who prefer a more immediate writing experience without the need to constantly dip into ink.
Brush pens have gained popularity in recent years, especially among those exploring modern hand lettering. These versatile tools offer the flexibility of a brush tip while maintaining the simplicity of a pen. They’re perfect for creating expressive, flowing letters that capture a contemporary aesthetic.
To summarize, each calligraphy pen type serves its purpose, and the key is to choose one that aligns with your goals and comfort. Whether you’re crafting formal invitations, journaling, or simply practicing, your choice of pen can enhance the beauty of your writing. Consider what style you want to achieve and test various options to discover what feels right for you-it’s all about enjoying the art of calligraphy!
Essential Calligraphy Pen Parts and Terminology
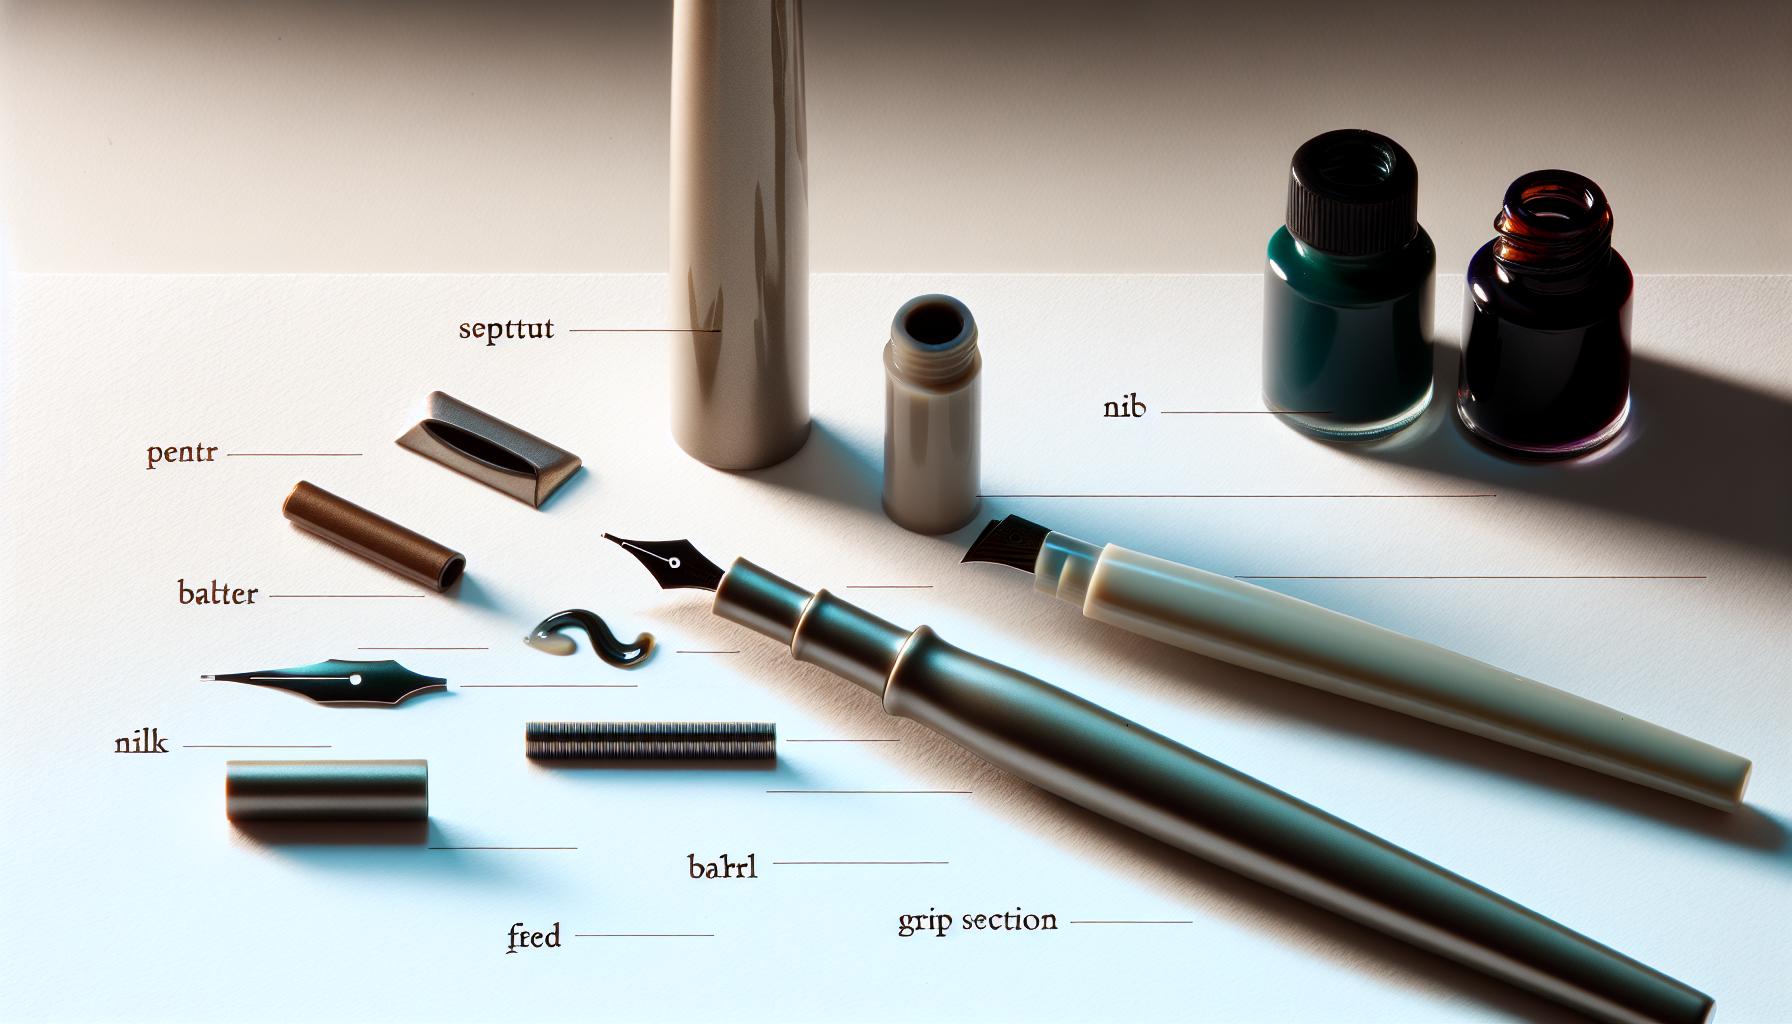
Every calligraphy pen has a composition that significantly influences your writing experience. When you understand the parts of these pens, you unlock the potential to create beautiful lettering with ease and precision. At the heart of every calligraphy pen is the nib. This is the pointed metal tip that makes contact with the paper and dispenses ink. Nibs come in various shapes and sizes, affecting line thickness and style. For example, a broad nib is perfect for creating bold strokes, while a fine nib allows for intricate detail.
Another essential part is the ink reservoir. In fountain pens, this reservoir holds ink, eliminating the need for constant dipping, which can interrupt your flow. Some pens allow you to refill the ink, providing an eco-friendly solution for your calligraphy practice. If you’re using a dip pen, you’ll be immersing the nib in a separate ink bottle, which can provide a wider variety of ink choices-ideal for achieving different effects and styles.
The barrel is another key component. It’s the body of the pen, often designed for grip and comfort. Look for a barrel that feels good in your hand, especially during extended writing sessions. Many calligraphers also appreciate pens with a cap, which protects the nib from damage and the ink from drying out when not in use.
Understanding these parts isn’t just about recognizing them; it’s about knowing how they impact your writing. Experimentation can lead you to the ideal combination for your style. Try different nibs, ink types, and pen bodies to discover what feels right, and you’ll find that every component plays a crucial role in your journey as a calligrapher.
How to Choose the Right Calligraphy Pen for You
Choosing the right calligraphy pen can profoundly impact your writing experience and the aesthetic quality of your work. It’s not just about picking something that looks nice; it’s about understanding how different features will affect your style and comfort. As you delve into the world of calligraphy, consider the nib type, barrel feel, ink reservoir options, and your specific needs.
When it comes to nibs, they come in a variety of shapes and sizes, each serving a different purpose. For instance, broad nibs create bold, dramatic strokes, while fine nibs allow for delicate details. If you’re unsure where to start, consider experimenting with medium nibs as they offer a balance between the two. Moreover, flexible nibs can provide variation in line thickness depending on the pressure you apply, which brings a dynamic quality to your writing.
The barrel of the pen is equally important. A comfortable grip ensures that you can write for extended periods without straining your hand. Look for a pen whose weight and shape feel right in your hand. Some calligraphers prefer heavier pens for better control, while others opt for lightweight designs for longer sessions. Pay attention to how the cap seals the nib-if it doesn’t protect the nib well, you might end up with dried ink and a ruined pen.
Lastly, consider your ink choices and how the pen’s design affects that. Fountain pens can offer a seamless flow of ink, while dip pens provide a chance to explore various ink types. If you’re drawn to more traditional styles, a dip pen may be your best bet, as it allows for greater variety in colors and textures. Conversely, if you want convenience and less mess, a fountain pen with a refillable or cartridge system might be your ideal choice.
Ultimately, the best calligraphy pen is one that fits your hand comfortably, offers the right nib for your style, and provides an ink flow that inspires creativity. Don’t hesitate to try different options; sometimes the perfect pen chooses you!
Exploring Different Calligraphy Ink Options
Choosing the right ink for your calligraphy can transform your writing from ordinary to extraordinary. The vast array of ink options available can be overwhelming, but understanding the unique properties of each type will help you make an informed choice that enhances your calligraphy experience.
When it comes to calligraphy inks, you generally have two main categories: pigment-based and dye-based. Pigment-based inks are known for their rich colors and lightfastness, making them ideal for archival purposes. They sit on top of the paper, which can produce a beautiful texture but may require a bit more care, especially with dip pens, to avoid clogging. On the other hand, dye-based inks flow smoothly and are vibrant, perfect for fountain pens, but they often fade over time and aren’t as resistant to water.
Another factor to consider is the viscosity of the ink. Thicker inks can create stunning, bold results but may require specific nibs or pens designed to handle the added weight. Conversely, if you prefer a more fluid style, look for lighter inks that offer a smooth flow. Testing different brands and formulations can provide insights into how the ink interacts with your chosen pen, allowing you to achieve the desired effect in your work.
Don’t overlook the color of your ink. While traditional black remains a favorite for its versatility, experimenting with various hues-like deep greens, blues, or even metallics-can add a creative edge to your projects. Consider your project’s theme or audience; sometimes a pop of color can elevate the entire presentation. Always test your ink on the paper you plan to use; colors can appear differently depending on the surface and absorbency of the paper.
In the end, the best calligraphy ink for you is one that complements your style, suits your pen, and inspires you to create. Don’t shy away from experimentation-your perfect ink choice is just waiting to be discovered!
Comparing Refillable vs. Disposable Calligraphy Pens
Using the right calligraphy pen can significantly affect your experience and results in this beautiful art form. Choosing between refillable and disposable options might seem trivial, but it can deeply impact your practice and your creativity.
Refillable pens are great for long-term use. They often come in fountain or brush varieties and allow you to use a variety of inks, offering flexibility in your artistic choices. This customization can enhance your writing’s vibrancy and flow. Once you’ve found the perfect ink blend, you can enjoy a consistent experience without the interruptions of changing pens constantly. Plus, refillable pens can be more eco-friendly, reducing plastic waste. If you love exploring different styles or colors of ink, a refillable pen gives you the freedom to experiment without constantly buying new pens.
On the other hand, disposable pens offer convenience and simplicity. They’re great if you’re just starting out or need a reliable option for projects without the need to worry about maintenance. You don’t have to deal with cleaning nibs or refilling ink; just write until the ink runs out. However, these pens can limit your choices in ink color and may not provide the same level of performance as high-quality refillable options. For casual use or travel, disposable calligraphy pens are lightweight and hassle-free, letting you focus on your creativity without the extra load.
Ultimately, the choice comes down to your personal preference and specific needs. If you value versatility and sustainability, investing in a refillable pen is worth it. But if you prefer straightforward use and quick replacements, disposable pens might be the way to go. Remember, each type can help you hone your skills-you just need to find which pen complements your workflow and artistic vision best.
Mastering Basic Calligraphy Pen Techniques
To truly master calligraphy, understanding the techniques that turn basic strokes into beautiful letters is essential. Think of your pen as an extension of your hand, where control and pressure can significantly alter your letters’ look and feel. One of the first techniques to grasp is the pressure control. When you press down harder, the tip of your pen spreads, creating wider strokes; light pressure results in thinner lines. Practice this by drawing vertical lines with varying pressure – it’s simpler than it sounds and will dramatically enhance your letterforms.
Another key element involves angle and rotation. Hold your pen at the right angle to achieve that classic calligraphic flair. For instance, many traditional calligraphy styles, like Gothic or Italic, benefit from a consistent angle, typically around 45 degrees. Rotate your paper, not your hand. This can reduce wrist strain and help maintain an even angle as you move along your strokes.
Essential Techniques to Practice
- Basic Strokes: Start with the fundamental strokes like upstrokes (light pressure), downstrokes (heavy pressure), and the transition between the two. Mastering these will give your letters a solid foundation.
- Connecting Letters: Work on transitioning smoothly between letters. Practice connecting strokes while keeping the theme of pressure changes in mind. This is where your letters will start looking cohesive and fluid.
- Spacing: Pay attention to the space between your letters and words. Consistent spacing can make even simple words appear elegant.
These techniques don’t just build skill; they form the foundation of your unique style. The more you practice, the more your personal flair will emerge. So grab your pen, set aside time to play, and let each stroke lead you closer to the calligraphy style that resonates with you. Remember, this journey is as beautiful as the outcome!
Common Calligraphy Pen Mistakes and How to Avoid Them
Everyone makes mistakes, especially when starting with something as intricate as calligraphy. One of the most common slip-ups is inconsistent pressure. This can lead to uneven line thickness in your letters, making them look amateurish. Instead of varying your pressure dramatically, focus on controlled, gradual changes. Practice basic strokes with consistent pressure first, then experiment with how slight adjustments can create the desired effects.
Another frequent error is holding the pen at the wrong angle. It’s easy to fall into the habit of gripping your pen as you would a regular writing instrument, but calligraphy requires a specific angle for optimal results. Many styles, such as Italic or Copperplate, thrive at approximately 45 degrees. If you’re struggling, try rotating your paper rather than moving your hand. This can help minimize wrist strain and maintain your angle.
Moreover, pay attention to spacing. One of the telltale signs of a novice calligrapher is inconsistent spacing between letters and words. It can be tempting to rush through the process, but taking a moment to focus on your layout will pay off significantly. Use guidelines lightly drawn on your paper to keep everything aligned and proportional.
Finally, don’t forget to clean and maintain your tools. A clogged nib can ruin your flow, leading to blots and uneven strokes. After each session, take the time to rinse your nib in water and dry it properly. Regular maintenance not only preserves your pens but also enhances your writing experience. By sidestepping these common pitfalls, you’ll cultivate a more confident and refined calligraphy style.
Advanced Calligraphy Styles and Techniques to Try
Jumping into advanced calligraphy is like stepping onto a new playing field-it’s thrilling and a bit intimidating. As you progress beyond the basics, you’ll discover a world rich with styles and techniques that can elevate your work. One approach is exploring Flourished Calligraphy. By incorporating decorative swirls and embellishments into your letters, you add a personal touch while showcasing your intricate control over the pen. This technique not only beautifies your writing but also challenges you to master balance and precision in your strokes.
Another captivating style is Modern Calligraphy, which breaks away from traditional forms. This flexible approach allows for playfulness in letter forms, combining different styles, and even mixing print with cursive elements. Since there’s less emphasis on uniformity, you can experiment with different angles and line thicknesses, making your work uniquely yours. To practice this, try creating a piece that includes a quote or personal mantra, allowing the fluidity of the style to shine.
If you’re up for a real challenge, consider Copperplate. This graceful script is characterized by its elegant loops and delicate lines, traditionally written with a pointed nib. It requires practice to master the specific pressure needed for thin upstrokes and thicker downstrokes, but the results are undeniably rewarding. Start with simple phrases, focusing on consistency in your slant and spacing to build your confidence.
Don’t overlook Brush Calligraphy either. Using a brush pen opens up new possibilities and allows for varied thickness based on your brush strokes. This method is fantastic for greeting cards or custom signs where a personal flair is desired. Start by practicing basic strokes to understand how the brush behaves, then move on to letters, paying close attention to fluidity and rhythm.
To truly make your calligraphy stand out, consider incorporating Mixed Media techniques. You can enhance your calligraphy with watercolor backgrounds, gold leaf accents, or even layering different textures. This blend not only adds dimension but also enriches the emotional impact of your work.
In each of these styles, remember that practice is key. Set aside time regularly to experiment and refine your skills. Let your curiosity lead you, and don’t shy away from mistakes-they’re often the best teachers on your calligraphy journey.
Maintenance Tips for Your Calligraphy Pens
Keeping your calligraphy pens in top shape is essential for both performance and longevity. A little care can go a long way in ensuring that your writing instruments deliver beautiful lines and consistent flow. Whether you’re using dip pens, brush pens, or fountain pens, here are some maintenance tips you should incorporate into your routine.
First, clean your pens after each use. For dip pens, remove the nib and rinse it under cold water, using a soft toothbrush to gently scrub away any residual ink. This prevents clogging and maintains the nib’s flexibility. For brush pens, clean the bristles by running them under water until the ink runs clear. Avoid harsh soaps; they can strip the brush of its natural oils.
When it comes to storing your pens, consider their environment carefully. Always lay them flat or store them vertically with the nib side down. This method helps to prevent ink from drying out in the nib or causing leaks. If you use fountain pens, keep them capped when not in use and try to rotate through your ink colors regularly to ensure the ink doesn’t settle or clog.
Additionally, be aware of the ink type you’re using. Some inks are more prone to clogging than others. If you notice your pen starting to skip or the ink flow is irregular, it might be time to switch to a higher-quality ink. Ensure your pens are filled to a sufficient level; running low on ink can also cause poor performance.
Finally, invest in a few essential tools for maintenance, such as pipettes for refilling ink and cleaning kits designed for your type of pen. Keeping your tools handy makes the process much smoother and encourages more regular care.
Incorporating these simple practices will not only enhance your calligraphy experience but also prolong the life of your pens. Consistent maintenance ensures that when you sit down to create, your tools are ready to help you express your artistic vision beautifully.
Choosing the Best Paper for Calligraphy Projects
Choosing the right paper can transform your calligraphy projects from good to extraordinary. Not all paper is created equal when it comes to capturing the beauty of your strokes. A high-quality, suitable paper can enhance the vibrancy of your ink and provide the right texture for your pen type. Here’s how to pick the perfect paper to elevate your calligraphy work.
First, consider the weight of the paper. Heavier papers (like 300 gsm) can handle more ink and are less likely to bleed or feather, making them ideal for detailed work. Lighter papers are great for practice and quick sketches, but you may find them lacking during intense ink applications. Look for smooth, heavyweight paper, especially if you’re using fountain pens or brush pens, as these require surfaces that minimize drag.
Next, the texture of the paper plays a pivotal role in your writing experience. Some artists prefer a smooth finish, which allows for effortless gliding, while others enjoy a bit of texture to enhance the tactile sensation of writing. When testing papers, try writing a few strokes or letters to feel how the pen interacts with the paper. Remember, your choice might also depend on the style of calligraphy you’re practicing; traditional styles often look better on textured paper.
Another factor to keep in mind is the ink compatibility. Different inks behave uniquely on various paper types, so do some experimentation with your preferred ink and paper combinations. Some papers are specially designed for calligraphy and feature coatings that help prevent ink bleed and smudging. As a rule of thumb, always use papers that are meant for ink applications to ensure your beautiful work stands the test of time.
Finally, don’t forget about aesthetics. The right paper can add a layer of elegance to your projects. Consider color, texture, and even patterns that complement your calligraphy style. Whether it’s a delicate, creamy ivory for wedding invitations or a bold black for striking contrast, let your paper choice reflect your artistic vision.
In summary, investing time in selecting the best paper for your calligraphy will not only improve your results but also enhance your overall creative experience. Test various weights, textures, and finishes until you find your perfect match. Your calligraphy deserves a foundation that supports your artistry!
Inspiring Calligraphy Projects to Showcase Your Skills
Whether you’re a novice or a seasoned calligrapher, undertaking new projects can really inspire and elevate your skills. A captivating calligraphy piece not only showcases your techniques but also your unique style. Here are a few project ideas that can help you present your work beautifully and creatively.
Greeting Cards and Invitations
One of the most practical and rewarding projects is creating custom greeting cards or invitations for friends and family. Personalizing messages with elegant calligraphy can make any occasion special, like weddings, birthdays, or holidays. Use high-quality paper and experiment with different pen types and inks to add a unique flourish to each card. Try incorporating decorative elements like watercolor washes or gold accents for an extra touch of elegance.
Framed Quotes and Art Prints
Transform your favorite quotes into stunning art pieces. Choose meaningful phrases and let your calligraphy shine on high-quality paper, then frame them to display in your home or give as gifts. This project allows you to practice various styles, from traditional scripts to modern brush lettering. Consider adding doodles or embellishments to complement your lettering style, making each piece not just a quote, but a personal work of art.
Custom Stationery
Imagine having your very own set of calligraphy stationery! Design letterheads, envelopes, and note cards that reflect your style and personality. This project gives you the chance to experiment with different calligraphy pens and techniques while creating something uniquely yours. Use various colors and textures to enhance the appeal, and consider giving sets as gifts or keeping them for your correspondence.
Bookmarks
Bookmarks are a simple yet functional project that allows you to combine your love for reading with calligraphy. Create personalized bookmarks that feature quotes from your favorite books, or even your name beautifully written. This project is a great way to practice precision with your pen strokes and can make for thoughtful gifts to fellow book lovers. You can add decorative elements such as ribbons or charms to make them even more special.
Exploring these projects not only helps you develop your skills but also gives you tangible items to showcase your artistry. Whichever project you choose, remember to enjoy the process and let your creativity flow. Calligraphy is not just about precision, but also about expressing your personal style and flair. Dive in, and you’ll find that the more you create, the more your skills will blossom!
Q&A
Q: What are the main types of calligraphy pens?
A: The main types of calligraphy pens include dip pens, fountain pens, brush pens, and marker pens. Each type offers unique features, such as flexibility in nib sizes and ink flow, making them suitable for various calligraphy styles.
Q: How do I care for my calligraphy pens?
A: To maintain your calligraphy pens, ensure to clean them regularly after use, especially dip pens and fountain pens. Use warm water or a pen cleaner to remove dried ink. Store them upright to prevent damage and keep the nibs safe.
Q: What is a calligraphy nib, and why is it important?
A: A calligraphy nib is the pointed metal tip of a pen that creates the lettering. It’s crucial because different nib sizes and shapes can produce varying stroke widths and styles, enhancing the overall look of your calligraphy.
Q: Can I use regular ink with calligraphy pens?
A: Regular ink can be used, but it’s best to choose high-quality calligraphy ink designed for your pen type. This ensures smoother flow and less clogging, especially with dip pens. Experiment with inks to find the best match for your style.
Q: What is the difference between a brush pen and a dip pen?
A: A brush pen features a flexible brush tip that allows for fluid strokes and varying line thickness, ideal for expressive scripts. In contrast, a dip pen requires inking from a separate source and typically offers more precise line control.
Q: What types of papers are best for calligraphy?
A: The best papers for calligraphy are smooth and thick, such as vellum or watercolor paper. These reduce bleed-through and feathering, allowing for clean, clear lines. Experiment to find the paper that best suits your ink and pen type.
Q: How do I choose the right calligraphy pen for my project?
A: Consider your lettering style and project requirements when choosing a pen. For detailed work, a dip pen might be best, while brush pens are good for more expressive writing. Test different pens to find the one that feels right for you.
Q: Why is calligraphy ink specialized?
A: Calligraphy ink is specially formulated to ensure consistent flow and vibrancy on the page. It also tends to be thicker, preventing bleed-through and feathering, ensuring that your artwork looks polished and professional.
In Summary
Now that you’re familiar with the essential terms surrounding calligraphy pens, it’s time to dive deeper into your creative journey. Whether you’re looking to elevate your skills or simply explore the art of calligraphy, remember that the right tools can make all the difference. Don’t wait! Check out our guides on “Choosing the Right Calligraphy Ink” and “Top 5 Calligraphy Styles You Should Try” for more inspiration.
If you found this information helpful, consider signing up for our newsletter for more tips and resources delivered straight to your inbox. Join the community of passionate calligraphers who are exploring their creativity every day! And don’t hesitate to leave your thoughts or questions in the comments below-your insights could spark new ideas for someone else. Keep writing beautifully!