
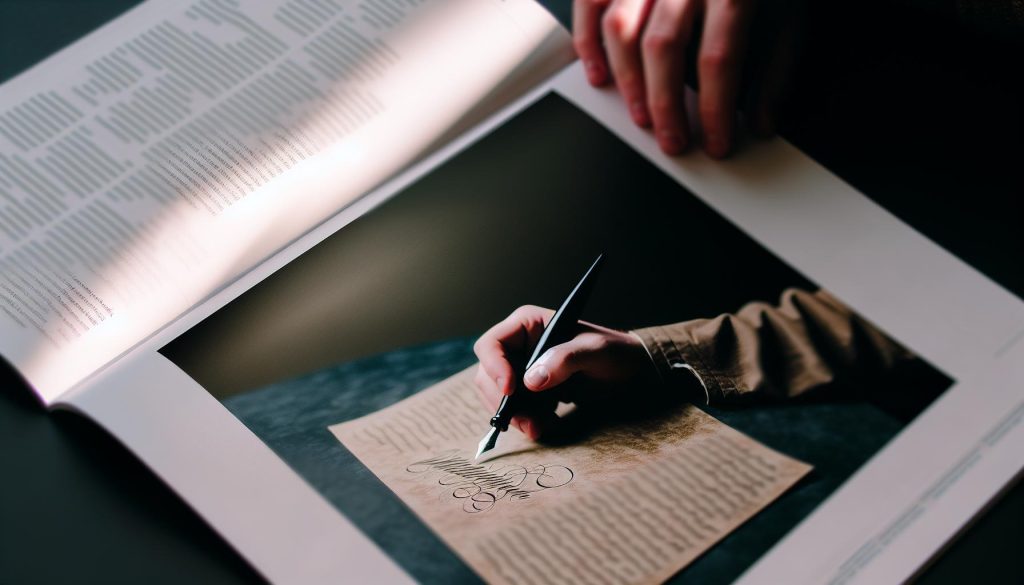
There’s something undeniably captivating about the smooth, flowing lines of calligraphy. Using a fountain pen can transform your handwritten notes into elegant works of art. In this guide, we’ll explore the art of using a calligraphy fountain pen, unlocking the classic elegance it brings to everything from personal letters to artistic projects.
Whether you’re a beginner or looking to refine your technique, understanding the nuances of grip, ink flow, and stroke variation will elevate your writing experience. Many shy away from calligraphy, fearing it’s too complex or time-consuming. But creating beautiful letters is not only achievable-it’s deeply rewarding. As you learn the basics, you’ll gain confidence in your skills and enjoy the meditative quality of writing with a fountain pen. Ready to discover how to wield this elegant tool with grace? Let’s dive in!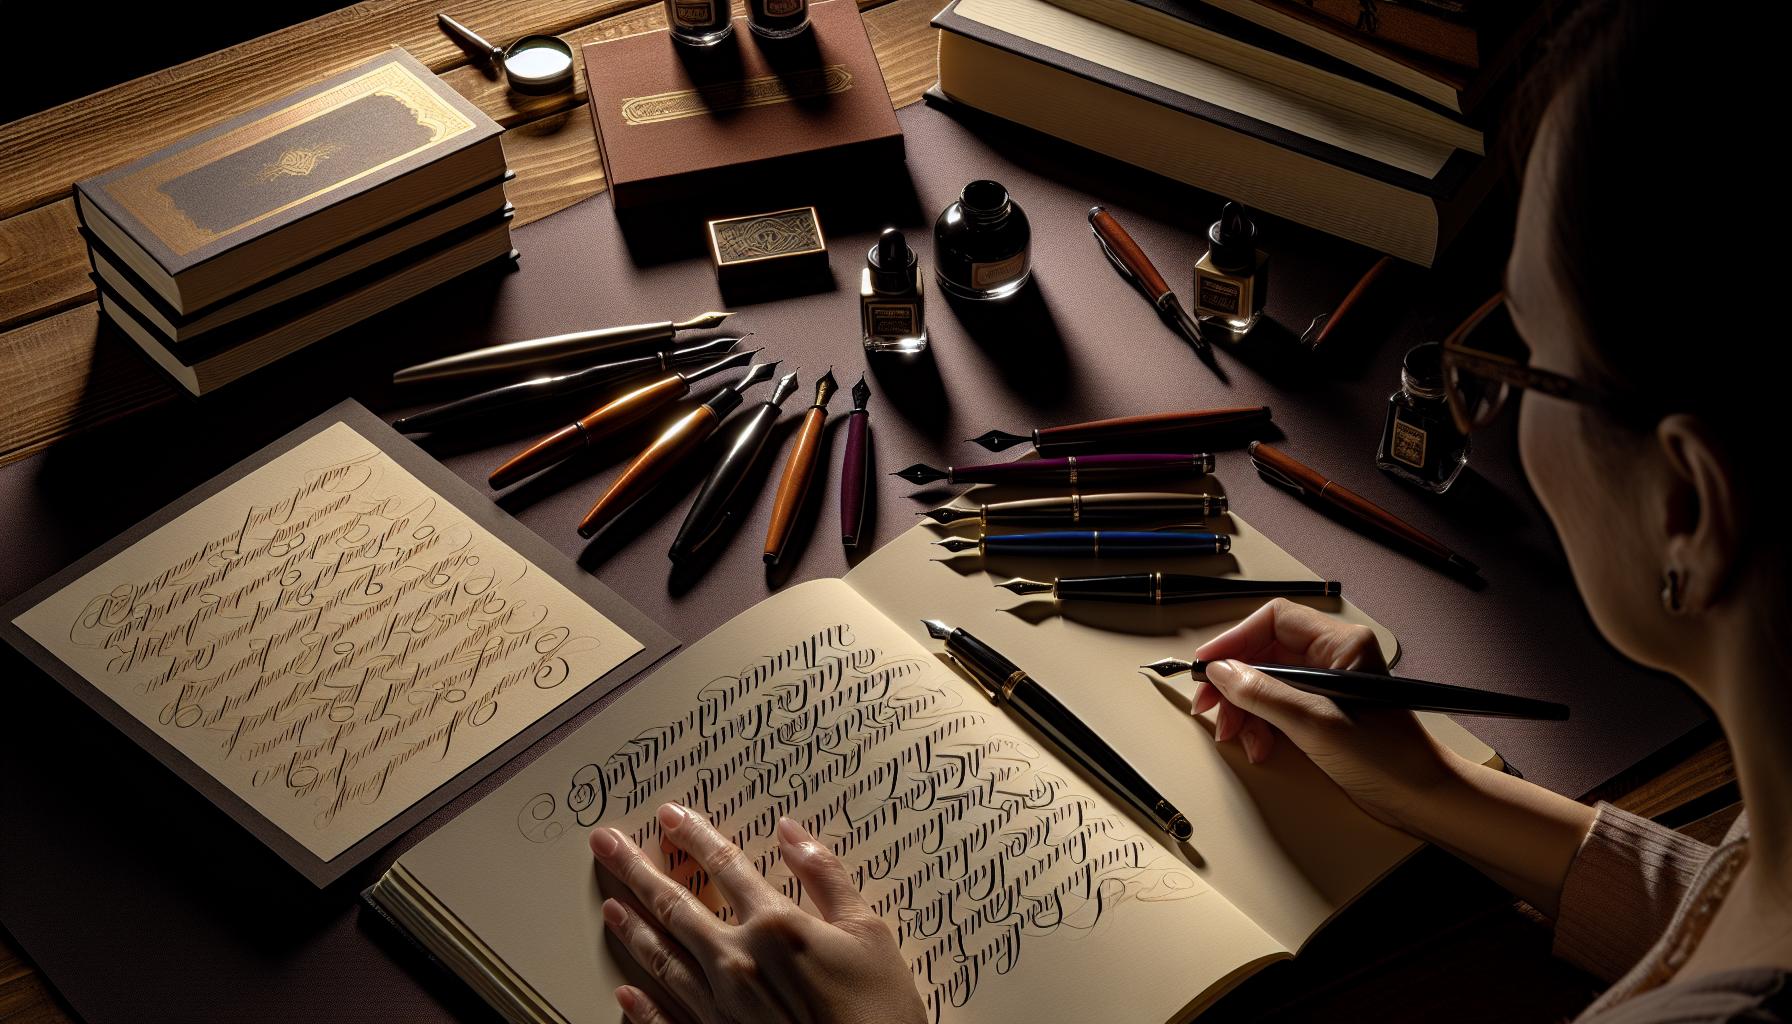
Choosing the Right Calligraphy Fountain Pen for You
When diving into the world of calligraphy, the pen you choose can make all the difference in your writing experience and the quality of your work. A well-chosen fountain pen not only enhances your strokes but also speaks to your style and comfort. Your goal is to find a pen that feels natural in your hand and supports the fluid movements that define beautiful calligraphy.
Think about the nib size first. Nibs come in various sizes-fine, medium, broad, and even specialty nibs like italic or flexible. If you’re just starting out, a medium nib is often the best choice; it strikes a good balance between detail and expressiveness. You might also want to experiment with different nibs once you become more comfortable with your skills. Brands like Lamy and Pilot offer great starter pens with interchangeable nibs, making it easy to explore different styles.
Next up is the pen’s grip. Comfort is key, especially during lengthy writing sessions. Look for pens that have a triangular grip or cushioned surfaces to prevent hand fatigue. Several calligraphy pens feature ergonomic designs that allow for a relaxed grip, ensuring your fingers won’t cramp after one too many elegant flourishes.
Finally, consider the ink compatibility and the overall aesthetics of the pen. Some calligraphers prefer specific inks for their sheen or flow characteristics, so ensure your pen can accommodate that ink. And don’t underestimate your personal style-choose a pen that inspires you to write. Whether that’s a classic design with a vintage feel or a modern, sleek look, your pen should resonate with your artistic identity.
To sum it up, selecting the right calligraphy fountain pen combines technical requirements like nib size and grip comfort with personal preference. Take your time to test different options, and you’ll find the perfect tool to channel your creativity into stunning lettering.
Mastering the Basics: Holding and Writing Techniques
To elevate your calligraphy game, mastering how to hold your fountain pen and the techniques of writing is essential. Holding the pen correctly can significantly impact your control and comfort while you create elegant letters. Start by grasping the pen lightly-think of it as holding a butterfly; too tight, and you’ll crush it, too loose, and it’ll slip away. Ideal grip typically involves placing your index and middle fingers on either side of the pen, with the thumb resting gently behind, forming a relaxed tripod position. This grip not only gives you better maneuverability but also reduces hand fatigue during longer sessions.
Your writing angle plays a vital role in how your strokes appear. Aim for a 45-degree angle between the pen and the paper. This position allows for optimal ink flow while keeping the nib’s tip flat against the page, crucial for creating those delicate thicks and thins in your letters. Experimenting with different angles can lead to diverse styles-don’t hesitate to explore until you find what feels most natural for you.
As you start writing, focus on the pressure you apply. Fountain pens require a lighter touch compared to ballpoint pens. The nib should glide over the paper, barely needing any pressure to produce beautiful strokes. This approach allows the ink to flow smoothly, resulting in cleaner lines and less risk of smudging. Practice basic strokes like upstrokes, downstrokes, and curves to get comfortable with varying pressure. Incorporating these into your flow can help create stunning, dynamic letters that stand out.
Lastly, practice makes perfect. Don’t rush! Spend time crafting each letter with attention to detail. Heartfelt expressions often take time to develop, so give yourself permission to make mistakes-each error is a learning opportunity. Incorporate feedback from your practice into your technique. With dedication, you’ll find that mastering the basics of holding and writing with your fountain pen will pave the way to elegant and exquisite calligraphy.
Essential Calligraphy Ink Types You Should Know
Choosing the right ink for your calligraphy fountain pen can make all the difference in your artwork. The ink you select not only affects the appearance of your letters but also influences how your pen performs and how enjoyable the writing experience is. While there are countless inks available, understanding a few key types will help you make an informed choice for your projects.
One essential type of ink you should consider is water-based dye ink. This ink is known for its rich colors and smooth flow, making it ideal for beginners and experienced calligraphers alike. It’s easy to clean and works well on various types of paper. However, it can be prone to smudging, especially if you don’t let it dry properly.
In contrast, pigment-based inks are renowned for their vibrancy and permanence. Unlike dye inks, pigment inks sit on top of the paper, giving a distinct look with added texture. They’re less likely to fade over time, which makes them a great choice for pieces you want to preserve, like custom prints or important documents. However, keep in mind that they can be slightly more challenging to clean from your pen and may cause clogging if not flushed out regularly.
Another category to explore is iron gall ink, a traditional choice with a unique character. This ink has been used for centuries and contains tannins from plant material, which react with metals to create a water-resistant and archival-quality ink. The initial hue of iron gall ink is often lighter, deepening over time, adding a lovely vintage effect. Just be cautious, as this ink can be acidic and may corrode some types of nibs if used excessively.
When selecting ink, you’ll also want to pay attention to specialty inks, including metallic or shimmering varieties. These add an extra layer of elegance to your calligraphy, perfect for special occasions or decorative projects. Just remember to shake or stir these inks before use to ensure an even distribution of particles.
No matter which type of ink you choose, always test it with your pen and favorite paper. Each pen behaves differently based on the nib size and ink characteristics, so it might take a bit of experimentation. Embrace the process, and over time, you’ll find the perfect ink that complements your style and elevates your calligraphy work!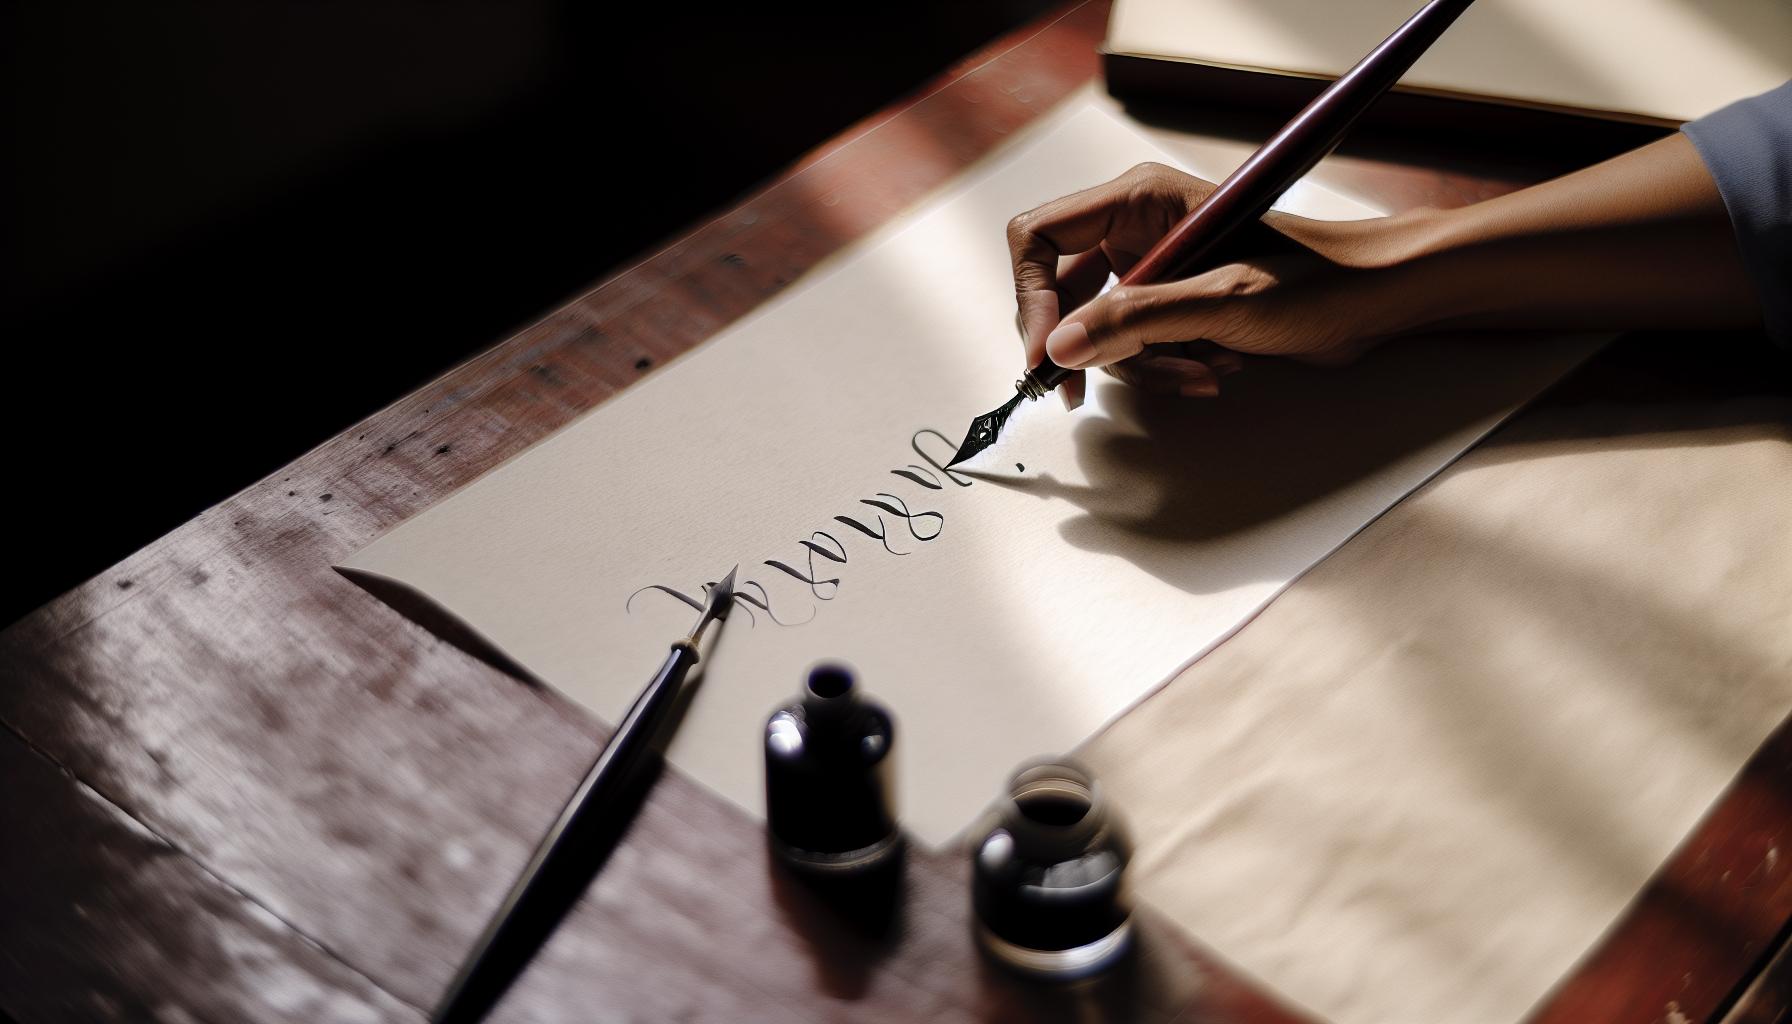
Crafting Beautiful Letters: Stroke Techniques Explained
When you dive into calligraphy, mastering stroke techniques is the bedrock of creating beautiful letters. Each stroke carries the essence of your style, while rhythm and flow transform simple letters into captivating art. Whether you’re crafting elegant scripts or whimsical designs, understanding how to manipulate your pen with precision can elevate your work to a new level.
Start with the basics. The fundamental strokes include upstrokes, downstrokes, and various curves. Here’s a breakdown of each:
- Upstrokes: These strokes should be light and thin; use minimal pressure as you lift your pen away from the paper. They create airy lines that contrast beautifully with your heavier downstrokes.
- Downstrokes: Apply more pressure here. These strokes should be bold and thick, providing weight and stability to your letters. The contrast between thick and thin lines is what gives calligraphy its signature look.
- Curves: Mastering curves is essential. Practice the various degrees of curves-gentle arcs and tighter loops-as they add elegance and fluidity to your lettering.
Practice makes perfect, so start with drills. Focus on repeating these strokes to build muscle memory. Use smooth, controlled movements; don’t rush through them. You can also use graph paper or guides to help maintain consistent sizing and spacing. Remember, it’s not about speed but about developing a smooth, controlled technique.
As you gain confidence, experiment with combinations of strokes to form letters. For instance, blending the upstroke and downstroke will allow you to transition seamlessly between letters and create intricate flourishes. Allow your personal style to emerge; don’t be afraid to incorporate variations or embellishments that speak to your aesthetic. With time and practice, those strokes will become second nature, enabling you to infuse your calligraphy with personality and flair.
Common Calligraphy Styles and Their Characteristics
Understanding the various styles of calligraphy not only expands your artistic repertoire but also helps you choose the right approach depending on your project. Calligraphy is a beautiful blend of art and language, and each style has its unique characteristics that evoke different emotions and atmospheres.
Let’s start with Copperplate, a highly elegant and formal style characterized by thin upstrokes and thick downstrokes. This style often employs a pointed nib, which allows for intricate flourishes and swirls. It’s perfect for wedding invitations and formal documents, providing an air of sophistication that’s hard to replicate. If you’re looking for classic elegance, Copperplate is your go-to.
Next up is Gothic (or Blackletter), known for its dense, ornate appearance. This style embraces dramatic flourishes, making it visually striking and often used for certificates, diplomas, and artistic posters. Its sharp angles and thick strokes convey a sense of tradition and historical depth, making it ideal for projects where you want to evoke a sense of gravity or timelessness.
Italic is another popular style that strikes a balance between readability and artistic flair. With its slanted letters and flowing forms, Italic calligraphy is versatile and widely used in everyday applications, such as address labels or greeting cards. Its casual beauty makes it approachable yet still engaging, perfect for personal projects.
Finally, modern calligraphy is a freer, more expressive style that combines traditional techniques with contemporary flair. This style allows for unique personal touches and variations, giving you the freedom to experiment with colors, blending, and even different tools like brush pens or markers. It’s particularly popular in social media and DIY projects, where individuality shines through.
In summation, each calligraphic style has its own personality and communicative power. By experimenting with these styles, you’ll find your voice while enriching your calligraphy practice with a range of expressive options. Whether you’re creating invitations, art pieces, or gifts, the right style will enhance not just the visual impact but also the emotional resonance of your work.
Caring for Your Fountain Pen: Maintenance Tips
When it comes to preserving the beauty and functionality of your calligraphy fountain pen, regular maintenance is key. A well-cared-for pen can last a lifetime, delivering consistent ink flow and precise strokes-essential for achieving that classic elegant look in your writing. Neglecting your pen, on the other hand, can lead to clogs, skipped lines, and downright frustration. Here are some essential tips to keep your fountain pen in top shape.
First off, always clean your fountain pen after use, especially if you’ve been using different types of ink. Residues from various inks can cause unwanted mixing and clogging. To clean it, disassemble the pen according to the manufacturer’s instructions and flush the nib and feed with lukewarm water until it runs clear. For stubborn ink buildup, consider using a bit of pen flush or a mix of water and a few drops of dish soap. If your nib has intricate designs, a soft brush can help gently remove any remaining residue without damage.
Store it Properly
How you store your fountain pen can significantly impact its longevity. Always store it nib side up to prevent ink from leaking into the nib housing. Using a pen case or sleeve not only protects it from physical damage but also from dust and debris that could clog the nib. If you’re not planning to use it for an extended period, consider emptying the ink to prevent any chance of drying and clogging.
Inspect and Replace
Regularly inspect your pen for any signs of damage or wear, particularly the nib and feed. Over time, nibs can become misaligned or develop irregularities. If you notice any issues, realigning the nib or replacing it can often solve performance problems. Additionally, replacing ink cartridges or filling converters with fresh ink will ensure optimal performance, as old ink can dry out and lead to performance issues.
Combining these practical care steps will not only enhance your writing experience but will also turn your fountain pen into a reliable companion in your journey of calligraphy. Remember, a little attention today can mean beautiful calligraphy tomorrow!
Troubleshooting Common Calligraphy Issues
When you’re immersed in the art of calligraphy, encountering issues with your fountain pen can feel frustrating, but remember, every problem has a solution. Whether you’re facing skipping lines, uneven ink flow, or a stubborn nib, understanding how to troubleshoot these common issues will keep your writing process smooth and enjoyable.
One of the most frequent headaches is skipping. This usually happens due to dried ink or a clogged nib. If you notice your pen is skipping, first check the nib for any clogs. Clean it gently with lukewarm water, using a soft brush if needed. Sometimes, simply re-wetting the nib by dipping it in a bit of ink or water can alleviate the issue. Another cause could be the paper you’re using; if it’s too textured or absorbent, it may not accommodate your pen’s flow well. Switching to smoother paper can dramatically improve your writing experience.
An uneven ink flow can ruin the elegance of your lettering. If one side of your letters appears lighter than the other, it’s time to inspect your pen. Ensure that the ink is flowing evenly by checking the feed and nib alignment. If they’re misaligned, gently adjust them. Additionally, the viscosity of your ink matters-a thicker ink might not flow as easily, so consider experimenting with different inks.
Sometimes, your nib might feel scratchy or rough against the page. This can happen if the nib isn’t smooth or has developed a burr. If you notice this, try polishing the nib lightly with some micro-mesh or a specialized nib smoothing tool. This can restore the sleek feel of the nib, allowing for a smoother writing experience.
Lastly, consistent practice is essential. Even seasoned calligraphers occasionally battle with their tools. If you find your pen isn’t behaving as expected, take a moment to breathe and reassess. Remember, each stroke is a learning experience, and mastering your tools will only enhance your craft. Embrace the challenges-they’re just part of the journey to achieving that beautiful, classic elegance in your writing.
Advanced Calligraphy Techniques for Stunning Results
To create stunning results in your calligraphy practice, it’s essential to harness advanced techniques that elevate your writing from good to breathtaking. One of the first steps is to master varied pressure. By applying different amounts of pressure on the nib as you write, you can create beautiful contrasts in line thickness. This technique, often referred to as “dynamic strokes,” adds depth and character to your letters, making them visually striking.
Next, consider creating texture within your work. This can be achieved through techniques like flourishing, where you add embellishments to your letters by extending and looping strokes. Flourishes not only beautify the letters but also show off your mastery of the pen. Think of them as little decorations that tell a story about the artist behind the words. Start with simple flourishes and gradually integrate more complex ones as your confidence grows.
Another advanced technique is color blending. Using multiple inks in one piece can create a unique aesthetic that sets your work apart. Try alternating colors in your strokes or creating gradients by gradually mixing two colors. This complexity can elevate ordinary writing into a stunning visual masterpiece, engaging your audience with both the message and the medium.
Lastly, pay attention to composition. The way you arrange your letters on the page can influence the overall impact of your calligraphy. Experiment with different layouts-try diagonal placements or framing text in decorative borders. Creating balance with negative space can draw attention to your words and enhance the elegance of your work. Remember, every design choice you make is part of the artistic expression, so don’t be afraid to think outside the box.
By integrating these advanced techniques into your practice, you’ll find that your calligraphy becomes not just a form of writing, but an art that reflects your individual style and creativity.
Incorporating Calligraphy into Your Craft Projects
is a rewarding way to personalize and elevate your creations, turning the ordinary into something special. Whether you’re designing wedding invitations, creating unique home decor, or making heartfelt gifts, your calligraphy skills can add a classic, elegant touch that truly stands out. It’s about more than just words; it’s a creative expression that transforms simple projects into cherished keepsakes.
One of the best ways to start is by selecting the right project for your skill level and ambition. For beginners, simple items like greeting cards are perfect for practice. Try hand-lettering a meaningful quote or phrase on the front. Not only is it a great way to hone your skills, but it also results in a unique card that’s ideal for any occasion. As you gain confidence, consider more complex projects, like personalized calendars or custom labels for jars. You can enhance these items by using colored inks or experimenting with different styles of lettering to match the project’s theme.
Another effective method to incorporate calligraphy is through mixed media art. This could involve creating a canvas piece where your calligraphy serves as the focal point, intertwined with watercolor backgrounds or floral illustrations. This combination introduces texture and depth, making your calligraphy the star of the show. Additionally, try using your calligraphy on various surfaces-wood, fabric, or even glass-to expand the scope of your creative potential. Each medium presents a unique texture and character that can influence your approach to lettering.
Lastly, don’t underestimate the impact of incorporating calligraphy in your digital projects. If you enjoy creating digital artwork, try designing social media graphics or downloadable prints featuring your handwritten words. This not only showcases your artistry but also allows you to reach a wider audience who can appreciate your skills. By making your calligraphy accessible in both physical and digital formats, you contribute to a broader creative community.
The beauty of using a calligraphy fountain pen lies in its versatility. It’s not just a writing tool; it’s a gateway to expressing your creativity in various forms. So, dive in and let your calligraphy shine in every craft project you undertake.
Showcasing Your Calligraphy: Display and Preservation Options
Displaying and preserving your calligraphy beautifully is just as important as creating it. Whether it’s a heartfelt quote, a wedding invitation, or a personal project, showcasing your work right can elevate its appeal and ensure it lasts for years to come. One captivating way to display your calligraphy is by framing your pieces. Choose frames that complement the style of your writing – sleek and modern for contemporary pieces or ornate and vintage for more traditional calligraphy. Adding a mat can enhance the visual impact, creating a polished look that draws the eye.
Another option is to create a calligraphy gallery wall. This is an excellent way to showcase a collection of your works or various styles you’ve explored. Select different frame sizes and styles for a more eclectic look or maintain uniformity for a sophisticated display. If space allows, consider incorporating small shelves to hold your favorite calligraphy tools alongside your pieces, reinforcing the artistry behind the work.
When it comes to preservation, protecting your work is crucial, especially if you’ve used ink that may fade. Display items in UV-protective glass frames to guard against light damage. If your calligraphy is on paper, avoid placing it in direct sunlight to prevent discoloration. For artworks that you may handle often, consider displaying them in shadow boxes, which can protect them from dust and handling while offering depth and interest.
Lastly, don’t underestimate the power of social media and digital formats to showcase your calligraphy. Sharing high-quality images of your work allows you to reach a broader audience. You can even create digital backgrounds or wallpapers featuring your calligraphy for others to use. By effectively displaying and preserving your handcrafted pieces, you not only honor the work you put into each letter but also share the beauty of calligraphy with the world.
Exploring Calligraphy Community Resources and Inspiration
The world of calligraphy is vibrant and full of inspiration, and immersing yourself in community resources can elevate your practice. Connecting with fellow calligraphers, whether experienced or just starting out, offers a wealth of knowledge and encouragement. Online platforms like Instagram and Pinterest are fantastic for discovering new styles and techniques. You can follow hashtags like #CalligraphyCommunity or #FountainPenArt to see a variety of work, from intricate lettering to simple scripts. Engage with other artists by commenting on their posts or sharing your own progress; this interaction fosters growth and creativity.
Local workshops or classes serve as another excellent resource. Many art supply stores and community centers offer sessions where you can learn directly from experts. These classes often include hands-on practice, which is invaluable for mastering the nuances of fountain pen calligraphy. Plus, the camaraderie you feel in a workshop setting can be incredibly motivating. An added benefit is the opportunity to try out different pens and inks that you might not have considered before.
If you’re looking for structured learning, consider online courses or platforms like Skillshare or Udemy, where you can find lessons tailored to various levels of expertise. Some creators even offer free resources, such as printable practice sheets and video tutorials. Moreover, forums and Facebook groups dedicated to calligraphy allow you to ask questions, share your work, and receive feedback in real-time.
Lastly, never underestimate the power of books. There are numerous well-regarded publications that explore calligraphy styles, techniques, and historical contexts. Some of these books also offer step-by-step guides for creating beautiful letters. A solid library can be your best ally in refining your craft. As you dive into both digital and physical resources, remember that every artist’s journey is unique, and the best inspiration often comes from within. Don’t just look for resources-create your own style and share it with your community!
Tips for Creating Personalized Calligraphy Gifts
Crafting personalized gifts with your calligraphy fountain pen can transform simple items into treasured keepsakes. Imagine presenting a beautifully penned birthday card, a custom wedding invitation, or a heartfelt thank-you note. Not only does calligraphy add an element of elegance, but it also conveys thoughtfulness and care that digital messages often lack.
Here’s how to create memorable, personalized calligraphy gifts that stand out:
Consider the Recipient
Think about the person receiving your gift. What are their interests, hobbies, or important quotes they resonate with? Tailoring your design to align with their tastes makes the gift even more special. For instance, if they love nature, consider using earthy tones in your ink and pairing it with botanical illustrations.
Choose the Right Material
Select quality paper or surfaces that complement your calligraphy. Handmade papers, cardstock, or even specialty items like wooden boards or fabric can elevate your work. A well-chosen medium adds a tactile element that enhances the visual appeal. Additionally, experimenting with textures-like a smooth finish for sharp lettering or rough textures for a casual look-can dramatically change the overall impression of your gift.
Practice and Personalization
Before committing to your final piece, practice the lettering styles you want to use. You might want to incorporate the recipient’s name in an elaborate script or add a decorative flourish that reflects your style. Consider also including a meaningful quote or message that resonates with your shared experiences. Customizing not just the words, but also the overall look and feel of your calligraphy piece can turn a simple phrase into a cherished memory.
Incorporating calligraphy into gifts is a fulfilling way to express creativity and love. With careful consideration of the recipient, thoughtful material choices, and personal touches, your calligraphic creations will surely be appreciated for their elegance and the effort behind them.
FAQ
Q: What are the benefits of using a fountain pen for calligraphy?
A: Using a fountain pen for calligraphy offers smooth ink flow and consistent line width, which enhance writing precision. The varying nib sizes allow for versatility in styles, while the ability to refill ink makes it a more sustainable option. Explore more on the different nibs in the article!
Q: How do I choose the right nib size for my calligraphy fountain pen?
A: Selecting the right nib size depends on your writing style and the level of detail you want. For finer details, a smaller nib (e.g., 0.5mm) is ideal, while larger nibs (e.g., 1.0mm and above) produce bolder letters. Check out the section on Choosing the Right Calligraphy Fountain Pen for You for more details.
Q: How often should I clean my calligraphy fountain pen?
A: You should clean your fountain pen after every use to prevent ink buildup and maintain performance. If using different inks frequently, cleaning ensures color purity. Regular maintenance extends pen life-find helpful tips in the Caring for Your Fountain Pen section of the article.
Q: What paper is best for practicing calligraphy with a fountain pen?
A: Smooth, thick paper is best for practicing calligraphy with a fountain pen, as it prevents ink bleed-through and allows the nib to glide easily. Look for papers specifically designed for calligraphy or high-quality stationery for optimal results. Check our section on Essential Calligraphy Ink Types for more insights.
Q: Can I use regular ink in my calligraphy fountain pen?
A: You should avoid using regular ink in a fountain pen, as it can cause clogs and damage. Instead, use inks specifically formulated for fountain pens, which ensure smooth flow and compatibility. Learn about ink types in our Essential Calligraphy Ink Types section.
Q: What troubleshooting tips do you have for common calligraphy fountain pen issues?
A: For skipping or inconsistent ink flow, try checking the nib alignment and cleaning it thoroughly. If ink is drying, ensure you’re using the right ink and paper. Refer to our Troubleshooting Common Calligraphy Issues section for more detailed solutions.
Q: How can I incorporate calligraphy into my craft projects?
A: You can incorporate calligraphy into craft projects by using it to create personalized cards, decorative frames, or custom gifts. Calligraphy adds a touch of elegance and personalization. Explore various ideas in our Incorporating Calligraphy into Your Craft Projects section.
Q: What are some advanced calligraphy techniques I should know?
A: Advanced techniques include mastering flourishing, spacing variations, and layering colors. These methods can enhance your calligraphy and make it more visually striking. Get inspired in the Advanced Calligraphy Techniques for Stunning Results section of the article.
Closing Remarks
Now that you’ve unlocked the elegant art of using a calligraphy fountain pen, it’s time to practice and let your creativity flow! Remember, mastering this skill transforms not just your writing but also your overall aesthetic approach to correspondence. If you’re eager to take your calligraphy further, explore our guide on Choosing the Right Fountain Pen and discover tips on Mastering Calligraphy Styles-these will enhance your skills even more.
Don’t forget to grab your favorite fountain pen and start practicing today-feel the difference in your writing! If you have questions or want to share your experiences, drop a comment below. And make sure to subscribe to our newsletter for more insights and exclusive tips to elevate your handwriting game. Your journey in the world of calligraphy is just beginning, so keep honing your craft, and let your pen speak volumes!
Get our latest guides, news, and insights highlighted in your Google Search & AI Overviews.










