

Have you ever marveled at the elegant curves of calligraphy but felt overwhelmed by the tools required? The oblique calligraphy pen may seem intimidating, but mastering it can unlock stunning lettering that captivates and communicates. This specialty tool is designed for creating beautiful, sweeping designs that standard pens simply can’t replicate. Whether you’re a beginner eager to explore your creative side or someone looking to refine your skills, understanding how to hold an oblique calligraphy pen is crucial. In this guide, we’ll break down the techniques and tips you need to boost your confidence and improve your results. Get ready to transform your handwriting into a work of art that you’ll be proud to share!
Choosing the Right Oblique Calligraphy Pen for Beginners
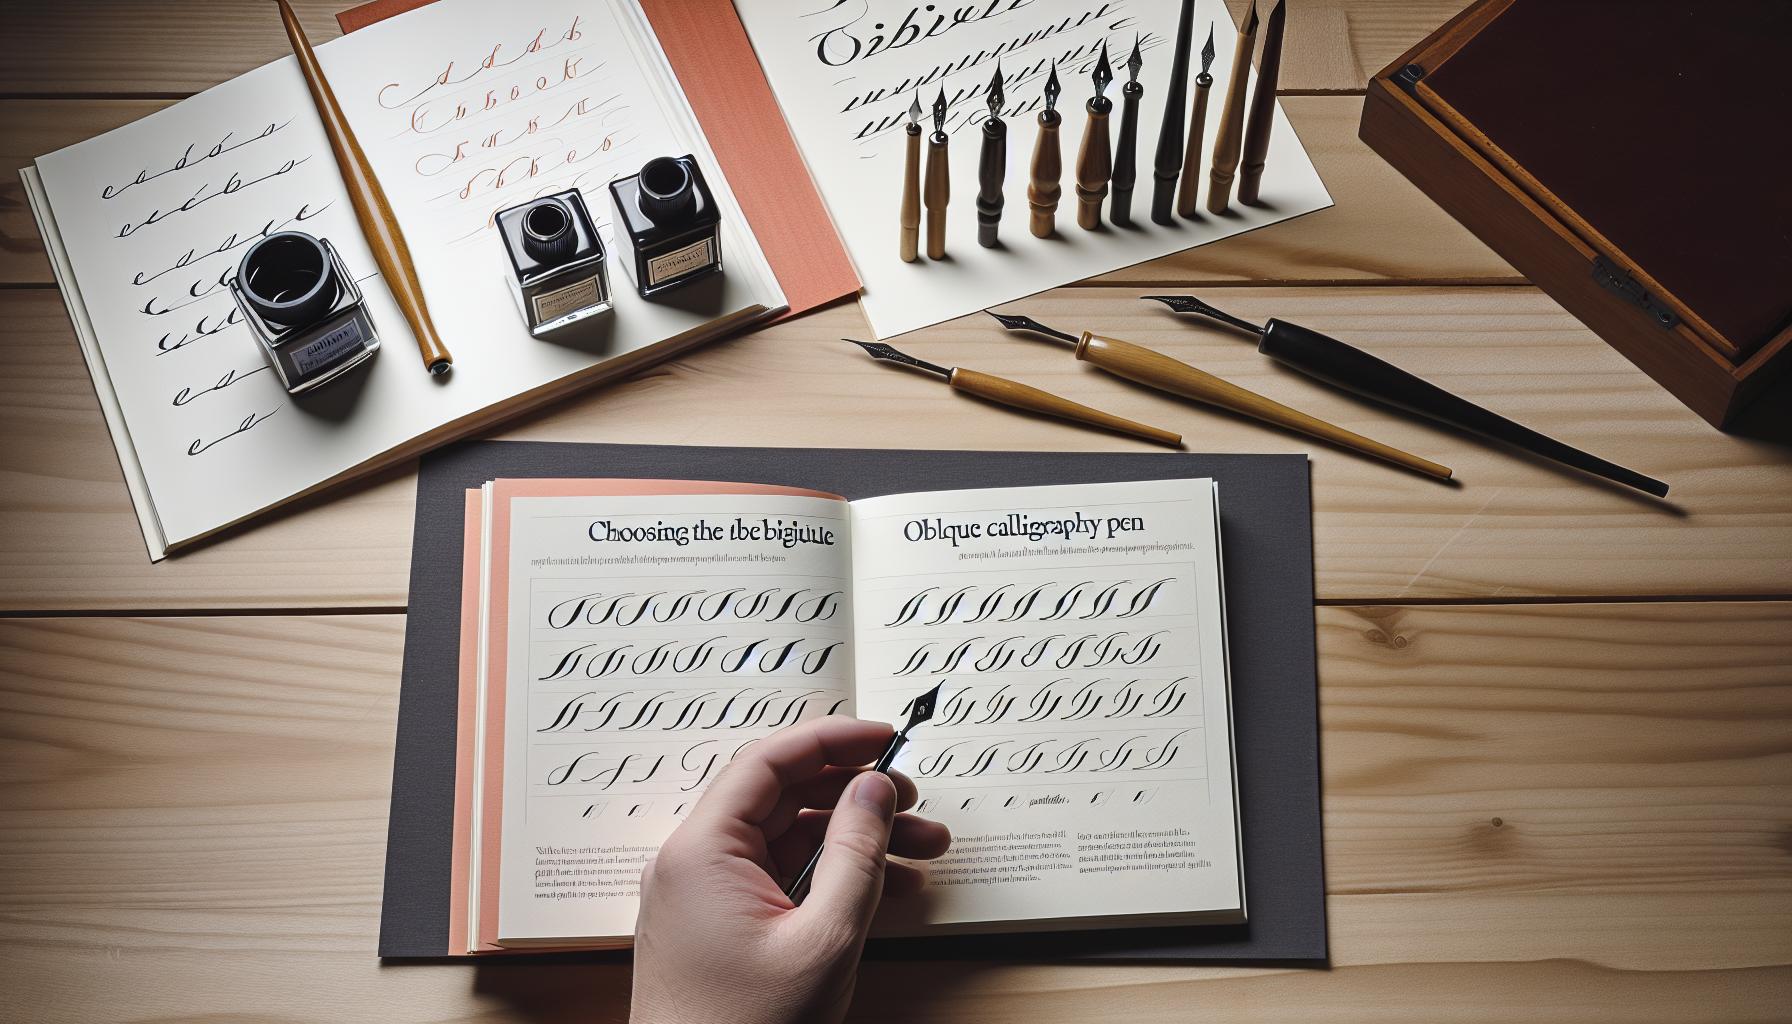
When you’re stepping into the world of oblique calligraphy, choosing the right pen can feel overwhelming, but it doesn’t have to be. The perfect calligraphy pen isn’t just about aesthetics; it’s about comfort and functionality, especially for beginners. Don’t underestimate how much a well-suited oblique pen can influence your calligraphy journey. A quality oblique pen allows you to maintain a consistent angle for your strokes and offers better control, making it easier to produce those elegant letters you’ve been dreaming of.
Start by considering the design of the pen holder. Look for one that feels comfortable in your hand. Some are made from wood, which provides a pleasant tactile experience, while others use plastic, which is lighter and often less expensive. You might want to try a few different materials to find what feels best for you. Many beginners often overlook the angle of the nib holder. A standard angle is 45 degrees, but if you have a specific style in mind, like Copperplate, look for a holder that accommodates that tilt comfortably.
Next, think about the nibs. Nibs come in various sizes and stiffness levels, each affecting line thickness and versatility. Go for a soft nib if you’re just starting; it allows for more flexibility and easier handling when you apply pressure for thick downstrokes and gentle touches for thin upstrokes. If you find a nib you love, invest in a few extras. Nibs can wear out, and it’s good to have backup options.
Lastly, engage with the community. Forums and local workshops can provide insights from experienced calligraphers about their favorite tools. Don’t hesitate to ask for recommendations or even try out pens that other artists use. Remember, practice makes perfect. With the right tools in your hands, you’ll be able to focus on developing your unique style and growing your skills in the art of calligraphy.
Understanding the Anatomy of an Oblique Pen
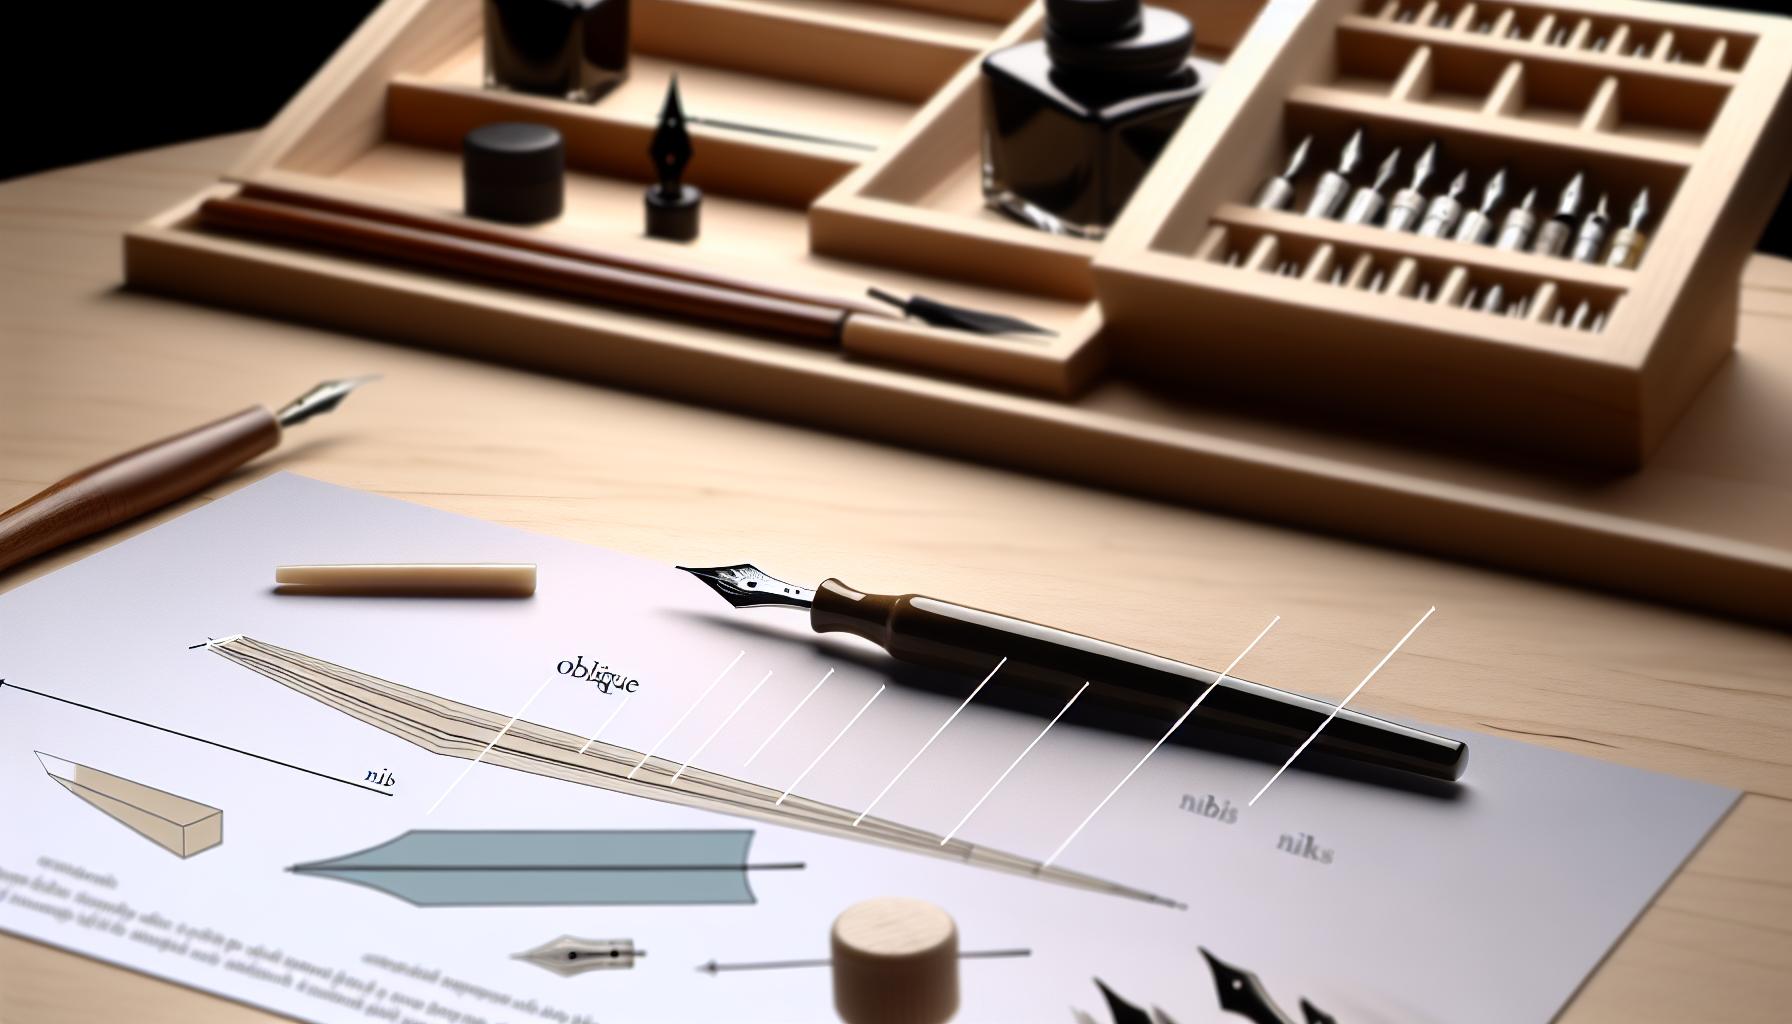
When delving into the world of oblique calligraphy, understanding the anatomy of your pen is crucial. An oblique pen is designed specifically for creating beautiful, flowing script while maintaining an ideal angle for your nib. At its core, the oblique pen consists of three main components: the pen holder, the nib, and the flange. Let’s break these down to give you a clearer picture.
The pen holder is where comfort starts. It’s typically made of wood or plastic, each offering a different feel. Your grip matters a lot, so choose a holder that fits snugly in your hand. The holder features an angled cut that holds the nib at a specific tilt. This angle is crucial for achieving the thick and thin strokes characteristic of calligraphy. Most commonly, you’ll find a 45-degree angle, but there’s flexibility based on your style-so don’t hesitate to experiment with different holders until you find the one that feels just right for you.
Next is the nib, a small but powerful part of your pen. Nibs come in various sizes and stiffness levels, each influencing your writing. If you’re a beginner, opt for a softer nib. It provides more flexibility, helping you create elegant lines without straining. As you grow more comfortable, you might explore stiffer nibs for sharper edges. And don’t forget to stock up on extras because nibs can wear down from use, and you’ll want reliable options when inspiration strikes.
Finally, we have the flange. This part extends from the holder and guides the nib’s position. A well-designed flange keeps the nib at the right angle. Some flanges have adjustable settings, allowing you to tailor the pen to suit your preferred writing style. This can be a game-changer, setting the foundation for clean, consistent strokes.
In summary, knowing your pen’s anatomy empowers you to harness its potential. The right combination of holder, nib, and flange will make your calligraphy experience smoother and more enjoyable. As you get accustomed to handling your oblique pen, you’ll find it’s not just a tool-it’s an extension of your artistic expression.
The Essential Grip: How to Position Your Hand
When diving into oblique calligraphy, mastering your grip is essential for achieving elegance and fluidity in your writing. The way you position your hand affects not only the quality of your strokes but also your comfort during longer sessions. Here’s how to hold your oblique pen effectively to unleash your artistic potential.
First off, hold the pen lightly-there’s no need for a death grip. A relaxed hold allows for greater flexibility and control, enabling the nib to glide smoothly across the paper. Position the pen holder between your thumb and index finger, resting it lightly against the first knuckle of your index finger. Your middle finger should gently support the pen from below, while your ring and pinky fingers provide stability on the surface. This triangular grip is not just comfortable; it also helps you maintain the necessary angle for producing that sought-after thick-and-thin stroke characteristic of calligraphy.
Next, let’s talk about angle. The oblique pen is designed to be held at a specific tilt-ideally between 30 to 45 degrees relative to the paper. This angle ensures that the nib contacts the paper correctly, producing smooth lines while avoiding premature wear on the nib. Don’t hesitate to adjust the pen’s angle as you write; slight changes can improve your line quality and flow. Practice finding that sweet spot where you feel both secure and fluid in your movements.
It’s also helpful to rest your wrist. Instead of reaching too far across the paper, keep your forearm relaxed and let your wrist pivot naturally. This approach decreases fatigue and improves precision. If you notice tension building in your wrist or fingers, take a break and shake it out-your calligraphy will appreciate the refresh.
Finally, remember that everyone’s grip is a bit different. What works for one person might not be perfect for you. Experiment with various holds and angles to discover what feels best. Just like any skill, practice makes perfect, so take the time to refine your grip as you develop your calligraphy style. Embrace the learning process; it’s all part of your journey to becoming proficient with your oblique pen.
Common Mistakes When Holding an Oblique Pen
Have you ever tried to write beautifully only to find your hand cramping up or your strokes feeling clunky? Many beginners stumble into common pitfalls when first holding an oblique pen, which can quickly turn the joy of calligraphy into frustration. Avoiding these missteps is crucial for developing your technique and enjoying the process. Here are some of the most frequent mistakes to watch out for.
One major mistake is gripping the pen too tightly. A death grip can lead to fatigue and restrict the fluid movements required for elegant strokes. Aim for a relaxed hold that allows the nib to dance across the paper. Try to remember that the pen is an extension of your hand, not something you should force down. If you find yourself tensing up, take a moment to shake out your hand and reset.
Another common error is neglecting the proper angle. An oblique pen should ideally be held at about 30 to 45 degrees to the paper. Holding it at the wrong angle can result in uneven strokes or even damage to your nib. If your pen doesn’t feel right, experiment with adjusting the tilt until it feels natural and produces smoother lines. This small adjustment can make a huge difference in your writing experience.
Wrist position is just as important, yet often overlooked. Some beginners reach too far across the paper, leading to unnecessary tension and awkward movements. Instead, keep your wrist relaxed, letting it pivot naturally as you write. Position your forearm comfortably above the paper, and allow your hand to follow through with a gentle motion rather than a strained lurch.
Lastly, don’t underestimate the importance of consistency. Beginners may switch between grips, angles, and positions too frequently, making it hard to develop a stable technique. Experimenting is essential, but once you find a comfortable method, stick with it for a while to build muscle memory. Embrace your unique style and allow your grip to evolve without rushing the process.
By steeling yourself against these common mistakes, you can elevate your calligraphy practice from a simple task to an expressive art form. Remember, mastery takes time and practice, so be patient with yourself as you navigate the learning curve.
Techniques for Creating Smooth, Elegant Strokes
To achieve smooth, elegant strokes with an oblique pen, you need to embrace the art of fluidity and control. One key factor is mastering the pen angle. Hold your pen at a 30 to 45-degree angle to the paper; this position not only optimizes the nib’s contact with the surface but also enhances the flow of ink. Experiment a little-when you find that sweet spot where the ink glides seamlessly, you’ll know you’re on the right track.
Next, focus on your hand movement. Use your whole arm, not just your fingers, to create broader strokes. This technique helps maintain a relaxed wrist and can significantly improve your writing’s gracefulness. When you press down to create bold strokes, allow your shoulder to guide the motion rather than cranking up your fingers. Think of it as a gentle dance rather than a mechanical task.
Also, practice varying your pressure. Lighter strokes create delicate lines, while applying more pressure leads to bold, expressive characters. Incorporating this range will give your calligraphy depth and personality. Try practicing with varied pressure on scrap paper, observing how your strokes change with different levels of press. This kind of sensitivity will elevate your work, making each letter or flourish distinct.
Finally, consistency is key. Dedicate time to practice your strokes repeatedly. Create a rhythm that’s comfortable for you, allowing your hand to adjust and flow naturally. Consistent practice will embed these techniques into your muscle memory, ultimately transforming your calligraphy from a series of strokes into a beautifully cohesive script. Embrace the process of learning-your unique style will evolve with each practice session.
Mastering Pressure and Angle for Perfect Lines
Finding the perfect balance between pressure and angle is crucial in mastering the oblique calligraphy pen. If you get this right, your strokes will flow effortlessly, and your letters will transform from basic shapes into stunning works of art. The magic happens when you understand how to manipulate these two elements to express your unique style.
To start, let’s talk about the angle of your pen. Holding your pen at a consistent 30 to 45-degree angle is key. This isn’t just a suggestion; it’s fundamental to ensuring that the nib makes proper contact with the paper, allowing ink to flow smoothly. If you’re too upright or too slanted, you’ll struggle with ink flow and your strokes won’t look as graceful. Practice finding that sweet spot by drawing lines and curves at varying angles. Use a protractor for a precise measurement if you need to; visualize the angle while writing, and soon it will become second nature.
Next, focus on pressure variation. Light pressure creates delicate, airy strokes, exuding softness, while heavier pressure yields bold, expressive lines that command attention. Your goal should be to vary this pressure consciously. For instance, when making a downstroke-where you want to emphasize the line-press a bit harder. On the upstrokes, ease off slightly. This interplay not only adds dimension to your letters but also gives them personality. A simple exercise is to practice the same letter multiple times, each time modifying the pressure. Look at how the character changes, and you’ll begin to appreciate the sensitivity required in your touch.
Join these techniques seamlessly through consistent practice. Set up a routine where you dedicate time specifically to experiment with angle and pressure. Perhaps start each session with just a few minutes of warm-up strokes, focusing solely on these elements. Challenge yourself with different letters and styles, tracking your progress and noting what feels right. Remember to keep your body relaxed-tension can severely hinder your flow and control. Before long, your calligraphy will exhibit not just skill, but also an emotional touch that reflects your practice and care.
Tips for Practicing Calligraphy Consistently
Practicing calligraphy consistently is essential for honing your skills, especially when working with an oblique pen. To see real improvement, you need to create a routine that includes both practice and reflection. Start by setting a specific time each day for your practice. Even dedicated ten minutes can be transformative. The key is regularity, not volume. Use this time to focus on different aspects, such as strokes, flourishes, and letter formations.
Involve yourself in focused exercises. Try breaking down your practice into manageable segments that target specific skills. For example, spend one day on controlling pressure, another on mastering the angle, and a third on creating various letterforms. This structured approach not only keeps your sessions engaging but also allows you to track your progress systematically. Use a notebook specifically for your calligraphy practice, noting your insights and challenges. This will make it easier to address areas that need improvement during future sessions.
Another powerful tip is to incorporate real-world applications into your practice. Write letters, cards, or even short quotes that resonate with you. This not only makes practice feel more purposeful but also pushes you to apply your skills in situations that mimic real-life use. Sharing your work, whether in person or on social media, can provide valuable feedback and motivation. Remember, every stroke contributes to your mastery of the oblique pen, so find joy in the process, celebrate your progress, and keep experimenting.
Lastly, don’t underestimate the importance of community. Engage with fellow calligraphers online or in local workshops. They can offer fresh perspectives, advice, and inspiration. Their experiences may also introduce you to new techniques and resources that can enhance your own practice. Be open to learning and trying new styles; each interaction will enrich your journey with the oblique calligraphy pen.
Exploring Different Types of Nibs for Oblique Pens
Diving into the world of oblique calligraphy pens means you’ll encounter a variety of nibs, each offering unique characteristics that can greatly influence your calligraphy practice. Selecting the right nib can make the difference between beautiful, fluid strokes and frustrating, scratchy lines. Here’s a closer look at the types of nibs you might consider, ensuring you find the perfect match for your style and needs.
Types of Nibs to Consider
When venturing into the realm of oblique calligraphy, here are some popular nib types:
- Flexible Nibs: These nibs respond to pressure, allowing you to create beautiful thick and thin lines, essential for scripts like Copperplate. The flexibility enables dynamic variations in stroke width but may require a lighter touch.
- Stiff Nibs: Perfect for beginners, stiff nibs provide consistency and control, making them ideal for practice. They produce uniform lines and are great for learning structured scripts before advancing to more expressive ones.
- Broad-edged Nibs: If you’re interested in calligraphy styles like Gothic, broad-edged nibs are your go-to. They produce bold, thick lines, emphasizing contrast which is visually striking in larger scripts.
- Fine Nibs: For intricate designs and detailed work, fine nibs excel. They’re excellent for smaller lettering or when you want to add delicate flourishes to your work.
Choosing the Right Nib for Your Style
Each nib brings a different feel and application, so it’s crucial to experiment. Trying out different nibs can help you determine which suits your grip and pressure style best. Start with a couple of options: perhaps a flexible nib for elegant scripts and a stiff nib for more controlled practice. You’ll quickly discover how the nib’s behavior influences your letterforms.
It’s also essential to consider the ink you’ll be using. Some nibs work better with thicker ink, while others are more suited for thin inks. A good practice is to have a selection of nibs on hand; this way, you can adjust based on the project and your evolving skills.
In conclusion, while the nib might seem like a small component of your oblique pen setup, it’s integral to your calligraphy experience. Investing time in understanding and practicing with different nibs will enhance your technique and open up new creative opportunities. Take the plunge-try out multiple types and find the one that feels just right for you!
How to Maintain and Care for Your Oblique Pen
Your oblique pen is more than just a tool; it’s an investment in your calligraphy journey. Taking care of it not only extends its life but also ensures your practice remains enjoyable and productive. A well-maintained oblique pen can lead to smoother strokes and better results, making your calligraphy sessions all the more rewarding. Here’s how to keep it in top shape.
Start by cleaning your nibs after every use. Inks can dry quickly, gunking up the nib and affecting your writing. Use a soft cloth or paper towel to wipe the nib clean. For stubborn ink residue, dip the nib in water (or use a nib cleaner) for a few minutes. Rinse well and dry carefully with a cloth. Avoid using harsh chemicals, as they can damage the nib finish and the oblique holder.
It’s equally crucial to store your pen correctly. When you’re done writing, always remove the nib from the holder if it’s not going to be used for a while. Store your oblique pen horizontally to prevent the ink from pooling at one end, which could lead to leaks or clogs. A dedicated pen case not only protects your tools from dust and damage but also keeps your workspace tidy.
Also, be mindful of the ink you use. Ensure it’s appropriate for your nib and pen type. Some inks are thicker, which could lead to clogs in finer nibs. Experiment with various inks to find one that flows well and cleans easily. Keeping a journal to jot down what works best can be a handy reference for future projects.
Lastly, don’t forget about the holder. Occasionally, wipe it down to remove any ink residue that might affect your grip. Regular maintenance of your oblique pen ensures it stays responsive, allowing you to express your creativity without interruption. Your calligraphy experience will benefit immensely from these simple, intentional practices.
Incorporating Color and Style: Beyond the Basics
Integrating color and style into your calligraphy not only enhances the aesthetic appeal of your work but also allows for personal expression. Whether you’re embellishing invitations or creating artwork, the right colors can elevate your calligraphy from ordinary to extraordinary. Start with a few basic color palettes that complement your primary ink. For instance, using gold or metallics with deeper shades can create a stunning visual contrast. If you’re feeling adventurous, try layering colors. Start with a base hue and add a contrasting color for your downstrokes. This technique adds depth and dimension to your letters.
When it comes to style, mixing different writing styles can produce unique results. Combine a classic serif font with modern brush lettering for a contemporary twist. You can also explore adding decorative elements like flourishes or drop caps. These not only make your pieces standout but also provide an additional opportunity to experiment with color. For example, consider using a gradient effect within the flourishes to create a captivating visual flow.
Don’t underestimate the power of practice. Use sketch paper to test out new color combinations and styles before committing to your final piece. This helps you visualize the outcome without the pressure of perfection. Always keep a color journal where you document your favorite combinations. This can become a valuable reference as you evolve your skills.
Lastly, consider experimenting with different ink types. Some calligraphy inks are specially formulated to provide a shiny finish or even a pearlescent effect. These inks can infuse your work with an additional layer of elegance and sophistication. Just remember to check the compatibility of the ink with your oblique pen and nib. Using these techniques will not only enhance the visual impact of your calligraphy but also deepen your understanding of color theory and artistic expression.
Advanced Techniques for Experienced Calligraphers
Mastering the oblique pen is like unlocking a vault of creative potential in calligraphy. Once you’ve grasped the essentials, it’s time to explore advanced techniques that can elevate your work to new heights. One of the most impactful advanced techniques is changing your stroke pressure. Rather than applying a uniform pressure throughout your writing, experiment with varying your pressure during different parts of a stroke. For instance, increase pressure on downstrokes while easing off during upstrokes. This creates a stunning contrast that gives your letters depth and dimension.
To add more character to your calligraphy, consider incorporating flourishing techniques. Flourishes are decorative strokes that beautiful your letters and make them stand out. The key to effective flourishing is to keep it balanced and not overdo it. Start by practicing simple flourishes, like loops and swirls, then integrate them into your lettering as accents. Remember, flourishes should complement the letters, not overshadow them.
Furthermore, think about mastering variations in angle and alignment. By adjusting the angle of your pen relative to the paper, you can produce diverse types of strokes that range from delicate to bold. Pair this with a thoughtful layout-such as centering your text or creating asymmetrical compositions-and you’ll find your work taking on a professional and artistic flair.
Finally, don’t shy away from digital exploration. Many calligraphers are now leveraging technology, using tablets and styluses to create digital calligraphy. This not only allows for instant corrections but also opens the door to experimenting with different colors and brush effects that traditional inks can’t achieve. Practicing these advanced techniques will not only enhance your skill but also broaden your creative expression, allowing your unique style to shine through every piece you create.
Resources for Further Learning and Inspiration
There’s a wealth of resources available to help you develop your skill in calligraphy, especially when it comes to mastering the oblique pen. Here are some practical avenues for further learning that can greatly enhance your technique and inspire your creativity.
Books and Guides
Start with foundational texts that focus on calligraphy principles. Books such as *The Calligrapher’s Bible* by David Harris provide invaluable tips and comprehensive instructions specific to various styles, including the use of oblique pens. Another excellent resource is *Mastering Copperplate Calligraphy* by Eleanor Winters, which delves into the specifics of holding the pen and perfecting your strokes. These guides not only offer techniques but also often include practice exercises to build your confidence.
Online Courses and Tutorials
The internet is packed with resources, so take advantage of online courses. Platforms like Skillshare and Udemy offer classes tailored specifically to using oblique pens. These courses often feature video demonstrations that allow you to see proper grip, angle, and pressure in action. Many instructors share their personal tips and techniques, which can provide insight that books may not capture.
YouTube Videos
YouTube can be a treasure trove for visual learners. Channels dedicated to calligraphy often have a wealth of content, covering everything from basic techniques to advanced styles. Watch videos that focus on how to hold your oblique pen correctly and see various instructors offer their perspectives on overcoming common challenges. Not only can this enhance your understanding, but it can also refine your technique through visible examples.
Community Engagement
Don’t underestimate the power of community. Engaging with calligraphy groups on social media or joining forums can provide support and motivation. You can ask questions, share your progress, and receive constructive feedback from fellow enthusiasts. Platforms like Instagram are also great for following experienced calligraphers, where you can see their work, gather inspiration, and even participate in challenges. Connecting with others fosters a sense of accountability that can propel your practice forward.
Investing time in these resources will not only deepen your understanding of how to master the oblique pen but also spark your creativity and inspire your unique style in calligraphy. Keep learning, practicing, and exploring!
Frequently Asked Questions
Q: How do I choose the right angle for holding an oblique calligraphy pen?
A: The ideal angle for holding an oblique calligraphy pen is about 30 to 45 degrees from the paper. This position allows the nib to glide smoothly, creating beautiful strokes. Experiment with angles while practicing to find what feels most comfortable for you. For more tips on grip, check out the section on The Essential Grip in our article.
Q: Why is the grip important for calligraphy?
A: The grip is crucial because it influences the control and pressure of your strokes. A proper grip prevents fatigue and allows for more precision, enhancing your calligraphy quality. If you struggle with grip techniques, our section on Common Mistakes When Holding an Oblique Pen can help you adjust.
Q: What common mistakes do beginners make with an oblique pen grip?
A: Beginners often hold the pen too tightly or at the wrong angle, leading to shaky lines. It’s also common to position the nib incorrectly in relation to the paper. Reading about Common Mistakes When Holding an Oblique Pen in the article can offer valuable insights to avoid these pitfalls.
Q: Can I use an oblique pen for different styles of calligraphy?
A: Yes, an oblique pen is versatile and can be used for various styles, including Copperplate and Spencerian. Due to its design, it’s especially effective for creating thick and thin lines. For tips on mastering different techniques, see our Advanced Techniques for Experienced Calligraphers section.
Q: How can I practice holding an oblique calligraphy pen effectively?
A: Practice by writing slow, deliberate strokes while focusing on your grip and angle regularly. This reinforces muscle memory in your hand. Additionally, dedicating time to Tips for Practicing Calligraphy Consistently in the article can greatly improve your skills.
Q: What type of paper is best for using an oblique calligraphy pen?
A: The best paper for oblique calligraphy has a smooth texture to reduce drag and allows ink to flow freely. Look for papers specifically designed for calligraphy to achieve the best results. For more resources on materials, check out the Resources for Further Learning and Inspiration section.
Q: How does nib size affect calligraphy with an oblique pen?
A: Nib size significantly impacts your strokes’ thickness and style. A larger nib will create broader lines, while a smaller nib allows for intricate details. Experimenting with different sizes, as mentioned in the section Exploring Different Types of Nibs for Oblique Pens, can enhance your versatility.
Q: What maintenance do oblique calligraphy pens require?
A: Regular cleaning is essential for maintaining oblique calligraphy pens. After each use, rinse the nib with water and gently wipe it dry. Proper care extends the pen’s life and ensures optimal performance. For more detailed maintenance tips, refer to our section on How to Maintain and Care for Your Oblique Pen.
Concluding Remarks
Now that you’ve grasped the essentials of holding an oblique calligraphy pen, it’s time to put this knowledge into practice! Remember, mastering this specialty tool can elevate your calligraphy game and unleash your creativity. So, don’t wait-grab your pen and start experimenting today!
Looking to refine your skills further? Check out our guides on beginner calligraphy techniques and brush lettering essentials for even more insights. And if you’re eager to stay updated, consider signing up for our newsletter! It’s packed with tips and tricks that can help you navigate the art of calligraphy with confidence.
We’d love to hear your thoughts-what challenges have you faced with your oblique pen? Drop a comment below, share your insights, and join our growing community of passionate calligraphers. Keep practicing, and don’t hesitate to reach out with questions or share your progress! Your journey into the elegant world of calligraphy has only just begun.
Get our latest guides, news, and insights highlighted in your Google Search & AI Overviews.










