Have you ever picked up your calligraphy pen, only to find the ink refuses to flow? Frustrating, right? You’re not alone-this is a common issue that can derail your creative flow. With a bit of know-how, you can easily troubleshoot and fix your pen without shelling out for a new one. In this guide, we’ll explore simple repairs and maintenance tips to help you save money and keep your calligraphy game strong. Whether you’re a seasoned pro or just starting, understanding how to care for your tools is essential for achieving those beautiful letterforms you envision. So, let’s dive in and discover how you can revive your calligraphy pen and keep your artistry flourishing!
How a Calligraphy Pen Works: Understanding the Basics
Calligraphy pens are an artist’s tool, meticulously designed to elevate handwriting into an expressive form of art. At their core, these pens consist of a nib, which is the metal tip that holds the ink and delivers it onto the page. The ink flows from the reservoir to the nib, where it’s impacted by the pressure and angle of your writing. The flex of the nib allows for varying line thickness, adding depth and character to your strokes. Understanding how this simple mechanism works can help you troubleshoot common issues and perform essential repairs.
When you’re working with a calligraphy pen, the flow of ink is critical. This process relies on gravity and capillary action; when you dip the nib into ink, the material absorbs it, allowing it to flow out in a controlled manner. The design of the nib-its shape and flex-plays a significant role in how smoothly the ink flows. An improperly aligned nib or one that has picked up debris can lead to frustrating inconsistencies in your writing. Knowing how to assess these components can save you time-and money-when your pen begins to act up.
Moreover, maintaining your pen isn’t just about fixing it when it’s broken. Regular cleaning and minor adjustments can prolong its life, ensuring that your calligraphy remains fluid and enjoyable. Whether you’re using a dip pen or a fountain pen with interchangeable nibs, these basics will empower you to not only fix issues as they arise but also to develop a deeper appreciation for this elegant craft.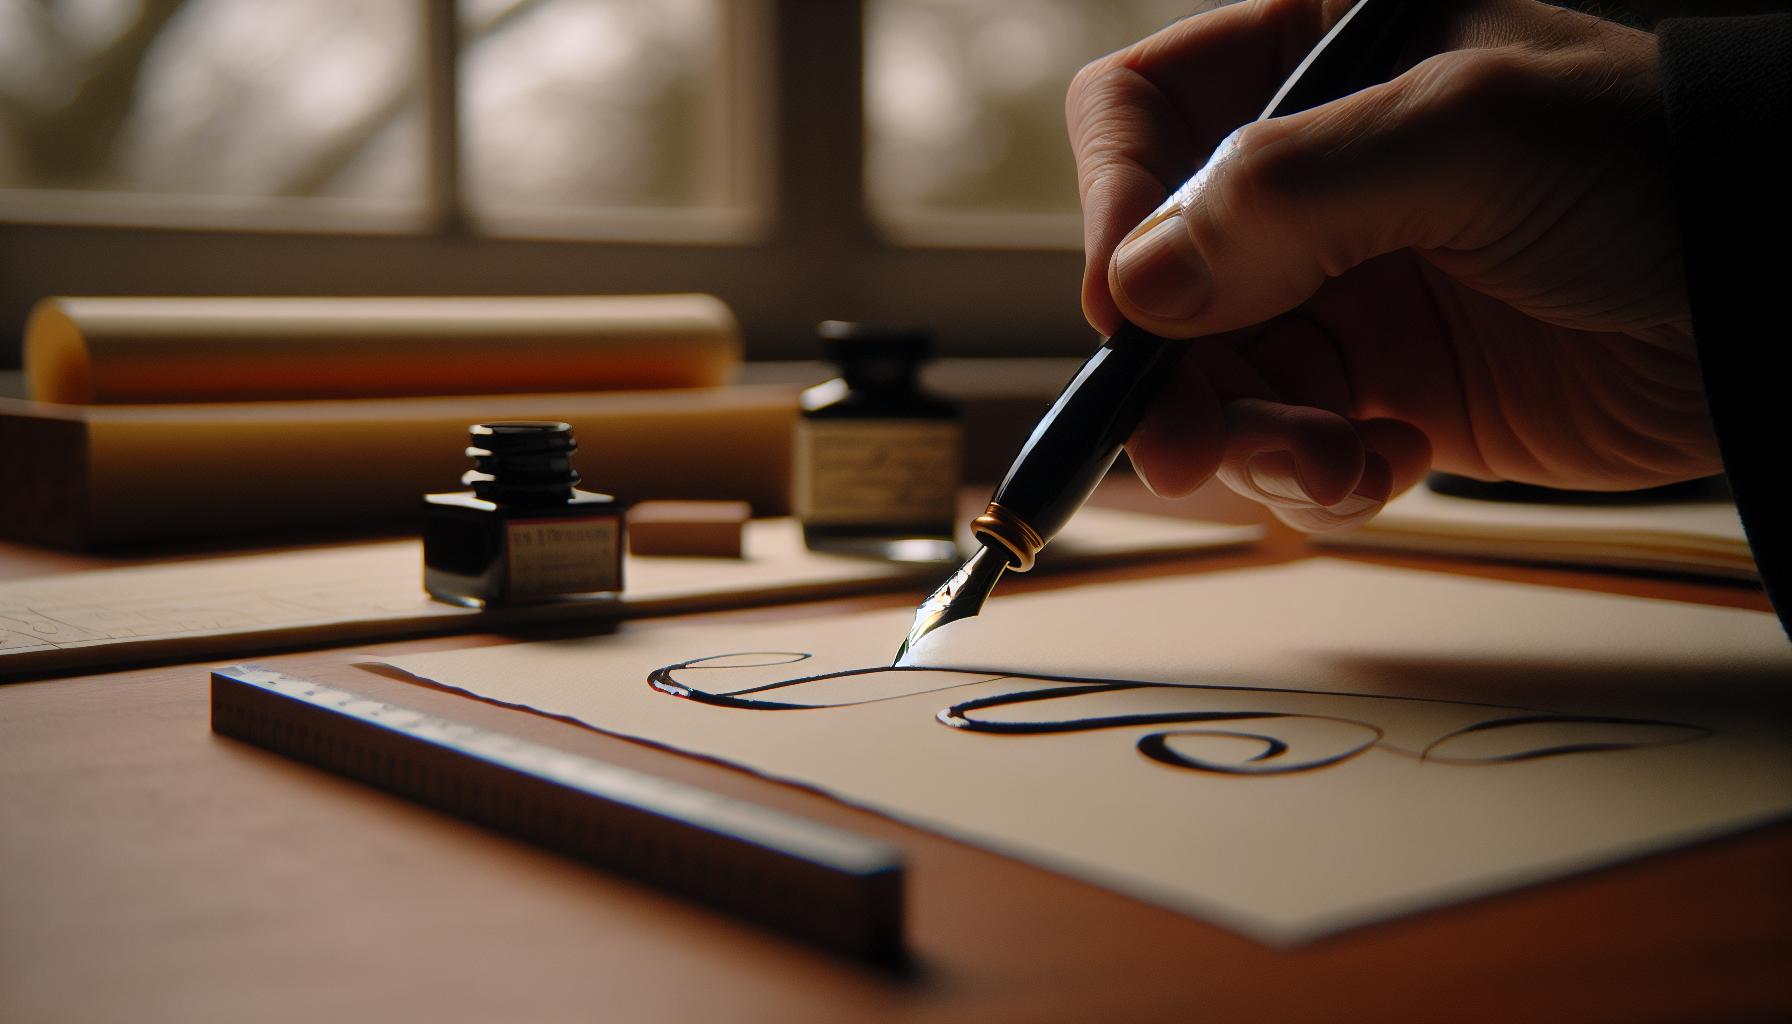
Common Issues with Calligraphy Pens and Their Causes
Calligraphy pens can be finicky little devices, and if you’ve been at it long enough, you likely have a story or two about a frustrating writing session interrupted by a stubborn pen. Whether it’s a skip in your strokes or an abrupt halt in ink flow, these issues can derail your creativity. Understanding common problems helps you not just avoid them, but fix them when they arise.
One of the most widespread issues is ink flow problems. This can stem from several causes: a clogged nib due to dried ink, improper nib placement, or even just a low ink supply. If your pen seems to work fine one minute and then sputters the next, start by checking the nib for debris and ensure that it’s properly aligned. A gentle cleaning can make a world of difference. Sometimes, the issue is simply that the pen is not holding enough ink, so make sure to refill as needed.
Another frequent dilemma is nib misalignment. If your calligraphy pen isn’t producing the crisp lines you expect, the nib might be out of alignment. This often happens if the pen has been dropped or mishandled. To troubleshoot, carefully inspect the nib shape. It should be symmetrical and the tines should have even spacing. If you notice that one tine is sitting higher than the other, you can gently bend it back into shape using your fingers or a pair of tweezers. Just remember, go slow – over-correcting can lead to further issues.
Lastly, don’t underestimate the importance of poor maintenance. Regular cleaning is crucial to ensure that your pen continues to perform well. Leftover ink can dry inside the nib and feed, leading to blockages. After each use, especially with pigment-based inks, follow a routine of flushing the nib with water and allowing it to dry completely. This simple habit keeps it performing optimally and extends the life of your pen.
With these insights, you’ll be better equipped to diagnose and tackle the common issues that can arise with your calligraphy pen, ensuring a smoother flow in your creative endeavors. Regular maintenance and being aware of the signs of wear will not only save you money but also keep your artistic process uninterrupted.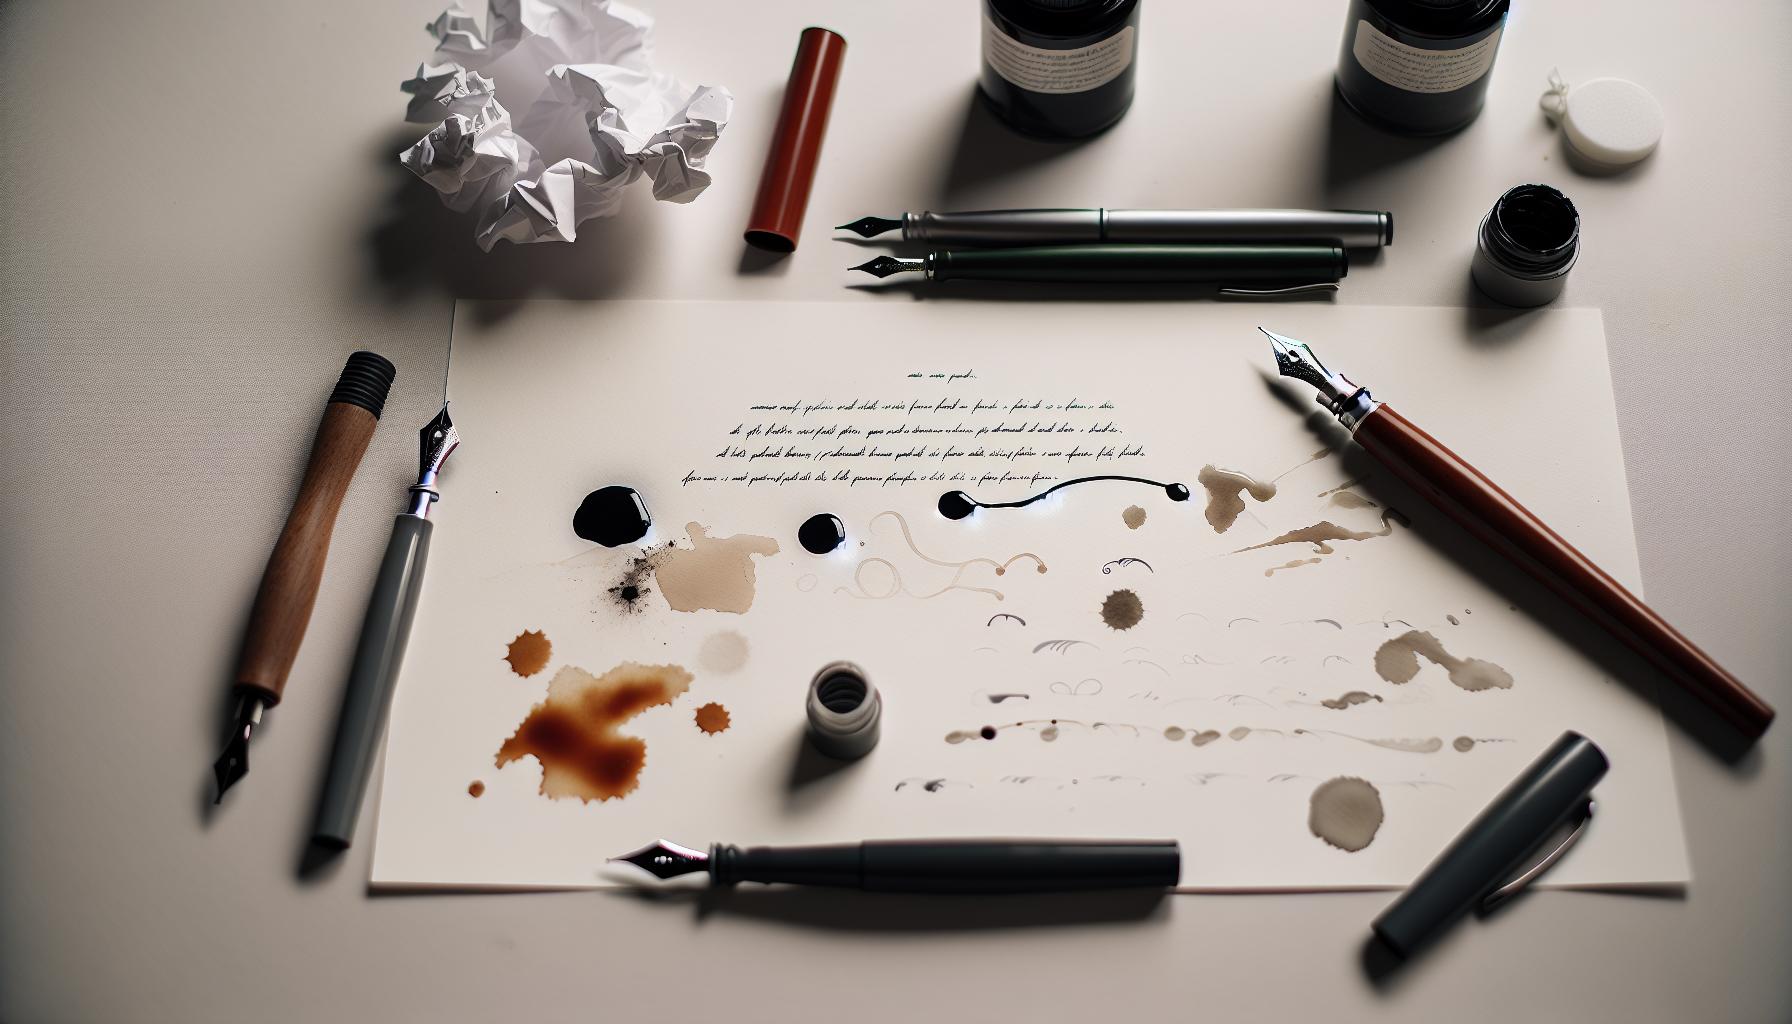
Essential Tools for Repairing Your Calligraphy Pen
To keep your calligraphy pens in prime condition, having the right tools on hand can make all the difference. Imagine trying to fix a leaky fountain pen without a proper wrench-it’s frustrating and often leads to more issues. Here’s a quick rundown of essential tools that will help you handle common repairs and maintenance tasks effectively.
Essential Tools for Repairs
- Screwdriver Set: Invest in a small set of precision screwdrivers. These will help you open up your pen for cleaning or nib adjustments. The screws are often tiny, so having the right fit is crucial.
- Cleaning Supplies: A good cleaning solution specifically designed for ink or a simple mix of water and mild soap works wonders. Use soft brushes or old toothbrushes for scrubbing hard-to-reach spots.
- Nib Pliers: If your nibs need realignment or if you’re replacing them, nib pliers are delicate enough to adjust the tines without damaging them. They give you the precision you need.
- Soft Cloths: Microfiber cloths are fantastic for wiping away ink spills and keeping your pen’s body looking new. They’re gentle and won’t scratch the surface.
- Ink Syringe: A syringe can be a game-changer for filling your pen or flushing it out. It allows for precise control of ink flow during refilling and thorough cleaning of the feed.
- Tweezers: Great for intricate work, whether you’re trying to remove debris from the nib or placing components back into the body of the pen.
Maintaining your calligraphy pen doesn’t need to be a daunting task with these tools at your disposal. Each tool serves a unique purpose to ensure your writing instrument not only performs optimally but also lasts longer. Remember, regular maintenance and a bit of DIY repair can save you from costly replacements and keep your creativity flowing smoothly!
Simple Techniques to Clean Dirty Calligraphy Pens
Cleaning your calligraphy pen might seem like a chore, but with the right techniques, it can be quick and satisfying. One of the simplest methods is a thorough rinse with clean water. Start by filling a small bowl with lukewarm water. If your pen allows it, detach the nib and feed from the body first. Submerge these parts in the water for a few minutes to let the ink soften. After soaking, use a gentle soft-bristled brush or an old toothbrush to scrub away any residue. This method is effective and ensures you don’t damage delicate components.
For more stubborn ink stains, consider using a dedicated pen cleaner. Solutions like the Speedball Pen Cleaner break down the ink efficiently, making cleaning a breeze. Just apply a few drops to the nib area and let it sit for a minute, then rinse with water. Follow this with another gentle scrub to remove any remaining particles. It’s crucial to dry all components thoroughly before reassembling your pen; moisture left inside can lead to mold and other issues down the line.
If you notice ink refuses to budge, a bulb syringe can save the day. Fill it with clean water, place it at the nib’s opening, and squeeze to force water through the feed. This technique helps dislodge any stubborn ink stuck inside the pen, ensuring a smoother writing experience later. Always remember to clean your pen regularly-ideally after each use if you switch ink colors frequently-to keep your calligraphy game strong and avoid major cleaning jobs in the future.
In essence, regular maintenance of your calligraphy pen not only prolongs its life but also enhances your artwork. With simple cleaning methods like soaking, scrubbing, and using a bulb syringe, keeping your tools in top condition becomes part of your creative routine. Trust me; a clean pen makes for a happier writer!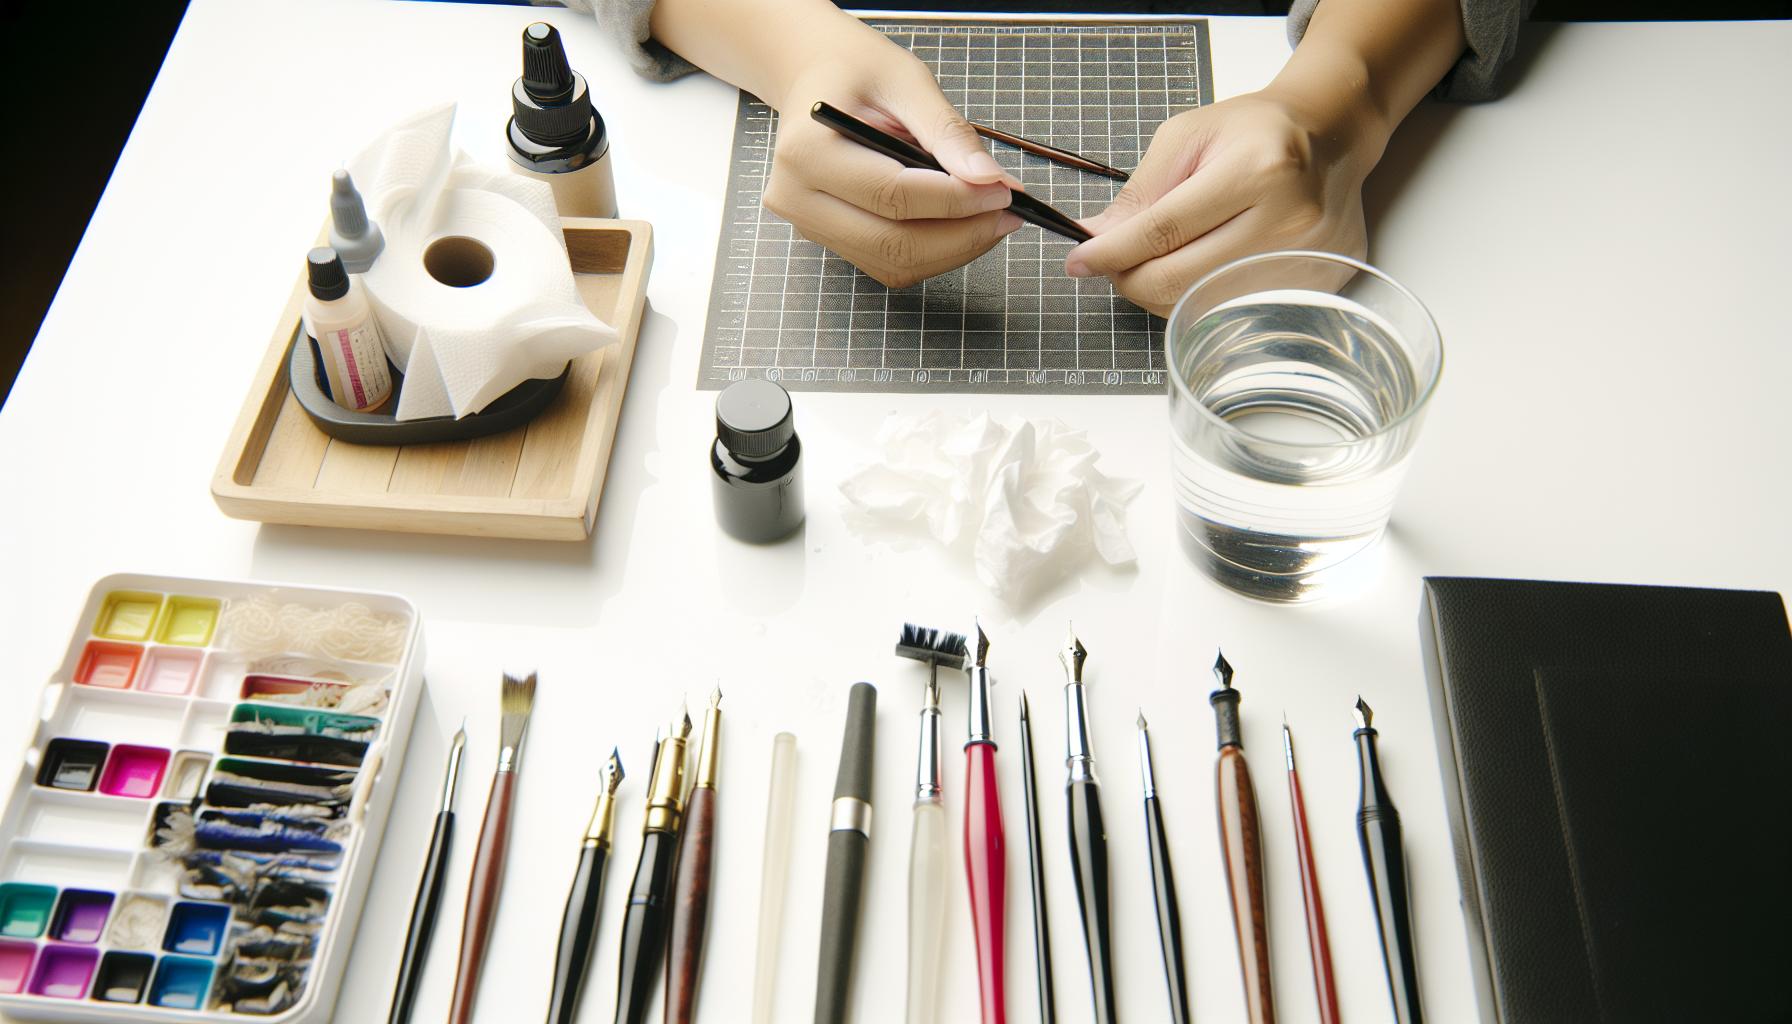
How to Replace Nibs: Step-by-Step Guide
Replacing a nib can seem daunting, but it’s a straightforward process that can rejuvenate your calligraphy pen and save you money. Often, what appears to be a pen on its last legs can simply be a worn or damaged nib that’s easy to swap out. Let’s delve into how you can do this with minimal fuss.
Start by gathering your tools. You’ll need a replacement nib compatible with your pen, a pair of tweezers, and possibly some foam or cloth to protect your workspace. Ensure you’re working in a well-lit area to avoid misplacing any small components.
Begin by removing the pen’s cap and, if applicable, the ink cartridge or converter. This prevents ink from spilling as you work. Next, gently grip the nib with the tweezers and wiggle it slightly until it loosens from the section of the pen. Apply gentle pressure; if it feels stuck, don’t force it-sometimes, a little warm water can help loosen stubborn parts. If your nib is particularly splayed or damaged, this process allows for an easy replacement without risking damage to the pen body.
Once the old nib is removed, take your new nib and align it properly with the feed. Slide it in, ensuring it fits securely, as misalignment could lead to poor ink flow. If your pen design accommodates it, you may need to adjust the nib slightly so it’s properly seated. After replacing the nib, reassemble the pen by putting the cartridge or converter back in, and check to ensure everything is fitted snugly.
Now it’s time to test your work. Fill the pen with ink and let it sit for a minute to allow the ink to reach the nib. Conduct a test write on some scrap paper to ensure the new nib flows well and produces the desired line quality. With this simple process, you’ve not only given your pen a fresh start but also enhanced your calligraphy experience. Don’t shy away from replacing nibs in the future; it’s a skill that not only saves you money but can also be quite gratifying!
Fixing Ink Flow Problems: Tips and Tricks
If your calligraphy pen starts to sputter or skip, don’t panic. Ink flow problems are common, but most can be fixed with a little patience and the right approach. Whether you’re using a fountain pen or an around-the-nib dip pen, understanding the factors that affect ink flow can dramatically improve your writing experience.
First, let’s tackle one of the simplest yet most overlooked solutions: check for air bubbles or blockages. If ink isn’t flowing smoothly, it might be that the ink’s too thick or has dried out in the nib. If necessary, flush the pen with warm, soapy water to clear any residue. Let the pen soak for a few minutes, then rinse thoroughly and let it dry completely before using it again.
Another common issue is the nib’s alignment. Many times, a nib that’s misaligned can lead to poor ink flow. If you’re comfortable doing so, gently adjust the nib by hand for a better fit. Just be careful not to apply too much pressure; sometimes all it takes is a slight repositioning. If you encounter a stubborn nib that won’t budge, soaking it in warm water can help loosen any binding that might be preventing a proper fit.
Finally, don’t underestimate the importance of good quality ink. Low-quality inks can dry out faster or clog your nib. Invest in reputable brands designed specifically for calligraphy; they often flow more smoothly and consistently. You might also want to experiment with different inks to find one that works best with your particular pen.
In conclusion, fixing ink flow problems requires a bit of troubleshooting, but most issues are quite manageable. By keeping your nib clean, ensuring proper alignment, and using quality ink, you can significantly improve your calligraphy experience and extend the life of your pen.
Repairing Damaged or Worn Calligraphy Pen Bodies
If you’ve ever held a calligraphy pen that felt worn or damaged, you know how frustrating it can be. A beautified writing experience can quickly turn into a struggle when the body of your pen shows signs of wear and tear. Luckily, with a bit of knowledge and simple techniques, you can often repair your calligraphy pen’s body instead of tossing it out.
Start by assessing the damage. Is it a cracked barrel, a chipped grip, or maybe a stubborn cap that won’t come off? For minor cracks, a strong, clear adhesive can often work wonders. Just ensure the cracked area is clean and dry before applying the glue. If it’s a more extensive crack or a break, consider using a heat-shrink tubing. Cut a small piece to the appropriate size, slide it over the damaged area, and apply heat. This method is particularly effective for plastic or metal bodies, giving them a strong, reinforced hold.
For pens with worn grips, you can get creative. A simple solution is to use a rubber grip sleeve, which you can find at most stationery stores or online. If you prefer a more personalized touch, wrapping a decorative tape around the grip can add both style and functionality. This not only aids your grip but can also give your pen a fresh look.
Don’t forget to pay attention to the pen’s components. Sometimes, the body may not be the issue at all; it could be that the nib isn’t seated correctly or that the feed has a buildup of ink. Regular maintenance and cleaning can keep these parts functioning optimally. When reassembling, make sure everything fits snugly but not too tight, as overtightening can lead to future damage.
Incorporating these repair techniques not only saves money but also keeps your favorite pens in working condition. Each pen has a story, and with a little effort, you can ensure that story continues. Always remember, repairing instead of replacing can often yield great rewards, both in terms of cost and the joy of using a pen that feels like your own.
Adjusting the Tension of a Calligraphy Pen
When it comes to calligraphy pens, the tension of the nib and feed plays a crucial role in how your pen performs. If you’ve ever felt a nib that just doesn’t glide smoothly across the page or perhaps seems too stiff, adjusting the tension might be the key to reviving your writing experience. Whether you’re working with a pointed pen or a broad nib, achieving the right tension can enhance your control and accuracy, leading to cleaner lines and a more enjoyable flow of ink.
To start adjusting the tension, you’ll first want to assess the nib’s flexibility. A too-tight nib can lead to skipped strokes or uneven ink flow, while a too-loose nib might result in a lack of control over your lines. Carefully examine the tines-the two thin slits in the nib at the tip. If they appear uneven or too far apart, that’s your cue to make an adjustment.
Here’s a practical method for adjusting nib tension:
Steps to Adjust Nib Tension
- Gather your tools: You’ll need a pair of tweezers and a clean, flat surface. Some find using a small piece of soft cloth helps prevent scratching the nib.
- Gently grasp the nib: Using your tweezers, hold the nib carefully, focusing on the tines. Be cautious not to apply too much pressure.
- Adjust the distance: If the nib feels too tight, gently press the tines apart for a bit more flexibility. Conversely, if it’s too loose, carefully bring the tines closer together.
- Test the nib: After making adjustments, write a few words to see how it feels. Repeat as needed until you find that sweet spot.
Keep in mind that patience is essential. Making too drastic of a change can lead to damage, so small incremental adjustments are the way to go. Additionally, remember that some nibs are designed for different styles of writing, so understanding your specific nib’s characteristics can help you determine the best tension for your needs.
Incorporating these adjustments into your maintenance routine is an effective way to prolong the life of your calligraphy pen. By keeping the nib tension optimized, you’ll not only save money on repairs or replacements but also enhance your overall writing experience. After all, a well-tuned pen can make the difference between a frustrating session and a beautifully crafted masterpiece.
Preventative Maintenance: Keep Your Pens in Top Shape
To ensure your calligraphy pens remain in peak condition, adopting a solid preventative maintenance routine is key. It’s much easier-and more cost-effective-to maintain your pens than to deal with repair or replacement due to neglect. Regular attention not only extends the lifespan of your tools, but it also keeps your writing fluid and enjoyable.
Start with cleaning your pens after each use. A simple rinse with water can prevent ink buildup, which can clog the nib and feed over time. If you’ve been using especially thick or pigment-rich inks, consider soaking the nib in warm, soapy water and gently scrubbing it with a soft brush to remove any residue. Always ensure that the nib is completely dry before reassembling and storing your pen to avoid rust and other long-term damage. If your pen has multiple parts, check that they fit snugly but are not overly tight, which can lead to issues down the line.
Another vital aspect of preventative maintenance is storage. Keep your pens capped and upright to prevent ink from drying in the nib and feed. If you’re not using your pens for a while, consider placing a small piece of wax paper between the nib and the feed to avoid ink drying out in the nib section. Regularly inspect your pens for any signs of wear or damage. Tiny cracks or bends can escalate into serious issues if left unchecked, so addressing any problems early saves both time and money.
Lastly, familiarize yourself with the particular quirks and characteristics of your nibs. Some nibs require different care or tension adjustments depending on their design and intended use. Keeping a log of your maintenance practices can help you remember which techniques work best for each pen. By anticipating potential issues, you can enjoy smooth, beautiful writing every time.
Upcycling: Creative Ways to Repurpose Old Calligraphy Pens
Old calligraphy pens don’t have to gather dust once they’ve lost their original purpose. There’s a world of creativity waiting to be explored through upcycling! Instead of tossing those tired instruments, consider how you can transform them into functional and artistic tools or unique decor.
One fantastic way to repurpose old calligraphy pens is by turning them into elegant plant markers. Just clean the nib thoroughly and dip it in a waterproof ink or paint that contrasts with the plant’s color. Label each pen with the name of the plant it marks. Not only does this enhance your gardening aesthetics, but it also provides a charming, vintage vibe to your garden or potted plants.
Another innovative idea is to convert calligraphy pens into artistic paintbrushes. By removing the nib and attaching a softer material like sponge or a small piece of fabric, you can create a unique brush for watercolors or acrylics. The shapes of the older nibs can provide interesting textures when painting, leading to a distinctive artistic style that reflects your creativity.
Crafting and Gift Ideas
Elevate your gift-giving by using broken calligraphy pens in DIY crafts. They can be disassembled and repurposed for creating unique jewelry pieces. The nibs can be strung together to form earrings or necklaces, while the bodies can be transformed into quirky keychains-each piece telling its own story. Friends and family will appreciate the thoughtfulness behind your handmade gifts, and you’ll be saving money while doing it.
Lastly, consider using old calligraphy pens in mixed media artwork. Their varied shapes and textures can add depth to your creations. By incorporating them into collages or paintings, you not only breathe new life into something old but also enrich your artistry.
Every old calligraphy pen holds potential. Rather than letting them go to waste, get creative and see how they can serve you in new, imaginative ways!
When to Repair vs. When to Replace Your Pen
Knowing when to repair or replace your calligraphy pen can save you time, money, and frustration. If you’ve invested in a quality pen, it’s worth considering repairs first. Minor issues like ink flow problems or a damaged nib are often fixable without splurging on a new pen. For example, if your pen skips or has inconsistent ink flow, simple cleaning and adjustments typically resolve these issues.
However, there are clear signs when a replacement is the better route. If the body of your pen is cracked beyond repair or if it has been dropped and severely damaged, the cost of fixing it may outweigh the price of a new pen. When the mechanism-such as the filling system-fails and cannot be salvaged, you’re likely better off purchasing a new one.
Here’s a quick rule of thumb to guide your decision:
- Repair: Minor nib damage, ink flow issues, clogged feed.
- Replace: Cracked body, broken filling mechanism, severe wear.
Ultimately, your decision should factor in both the sentimental value of the pen and the practicality of its repairability. Each pen has its story, and if yours holds significant meaning, a little repair work can breathe new life into it. Take time to assess its condition before rushing into a replacement; you might be surprised at how easily some issues can be resolved with a bit of hands-on attention.
Cost-Effective Options for Quality Calligraphy Pens
Investing in a high-quality calligraphy pen doesn’t have to break the bank, especially when it comes to maintenance and repair. Many calligraphy enthusiasts find joy not only in writing beautifully but also in preserving their favorite tools. When minor issues arise, simple and cost-effective solutions often lie right at your fingertips. With a few basic techniques and a little creativity, you can extend the life of your pen and enjoy its beauty without the expense of replacement.
To start, consider the significant savings you can achieve by learning to repair common issues like clogged feeds or damaged nibs yourself. Many online resources, including video tutorials, provide step-by-step guides on tasks like cleaning the nib or replacing ink cartridges. You might be surprised how a thorough cleaning can revive a pen that seems to have run dry. Regular maintenance practices, such as wiping the nib after each use and ensuring that ink is properly stored, prevent many common problems from escalating.
In addition to self-repair, exploring local or online communities dedicated to calligraphy can yield fantastic, cost-effective resources. Many seasoned hobbyists or professionals offer repair services at reasonable rates or share recommendations for budget-friendly tools and supplies. It’s worthwhile to reach out-you might just discover a hidden gem of a local repair shop or an online marketplace where you can purchase gently used pens at a fraction of the retail price.
Lastly, think about upcycling. If you have old or broken pens, consider repurposing them into art projects or DIY gifts. Not only does this breathe new life into items that would otherwise be discarded, but it’s also a creative way to express your passion for calligraphy. Embracing these cost-effective strategies ensures your writing journey remains both fulfilling and budget-friendly.
Frequently asked questions
Q: How can I improve ink flow in my calligraphy pen?
A: To improve ink flow, start by cleaning the nib and feed with warm soapy water. If that doesn’t work, try adjusting the nib’s position or check for clogs in the ink chamber. Regular maintenance, as discussed in the “Fixing Ink Flow Problems” section of our article, can prevent future issues.
Q: What are common signs that my calligraphy pen needs repair?
A: Common signs include inconsistent ink flow, nib damage, or a feeling of scratchiness while writing. If your pen frequently skips or the ink dries up too quickly, it may need cleaning or nib replacement, as outlined in the article’s troubleshooting section.
Q: How do I clean a clogged calligraphy pen?
A: To clean a clogged calligraphy pen, disassemble it and soak the nib in warm water. Use a soft brush to gently scrub any buildup. Rinse thoroughly and let it dry completely before reassembling. Refer to the “Simple Techniques to Clean Dirty Calligraphy Pens” section for detailed steps.
Q: Is it worth it to repair my calligraphy pen instead of buying a new one?
A: Yes, it can be cost-effective to repair your calligraphy pen, especially if it’s a quality model. Assess the extent of the damage; minor fixes like cleaning and nib replacement can extend its life significantly. Check the “When to Repair vs. When to Replace Your Pen” section for more guidance.
Q: Can I use regular ink in my calligraphy pen?
A: It’s best to use ink specifically made for calligraphy pens. Regular fountain pen ink may not flow well and could clog your pen. Always consult your pen’s instructions on compatible ink types to avoid damage.
Q: What tools do I need for basic calligraphy pen repairs?
A: Essential tools include warm water, a soft brush, a microfiber cloth, and possibly replacement nibs. For more in-depth repairs, consider adding a small screwdriver and pliers. The article’s “Essential Tools for Repairing Your Calligraphy Pen” section provides a comprehensive list.
Q: How can I prevent my calligraphy pen from drying out?
A: To prevent drying, store your pen horizontally and regularly clean it after use. Avoid leaving your pen capless, and use high-quality ink that has good shelf life. For more preventive tips, see the “Preventative Maintenance” section of our article.
Q: What should I do if my pen body is damaged?
A: If your calligraphy pen body is damaged, assess whether it can be repaired or if it needs replacement. Minor cracks can sometimes be fixed with adhesive, while significant damage may require a new pen. For more insights, refer to the “Repairing Damaged or Worn Calligraphy Pen Bodies” portion.
Wrapping Up
Your calligraphy pen doesn’t have to be a source of frustration-fixing it can be simple and budget-friendly! By implementing the repair tips we’ve shared, you can extend the life of your favorite tool and improve your lettering skills. Don’t let a malfunctioning pen halt your creativity. Dive into our related guides on “Choosing the Right Ink for Calligraphy” and “Calligraphy Tips for Beginners” to enhance your practice and keep your artistic flow going.
If you found this guide helpful, don’t forget to subscribe to our newsletter for more valuable tips and tricks to boost your calligraphy skills. Have questions? Drop a comment below-we’re here to help! Remember, every successful artist has faced hurdles, but through simple repairs and a bit of patience, you can keep your pen-and passion-going strong. Keep practicing, and let your creativity shine!