Did you know that calligraphy can transform ordinary writing into a work of art? Whether you’re looking to create stunning invitations, personalized gifts, or simply enjoy a meditative hobby, mastering calligraphy with a fountain pen opens up a world of creative possibilities. This guide breaks down essential techniques, making it easy for both beginners and seasoned writers to enhance their skills. If you’ve ever struggled with uneven lines or lackluster lettering, you’re in the right place. With practical tips and expert advice, we’ll help you nurture your unique style and bring elegance to your handwriting. So grab your fountain pen, and let’s dive into the beautiful art of calligraphy together!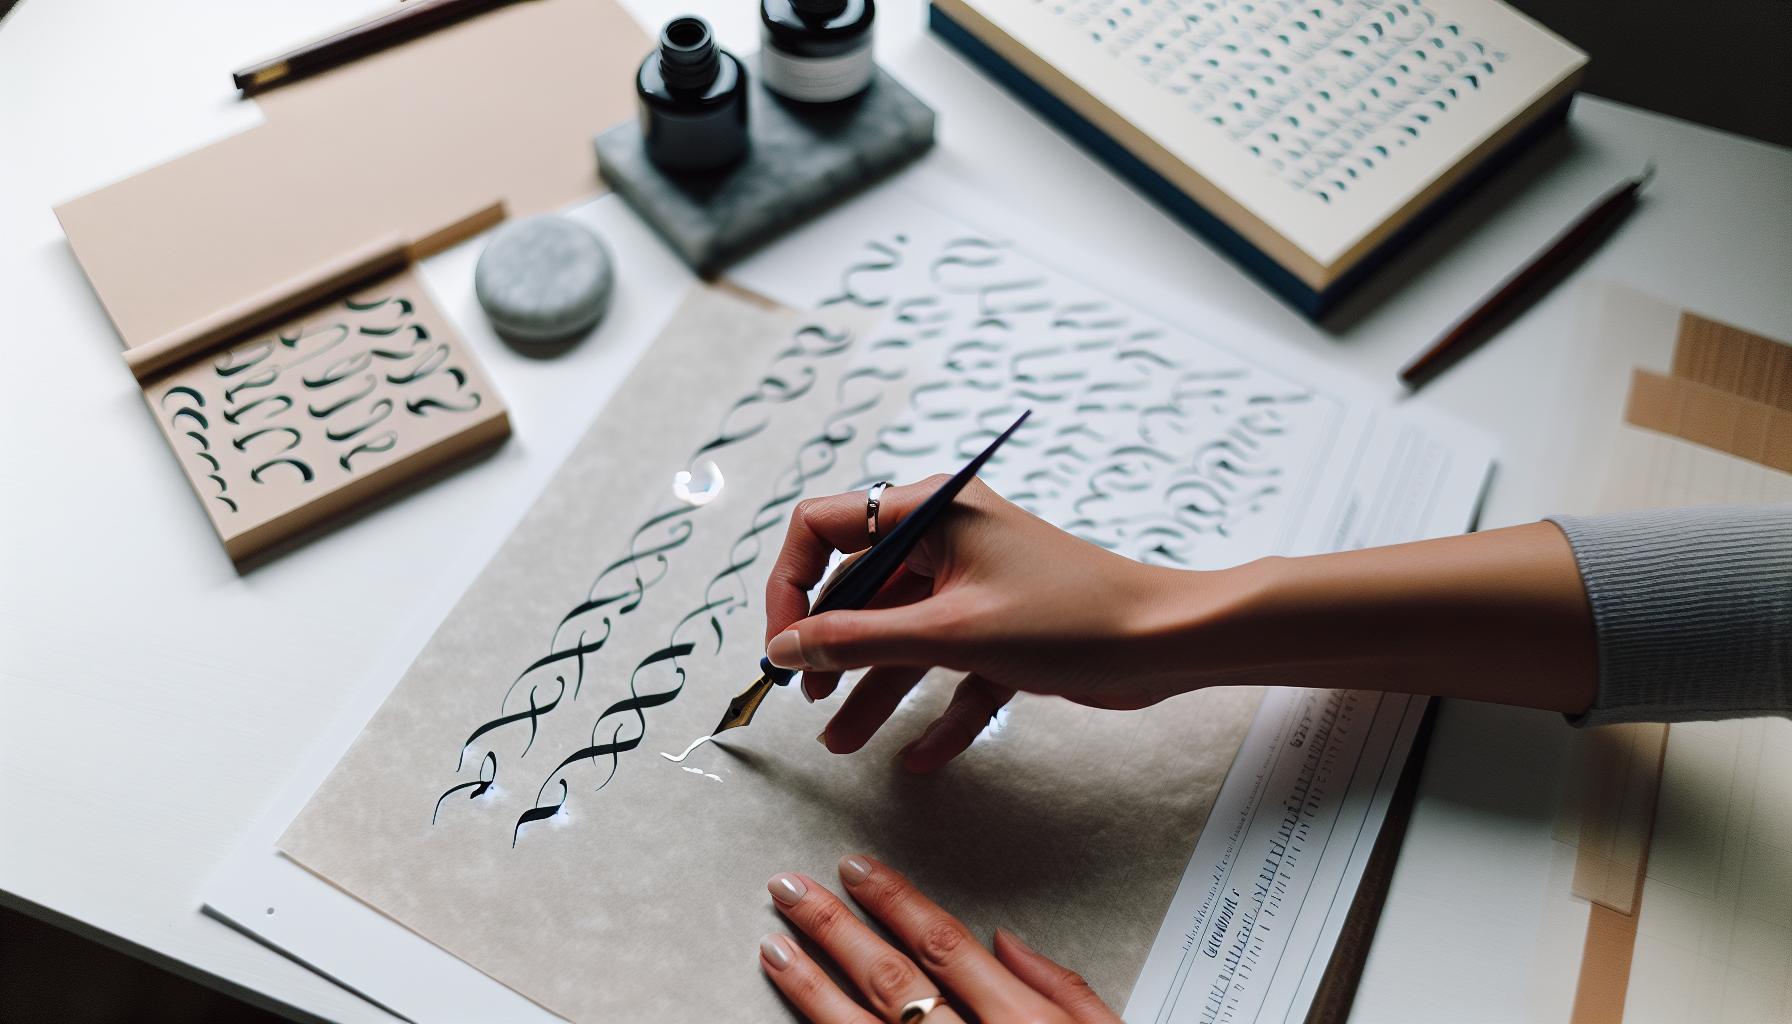
Essential Tools for Fountain Pen Calligraphy
When stepping into the world of fountain pen calligraphy, having the right tools at your disposal can make all the difference. A well-chosen fountain pen isn’t just a writing instrument; it’s a gateway to expression and creativity. The perfect pen should feel comfortable in your hand, with a nib that glides smoothly across the paper. Whether you opt for a beginner-friendly pen with a fine point or a more sophisticated model with interchangeable nibs, the choice is personal and can significantly influence your calligraphy journey.
Alongside your fountain pen, the ink you select is crucial. Traditional bottled inks provide a range of colors and consistencies, perfect for varied styles. However, if you’re just starting, it might be worth exploring cartridge inks, which are less messy and easier to use. While many inks will work seamlessly with most pens, testing compatibility on your chosen paper is wise to avoid feathering or bleed-through.
Don’t overlook paper when preparing for your calligraphy projects. The surface should complement your ink and pen choices-look for smooth, high-quality paper that can handle ink without warping. Additionally, consider investing in a calligraphy ruler and guides for your practice sheets. These tools play a vital role when it comes to mastering proportions and maintaining uniformity in your lettering.
Lastly, make sure to choose a comfortable workspace where you can fully focus on your art. Good lighting and a supportive chair can help you maintain proper posture, allowing for longer, more enjoyable practice sessions. With these essential tools in hand, you’ll be well-equipped to dive into the enchanting world of fountain pen calligraphy.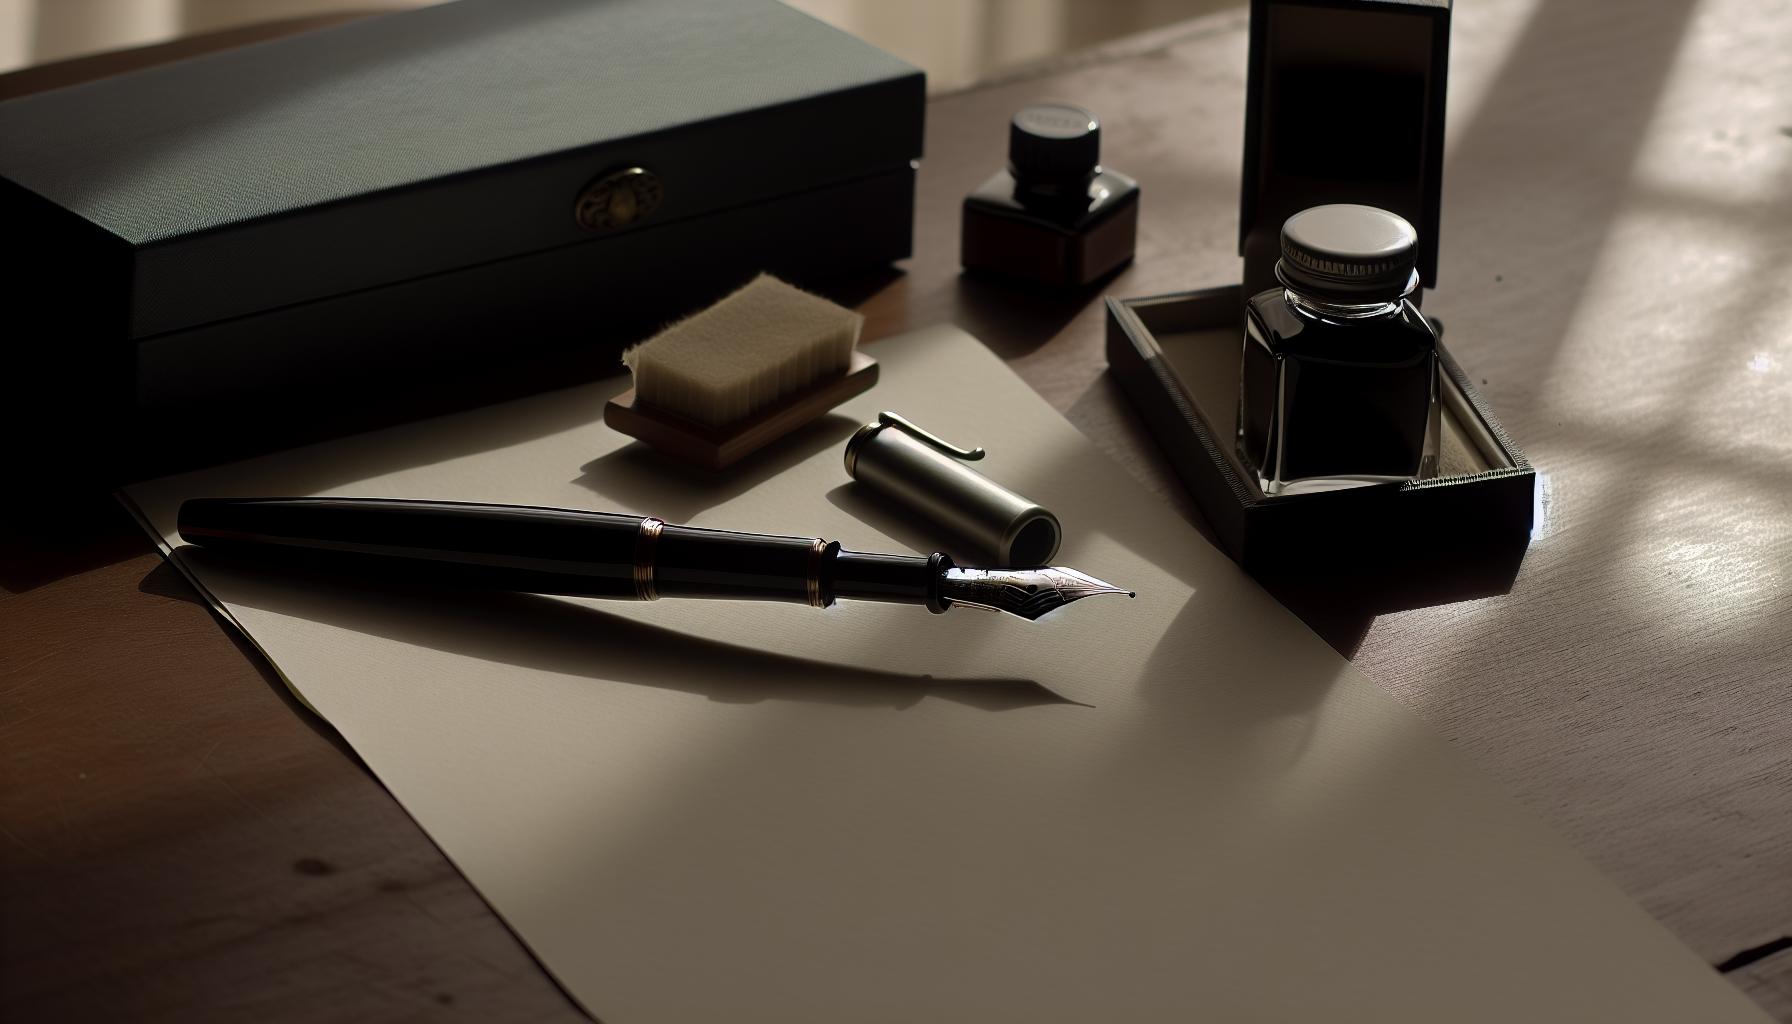
Understanding Fountain Pens and Ink Types
To really get into fountain pen calligraphy, it’s essential to grasp the nuances of both fountain pens and their ink. The connection between a well-crafted pen and the ink used is foundational to achieving those smooth, elegant strokes that define beautiful lettering. Each fountain pen boasts unique characteristics, from nib size and material to the grip and overall design. Choose something that feels right in your hand – comfort is key when you’re spending hours perfecting your craft.
When it comes to ink, the choice is vast and impactful. Fountain pen inks generally fall into two categories: bottled and cartridge. Bottled inks allow for endless color options and custom blends, giving you the freedom to express your creativity. They tend to offer richer pigments and flow better, ideal for calligraphy. On the other hand, cartridge inks simplify the process, making them less messy and perfect for beginners or when you’re on the go. But beware: not all inks are compatible with every pen, so always test a new ink with your chosen paper to check for issues like feathering or bleed-through.
Understanding Ink Types
The right ink can transform your writing experience. Here are some common types used in fountain pen calligraphy:
- Water-based Inks: These are the most common; they flow well but may be more prone to smudging.
- Iron Gall Inks: Known for their archival quality, these inks darken as they dry and provide excellent permanence.
- Pigment Inks: These inks sit on top of the paper rather than being absorbed, which can create vibrant results but may require specific papers to prevent clogging.
Choosing the right combination of pen and ink can enhance your calligraphy skills and overall satisfaction with the art. Don’t hesitate to experiment to find what suits your style. Happy writing!
Basic Calligraphy Strokes Every Beginner Should Master
To truly master calligraphy with a fountain pen, you have to get comfortable with the fundamental strokes that lay the groundwork for more complex letters and designs. Think of these basic strokes as the building blocks of your calligraphic repertoire. You don’t need to jump straight into intricate scripts; instead, focus on perfecting these essential movements to set yourself up for success.
Start with the upstroke. Light and delicate, this stroke is fundamental for creating the thin lines that give your letters elegance. Practice drawing straight lines upwards while keeping a steady hand. Next, work on the downstroke. This stroke should be slightly heavier and more pronounced, as it forms the thick parts of your letters. As you draw downwards, apply more pressure on the nib to create that contrast between thin and thick lines.
Once you feel confident with upstrokes and downstrokes, try combining them into a basic oval. This exercise is crucial as it helps you understand how to transition between strokes smoothly. Start with an upstroke, curve around into the downstroke, and finish with another upstroke to close the oval. Making ovals will enhance your muscle memory and fine-tune your control, preparing you for letters like ‘o’, ‘b’, and ‘d’.
Lastly, incorporate cross strokes into your practice. These add complexity and style to your letters. Begin with a horizontal line across your page, then add an upstroke and downstroke on one end. Practicing these strokes in various combinations will vastly improve your overall calligraphy. Remember, repetition is key. Focus on each stroke individually, experiment with pressure and speed, and before long, you’ll find yourself crafting beautiful letters with confidence.
The Importance of Paper Selection in Calligraphy
Choosing the right paper for your fountain pen calligraphy can make a world of difference in your writing experience. It’s not just about aesthetics; the paper’s texture and composition greatly influence how the ink flows and dries, impacting both the legibility and visual appeal of your calligraphy. When you select paper that’s too rough, your nib can catch and scratch, potentially damaging it. Conversely, overly smooth paper might cause the ink to bleed or feather, ruining the crisp lines you strive for.
A good calligraphy paper typically has some weight-look for something around 80 to 120 gsm (grams per square meter) to ensure it can handle ink without soaking through. Here are a few characteristics to consider when selecting paper:
- Weight: Heavier paper tends to resist bleeding better.
- Texture: A slightly textured surface can help grab the ink, allowing for more control over your strokes.
- Finish: Look for a finish that balances smoothness and texture-something that feels pleasant under your hand.
Don’t shy away from experimenting. Try out different types-smooth, textured, glossy, or matte-to see how they impact your writing style. For beginners, practice papers specifically designed for calligraphy, such as marker paper or dedicated calligraphy pads, can provide a great starting point. As you develop your style, consider moving to more premium options like cotton paper for a luxurious touch.
When you’ve found a paper you like, make sure to test it before committing to larger projects. Write a few lines to observe how the ink behaves-does it dry quickly without smudging? Does the nib glide smoothly? Your choice of paper could be the factor that elevates your calligraphy and brings your artistic vision to life. Ultimately, investing time in selecting the right paper will enhance your confidence and satisfaction with your calligraphic work.
Techniques for Achieving Consistent Lettering
To achieve consistent lettering in fountain pen calligraphy, focus on a few essential practices that can transform your writing from shaky to sharp. Many beginners get caught up in the beauty of the letters but often overlook the importance of consistency, which is what truly elevates your work. One effective technique is to master your grip and posture. Hold your pen with a relaxed grip, ensuring that your fingers are positioned comfortably around the barrel. This not only reduces fatigue but also allows for smoother motion, which is critical for maintaining even pressure on the nib.
Practice is key. Set aside dedicated time for drills focused solely on letter formation and stroke consistency. Start with basic shapes-lines, curves, and loops-before moving to actual letters. When practicing, use grid paper to help maintain uniform height and spacing. Aim to create letters that not only look appealing but also have similar width and slant. As you gain confidence, try writing entire words while keeping an eye on both letter shape and spacing.
Another powerful tool in your arsenal is slow, deliberate writing. It’s tempting to rush through letters as you become more comfortable, but this can lead to varied strokes and thickness. Instead, consciously slow your movements, allowing the ink time to flow and dry evenly. Keeping a steady pace helps with muscle memory; soon enough, your hand will know exactly how to create each letter with precision.
Lastly, don’t forget about the importance of light pressure. A soft touch on the nib generally leads to better line consistency than pressing too hard. This approach not only ensures smoother strokes but also prolongs the life of your nib. Combine these techniques, and you’ll be well on your way to producing beautiful, consistent calligraphy that you can be proud of.
Creating Beautiful Flourishes and Embellishments
Creating elegant flourishes and embellishments can elevate your fountain pen calligraphy from basic to breathtaking. These decorative elements not only add a personal touch but also showcase your skill and creativity. To begin, focus on a few essential techniques that will help you develop your unique style while enhancing your overall lettering.
Mastering Simple Flourishes
Before diving into complex designs, it’s crucial to master simple flourishes that enhance your letters. Start with basic strokes like loops, swirls, and tails. These can be appended to the ends of letters or incorporated within your writing. For instance, adding a delicate loop to the descender of a lowercase ‘g’ can instantly draw the eye. Practicing these techniques on scrap paper will help you refine your control and flow. Remember, the key is to keep your movements fluid and relaxed; tension can hinder your strokes.
Embellishing Initials and Capitals
Initial letters and capitalizations offer a perfect canvas for embellishments. Experiment with additional curves or spikes on capital letters. For example, when crafting an ‘R,’ consider extending its leg with a looping flourish. This not only adds personality but also emphasizes the letter’s importance in your writing. Using contrasting ink colors or adding small decorative dots can also enhance these features.
Utilizing Negative Space
Don’t forget about the power of negative space-the area around and between your letters. Creating flourishes that interact with this space can add depth and balance to your composition. For example, a swirling flourish that wraps around the word can create a harmonious flow across the page. Experimenting with different placements will allow you to discover what works best visually.
By incorporating these techniques into your practice, you’ll begin to see how beautifully flourishes can enhance your calligraphy. Remember to stay patient and take your time. Beautiful embellishments are the result of practice and thoughtful execution, so give yourself the space to experiment and explore your creativity. Over time, you’ll develop a signature style that is uniquely yours.
Practicing Calligraphy: Effective Exercises to Improve
Everyone starts somewhere, and in calligraphy, regular practice is your best friend. Engaging in structured exercises not only builds muscle memory but also boosts your confidence. Here are several effective exercises to enhance your skills with a fountain pen.
Warm-Up Strokes
Begin with basic warm-up strokes to build your control and comfort with the pen. Focus on:
- Straight lines: Draw long, straight lines in both directions to feel the flow of the ink.
- Curls and loops: Create a series of curls and loops, experimenting with pressure to see how it affects the thickness and width.
- Waves: Draw wave patterns that shift in height and depth to develop your ability to create flowing movements.
These fundamental strokes are essential for mastering the curves and angles you’ll encounter in letters and flourishes.
Letter Drills
Once you feel grounded in basic strokes, practice individual letters using a pen grid. Start with lowercase and then move on to uppercase. This helps to familiarize you with each letter’s unique shape and flow.
Focus on achieving consistent height and slant. You can draw out the letters repeatedly, or use tracing paper over a printed guide to ease yourself into it. Here’s a simple method to structure your drills:
- Repeat: Write each letter five to ten times.
- Analyze: Compare each attempt and note where you can improve.
- Experiment: Once comfortable, try different styles for each letter.
Phrase Practice
To tie your skills together, practice writing entire phrases. Select quotes or sayings that inspire you. Start slowly, focusing on precision over speed. This is where your individual style will begin to shine through.
Consider implementing these strategies during phrase practice:
- Use varying pressure: Experiment with thick and thin lines to add character to your phrases.
- Incorporate flourishes: Start adding simple embellishments to select letters once you’re comfortable with the phrase.
- Slow it down: Concentrate on each letter as you write. Quality beats quantity.
These exercises will lead you to greater mastery of your fountain pen. Make sure to devote time regularly, and soon you’ll notice significant improvement in your technique and confidence. Remember, the key is mindful practice, so enjoy the process and let your creativity flourish!
Diving Into Different Calligraphy Styles
Exploring various calligraphy styles can be one of the most exciting parts of your journey with fountain pen calligraphy. Each style has its own unique flair and character, allowing you to express your creativity in different ways. Whether you’re drawn to the elegance of Copperplate or the boldness of Gothic, diving into these styles will enhance your versatility and keep your practice fresh.
First off, let’s talk about some popular styles. Italic is a fantastic starting point for beginners due to its readability and straightforward strokes. It features a slanted form that creates an attractive flow and is perfect for invitations or personal stationery. On the other hand, Modern Calligraphy embraces a more whimsical approach, where rules can bend and individual flair takes the spotlight. This style often combines various letters and flourishes, giving you the freedom to adapt and personalize your work.
Then there’s the timeless Copperplate, known for its delicate, sweeping curves and elegant flourishes. This style requires a light touch and attention to the angle of your pen to achieve those beautiful thin and thick lines. Mastering Copperplate can elevate your calligraphy skills significantly, making it a rewarding challenge. If you’re looking for something robust, the Gothic style delivers with its dramatic, heavy lines and intricate forms-perfect for creating impactful titles or expressive quotes.
Regardless of the style you choose, remember that practice is vital. Dedicate time to study each style’s unique characteristics. Use resources like worksheets or instructional videos to guide your learning. Try to replicate letters and phrases, then gradually inject your personality into them. Joining online communities or local workshops can also provide inspiration and constructive feedback, making your practice more interactive and engaging.
Ultimately, exploring different calligraphy styles not only enhances your skill set but also keeps your interest alive. It’s about finding what resonates with you, experimenting with these forms, and transforming your fountain pen calligraphy into something truly personal. Enjoy the journey, and let your creativity flow!
How to Troubleshoot Common Calligraphy Issues
When you’re pouring your heart into creating beautiful calligraphy, nothing is more frustrating than facing common pitfalls that can disrupt your flow. Whether it’s ink that won’t flow, uneven lettering, or smudges ruining your work, these issues can feel daunting. But don’t worry; troubleshooting these problems can be a straightforward process with the right approach.
To start, let’s address ink flow issues. If your fountain pen is skipping or the ink isn’t flowing smoothly, it could be due to a few factors. First, check if the nib is clean. Dried ink or debris can clog the nib, so gently clean it with water or a soft cloth. Also, consider your ink type. Some inks are thicker and require a specific pen setup to flow correctly. Switching to a more fluid ink might solve your problem immediately. Lastly, ensure you’re holding the pen at the right angle. The nib generally works best at a slight slant, allowing for optimal ink delivery.
Next, let’s talk about uneven lettering. This can stem from inconsistent pressure on the pen. Practice will refine your control, but you can speed up progress by focusing on responsiveness in your strokes. Slow down and ensure you’re applying even pressure throughout your strokes. If you find certain letters consistently troublesome, take time to practice them in isolation. Using guidelines can also help maintain uniform size and spacing.
Lastly, smudges are a common grievance for many calligraphers. They often occur when the ink remains wet and you accidentally touch the surface. To combat this, always give your work time to dry. You can also try using a blotter paper or a scrap surface to rest your hand on while writing, creating a barrier between your hand and the page. If you’re working with a particular ink type prone to smudging, consider a quick-drying ink or changing your paper to a smoother surface that absorbs ink better.
By keeping these tips in mind, you’ll find that many common calligraphy issues are easily resolved with a little care and practice. Remember, every mishap is just another step on your journey toward mastering the art of calligraphy!
Advanced Techniques for Experienced Calligraphers
To truly elevate your calligraphy game, stepping into advanced techniques is a game changer. Mastering these methods doesn’t just enhance your skills; it transforms your entire approach to the art of lettering. Whether you’re looking to create depth in your work or explore intricate design elements, the right tactics will set you apart.
One powerful technique is the use of layering. Think of it like painting; start with lighter strokes and gradually build up darker layers. This method creates a sense of dimension and richness in your letters. By varying your pressure as you draw, you can produce beautiful gradations that catch the eye. For example, with your fountain pen, try writing a stroke lightly, then go back over it with more pressure to darken it. This interplay adds depth and personality to your work.
Another advanced idea is experimenting with ink blending. With multiple shades of ink, you can blend them on the page to create stunning ombre effects. This technique not only looks impressive but also adds uniqueness to each piece. Simply start with your darker ink, and while it’s still wet, introduce a lighter shade on top. Work swiftly to merge the colors while they’re still moist, and you’ll achieve a smooth transition that’s nothing short of captivating.
Don’t forget to explore flourishing and embellishments. These can take your designs from standard to extraordinary. Use curls, loops, and swirls to frame your letters or to connect them in dynamic ways. Advanced flourish techniques often require practice, but they are worth the effort for the dramatic touch they provide. Look at examples from expert calligraphers for inspiration, but also allow your own style to emerge as you create unique flourishes of your own.
Finally, embrace customization in your style. Explore letter modifiers and variations that represent your personality and artistic voice. Don’t be afraid to break the rules; sometimes, the most striking pieces come from creativity that defies convention. Engage with different styles and consider how they can be blended to create something new.
By applying these advanced techniques, you’ll not only enhance your skill set but also expand the artistic boundaries of your calligraphy. With practice, patience, and a willingness to push yourself, each stroke you make will speak volumes about your dedication and craft. Happy writing!
Inspiration: Showcasing Stunning Calligraphy Projects
There’s something truly magical about seeing calligraphy come to life. Projects that showcase your fountain pen skills can inspire both you and your audience, elevating the perception of handwritten art. Whether you’re creating wedding invitations, personalized stationery, or unique wall art, each piece is a reflection of your journey and creativity.
One exciting project to consider is crafting custom greeting cards. Start simple: choose a meaningful quote or greeting. Use varied scripts and flourish techniques you’ve practiced. Incorporate different ink colors that complement each other, adding depth and personality to your work. Not only will these cards delight recipients, but they also serve as a great way to practice lettering styles under pressure.
Another inspiring idea is designing a calligraphy poster. Pick a theme-be it inspirational quotes, poetry, or song lyrics-and create a beautiful display piece for your home or office. Play around with layout and spacing; don’t hesitate to mix different scripts and flourishes to create a dynamic visual experience. This project not only hones your skills but can also be a center for conversation when visitors admire your handiwork.
Consider also the trend of creating personalized gifts, like custom bookmarks or monograms. These small, thoughtful items hold significant meaning and showcase your skill and attention to detail. Adding decorative elements like borders or small illustrations can enhance the overall aesthetic, making each piece unique and special.
Lastly, showcase your journey on social media. Document and share your projects, tutorials, or even behind-the-scenes processes. This not only provides inspiration to others but allows you to connect with a community of fellow calligraphers. Engaging with feedback can help you refine your technique, explore new ideas, and gain perspective from other artists.
Embrace your creativity and let your calligraphy dreams unfold on the page. Each project you undertake is a step towards mastery, a chance to express your unique style, and an opportunity to push the boundaries of what your fountain pen can achieve. Happy creating!
Frequently Asked Questions
Q: What type of ink is best for fountain pen calligraphy?
A: The best ink for fountain pen calligraphy is typically a liquid, pigment-based ink that flows smoothly and dries quickly. Iron gall and calligraphy-specific inks are great choices as they produce bold lines without skipping. Always test the ink on your chosen paper for compatibility.
Q: How can I maintain my fountain pen for calligraphy?
A: Maintaining your fountain pen is crucial for optimal performance. Regularly clean your pen by flushing it with water and gently drying it. Store it upright with the nib facing up to prevent clogging and ensure longevity. For detailed care tips, refer to the “Essential Tools for Fountain Pen Calligraphy” section.
Q: What paper should I use for fountain pen calligraphy?
A: Choosing the right paper can greatly enhance your calligraphy. Look for smooth, bleed-resistant paper specifically designed for fountain pens or calligraphy. Ensure the paper has a weight of at least 80 gsm to prevent ink from feathering and bleeding through.
Q: How do I hold a fountain pen for calligraphy?
A: Holding the fountain pen correctly is essential for achieving beautiful lettering. Keep the pen at a 45-degree angle to the paper, applying gentle pressure. Practice different grips to find one that feels comfortable and offers control for intricate strokes and loops.
Q: Can you use a fountain pen for different calligraphy styles?
A: Yes, a fountain pen can be used for various calligraphy styles. Depending on the nib width, you can create everything from modern scripts to traditional styles. Experiment with different nibs and inks to discover the styles that suit your artistic vision best.
Q: Why is practice important in fountain pen calligraphy?
A: Practice is essential in fountain pen calligraphy because it builds muscle memory and helps develop your unique style. Regularly practicing basic strokes and letterforms improves consistency and fluidity, leading to more professional-looking results.
Q: What are common mistakes in fountain pen calligraphy?
A: Common mistakes include excessive pressure, uneven spacing, and poor nib angle. To avoid these, focus on maintaining a light grip, ensuring consistent spacing, and practicing the correct angle during your strokes. Refer to the “How to Troubleshoot Common Calligraphy Issues” section for more solutions.
Q: How long does it take to learn fountain pen calligraphy?
A: The time to learn fountain pen calligraphy varies by individual. Generally, you can see basic improvement within a few weeks with consistent practice. For mastery, it might take several months, so focus on setting achievable goals and enjoy the learning process.
For further insights on essential techniques and troubleshooting tips, explore other sections of our guide!
To Conclude
Congratulations on mastering the essential techniques of calligraphy with a fountain pen! Remember, practice is key to elevating your skills and infusing your unique style into each piece you create. Don’t let hesitation hold you back-grab your fountain pen, and start experimenting today!
If you’re hungry for more tips, check out our guides on Choosing the Right Ink and Troubleshooting Common Fountain Pen Issues to enhance your craft further. Have questions or want to share your artwork? We’d love to hear from you in the comments below!
For exclusive updates and tools that can elevate your writing even further, consider signing up for our newsletter. Keep exploring, keep practicing, and watch your calligraphy flourish!